23 Small Bathroom Makeover Ideas Before and After
TL;DR: The most satisfying small bathroom makeovers usually come down to a handful of specific swaps, not a full gut renovation. Trading a dated bathtub for a curbless shower, a dim medicine cabinet for a backlit mirror, or plain builder-grade hardware for a warmer finish can each transform how a room feels on their own. Layer a few of these together and even a $150 to $500 refresh can look like it cost far more.
Some of the most dramatic bathroom transformations online aren’t full renovations at all, they’re a handful of specific, well-chosen swaps that add up to something that looks like a much bigger project. A 1970s bathroom redone for around $150 in paint and peel-and-stick flooring can look as transformed as one that cost thousands, because the visual impact of a good before-and-after usually comes down to contrast: dated versus current, dark versus bright, cluttered versus considered. Once you see the pattern across enough makeovers, it becomes clear which swaps consistently deliver the biggest visual payoff.
Here are 23 small bathroom makeover ideas, each framed as a specific before-and-after transformation you can recreate.
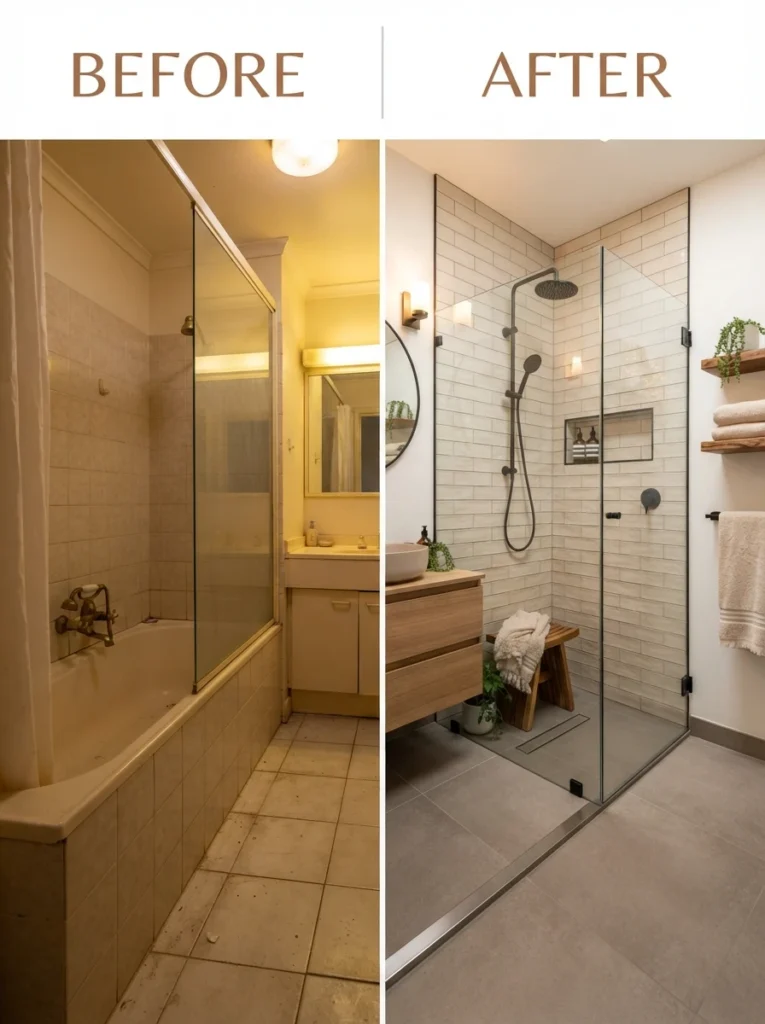
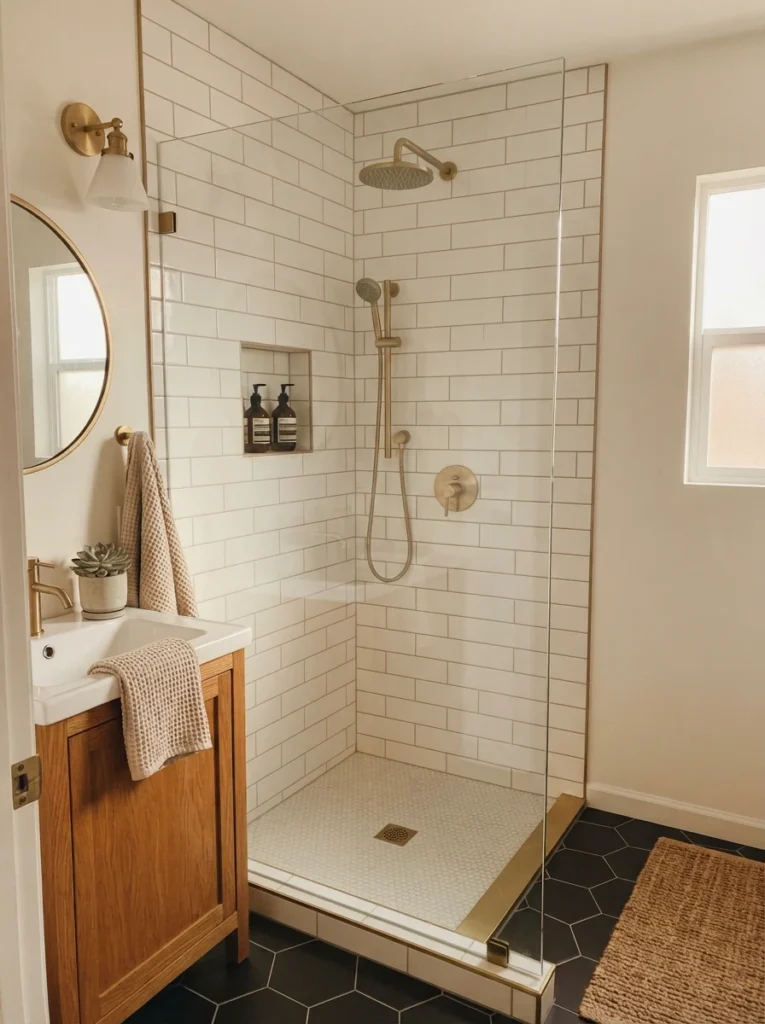
1. Before: A Dated Cream Bathtub — After: A Curbless Walk-In Shower
A yellowed or cream-colored tub is one of the fastest visual signals that a bathroom hasn’t been touched in decades. Swapping it for a curbless walk-in shower with a linear drain instantly modernizes the room and reclaims floor space in the process.
2. Before: A Dim Medicine Cabinet — After: A Backlit LED Mirror
A small, recessed medicine cabinet with a single dim bulb above it does very little for either function or style. Replacing it with a backlit LED mirror adds both better lighting for grooming and a soft, sophisticated glow that reads as an intentional design choice.
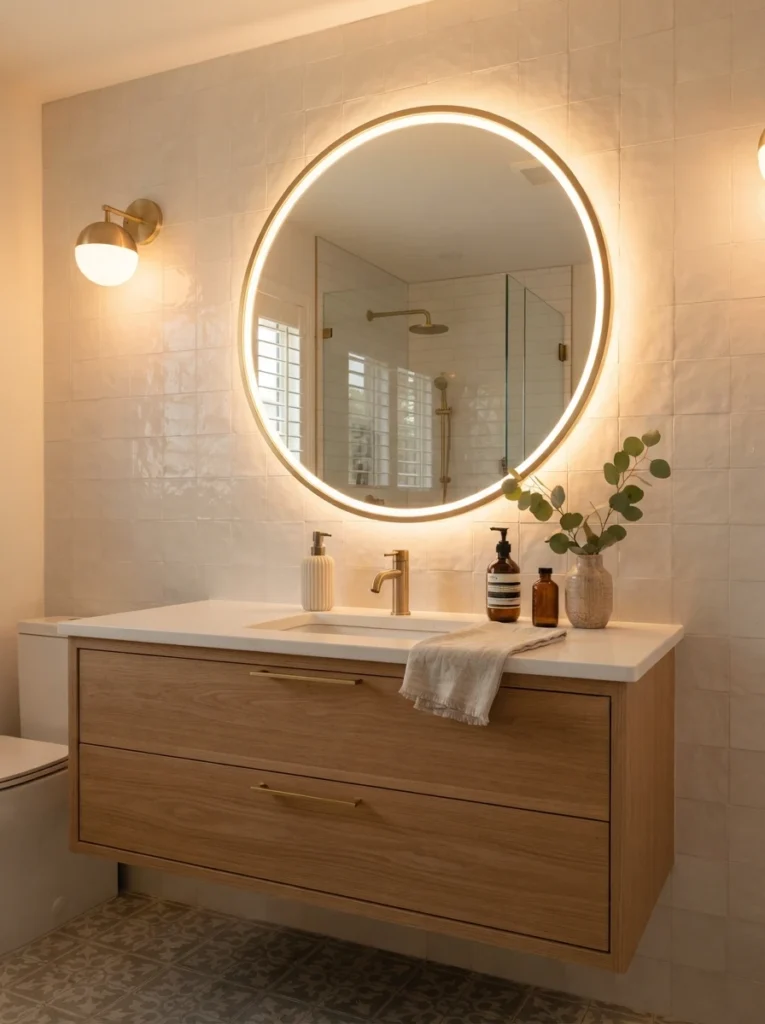
3. Before: A Low, Dated Vanity — After: A Comfort-Height Floating Vanity
An old, unusually low vanity can make an entire bathroom feel outdated even if everything else has been updated. Swapping it for a comfort-height floating vanity not only modernizes the look but also reveals the floor beneath it, making the whole room feel more open.
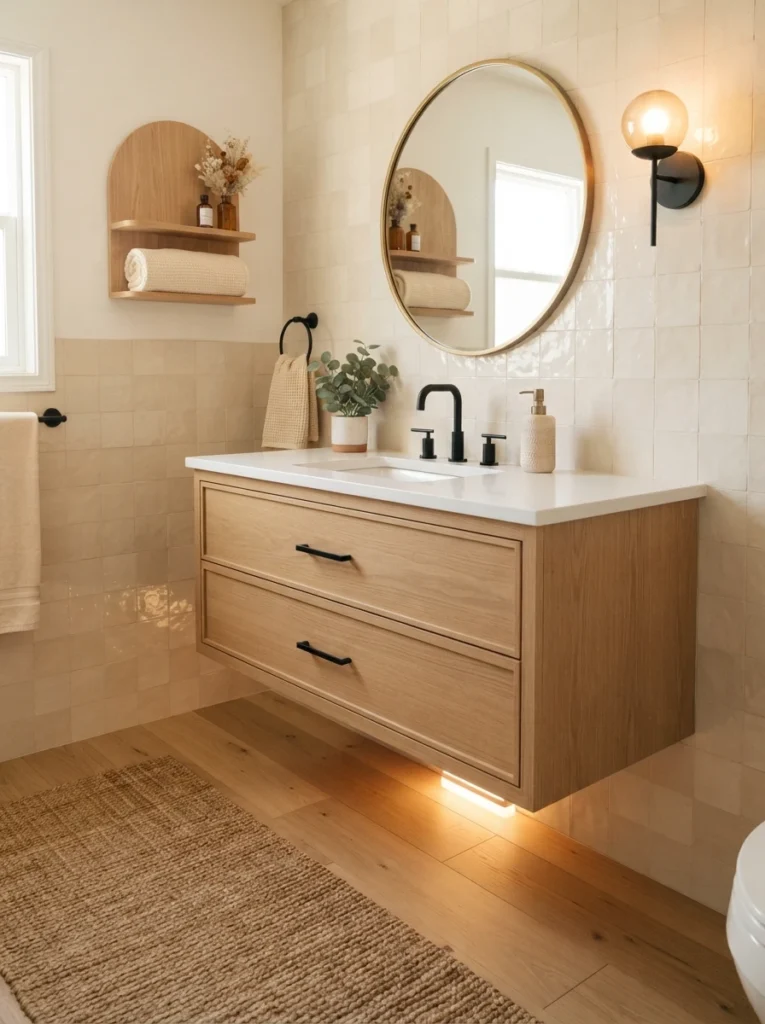
4. Before: Plain White Floor Tile — After: Hexagon or Patterned Tile
Basic white square tile is functional but forgettable, and it’s one of the easiest surfaces to upgrade during a makeover. Hexagon tile or a bold patterned floor adds real character to the room and is often one of the most photographed elements in a finished makeover.
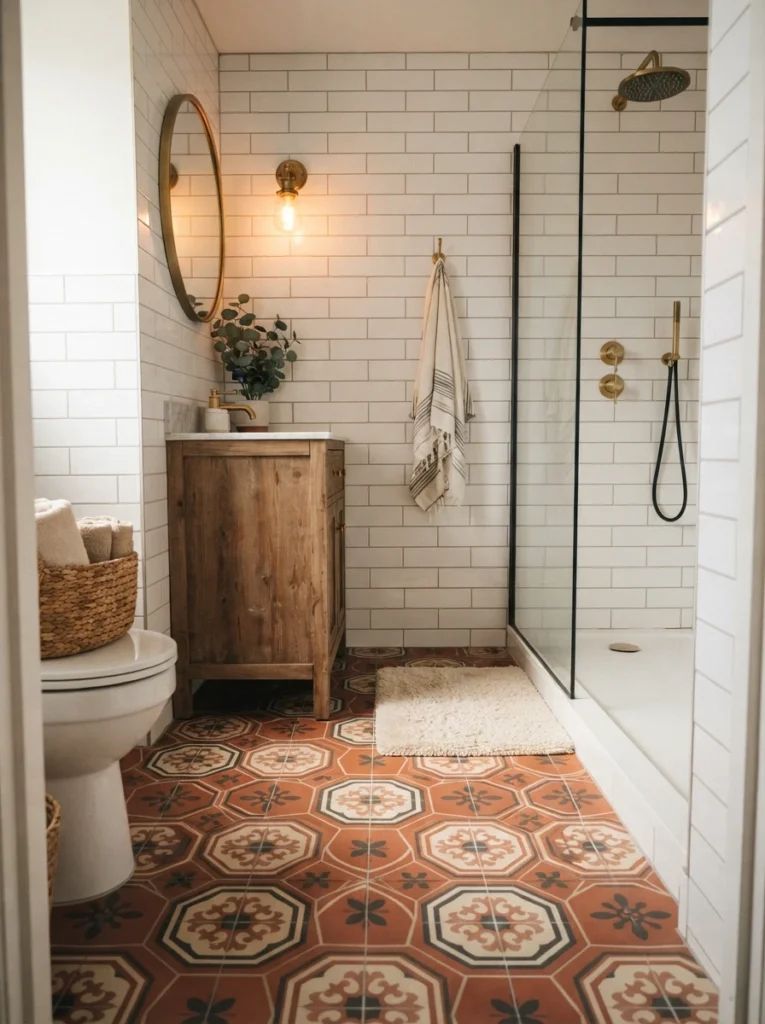
5. Before: Builder-Grade Silver Hardware — After: Matte Black or Brushed Gold
Standard chrome or silver faucets, towel bars, and cabinet knobs are the default in most builder-grade bathrooms, and swapping them for matte black or brushed gold is one of the highest-impact, lowest-cost changes available. A full set of updated hardware typically costs a few hundred dollars but changes the entire tone of the room.
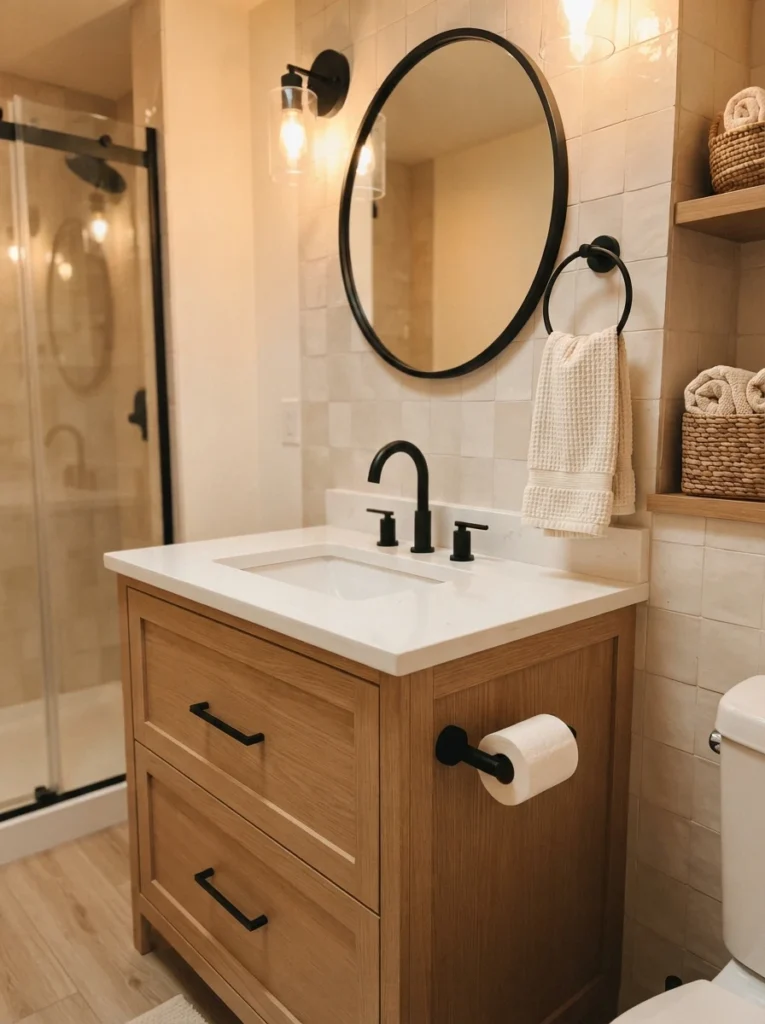
6. Before: Dated Floral Wallpaper — After: Peel-and-Stick Modern Pattern
Old floral or heavily patterned wallpaper is one of the clearest signs of an untouched bathroom, and it’s also one of the easiest fixes. A modern peel-and-stick wallpaper in a current pattern can transform the room in an afternoon without needing to strip anything down to bare drywall.
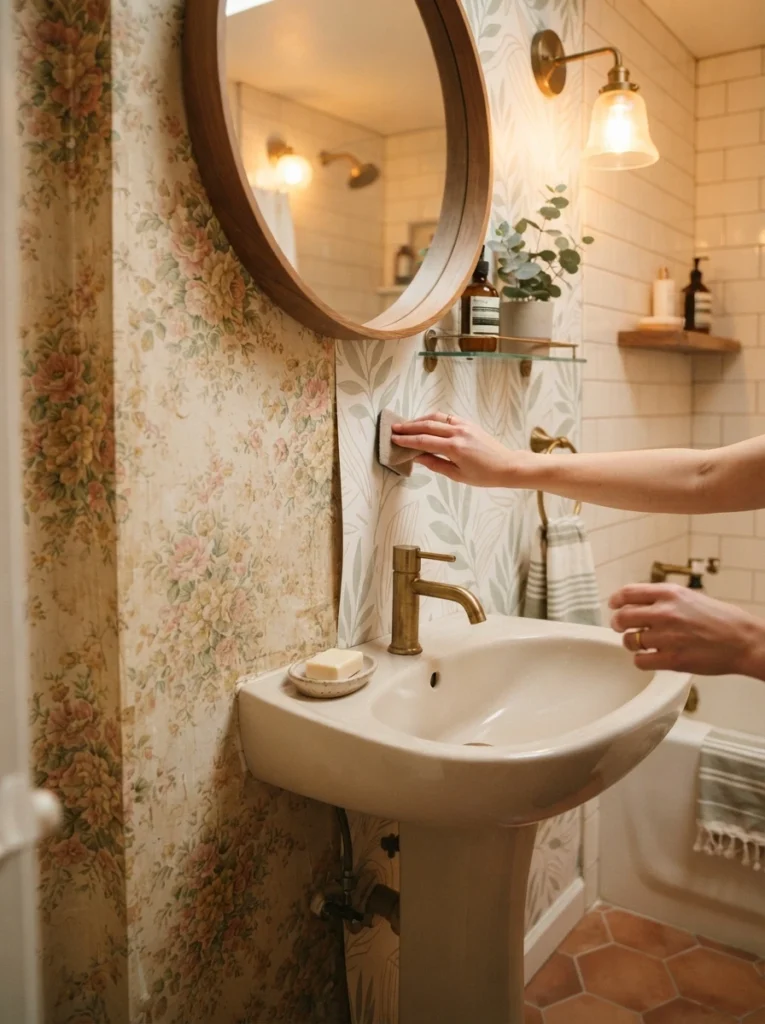
7. Before: A Single Harsh Overhead Light — After: Layered Sconces and a Backlit Mirror
Relying on one central overhead fixture creates harsh, unflattering shadows and leaves the rest of the room dim. Layering in wall sconces beside the mirror, plus the mirror’s own backlighting, creates a warmer, more even light throughout the space.
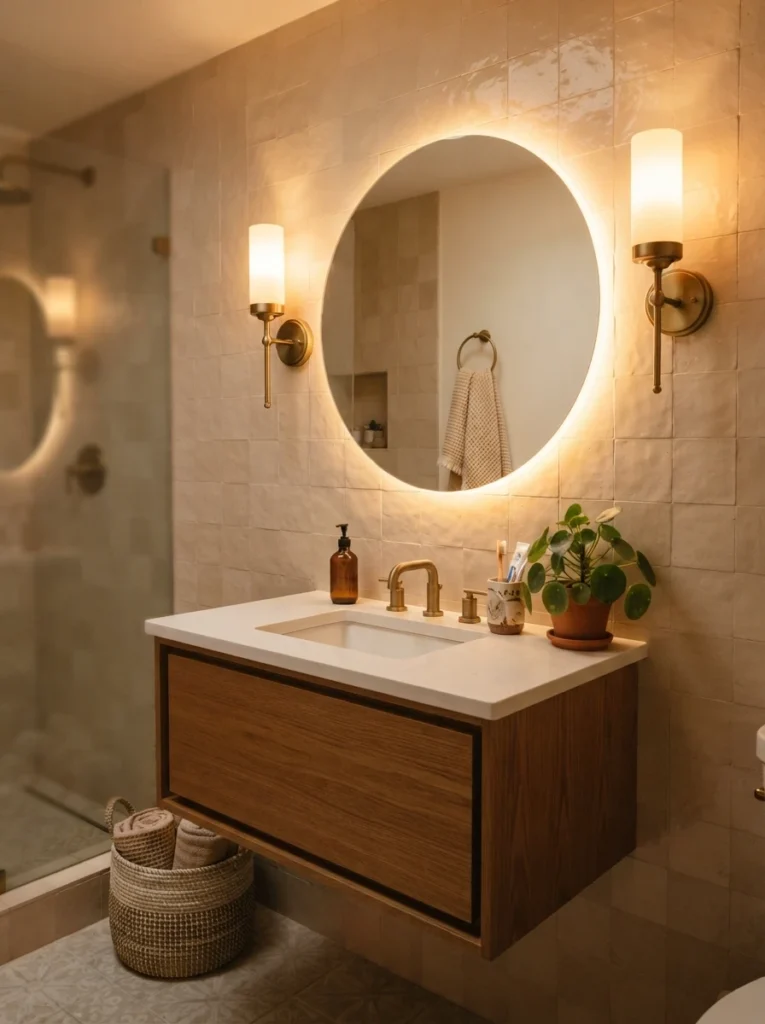
8. Before: A Plastic Shower Curtain — After: A Frameless Glass Panel
A plastic curtain, especially one that’s started to yellow or mildew, visually chops the room in half and rarely looks fresh no matter how often it’s cleaned. A frameless glass panel keeps sightlines open across the entire bathroom and instantly reads as more upscale.
9. Before: A Popcorn Ceiling — After: A Smooth, Freshly Painted Ceiling
A textured popcorn ceiling is one of the most dating features left over in older homes, and having it scraped and skim-coated smooth, then painted the same tone as the walls, makes the entire room feel more current and cared for. It’s a less glamorous makeover step, but it changes how every other update in the room reads.
10. Before: Cluttered Open Shelving — After: Closed Storage With a Curated Display
Open shelving stuffed with mismatched bottles and towels reads as messy no matter how the rest of the bathroom looks. Swapping in closed cabinetry for the bulk of storage, then styling just one small open shelf with a handful of curated items, gives the room a considerably calmer feel.
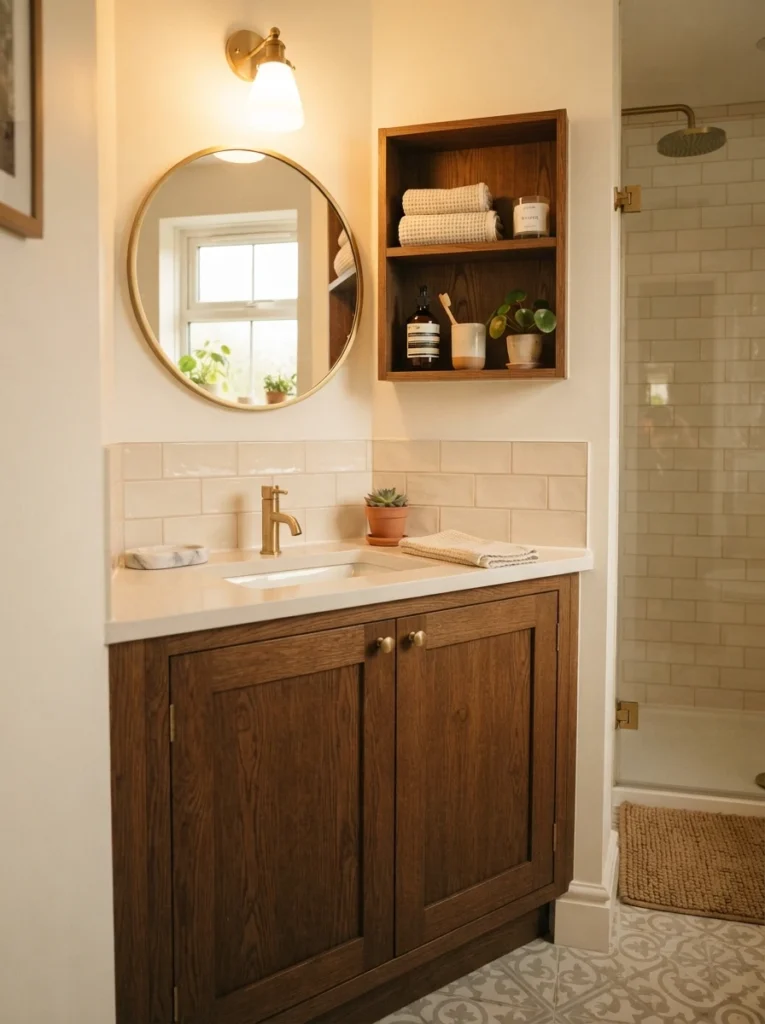
11. Before: A Dated Laminate Countertop — After: A Budget-Friendly Quartz or Solid Surface
Yellowed or chipped laminate countertops are a common giveaway of an older, untouched bathroom. Swapping in an affordable quartz or solid-surface countertop, even in a small footprint, delivers a noticeably higher-end look for a relatively contained material cost.
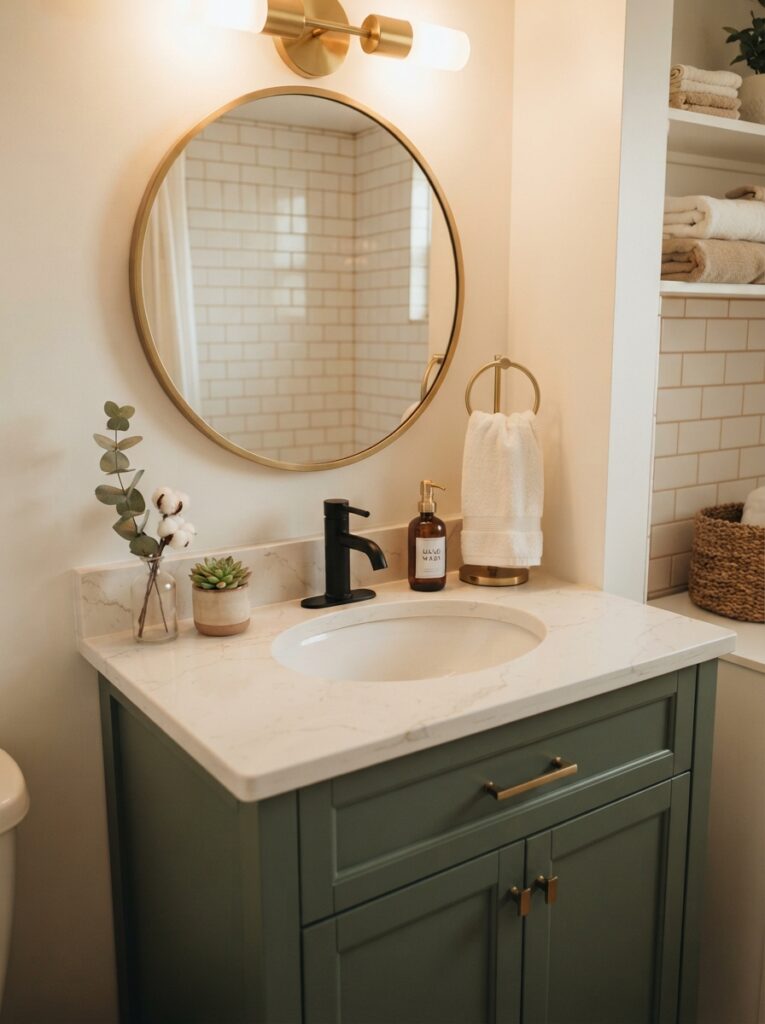
12. Before: A Basic Builder-Grade Faucet — After: A Statement Faucet
A plain, standard-issue chrome faucet does its job but adds nothing to the room’s character. A statement faucet, whether in an unusual shape, a warm finish, or a waterfall style, becomes a genuine focal point above the sink for a relatively small piece of the overall budget.
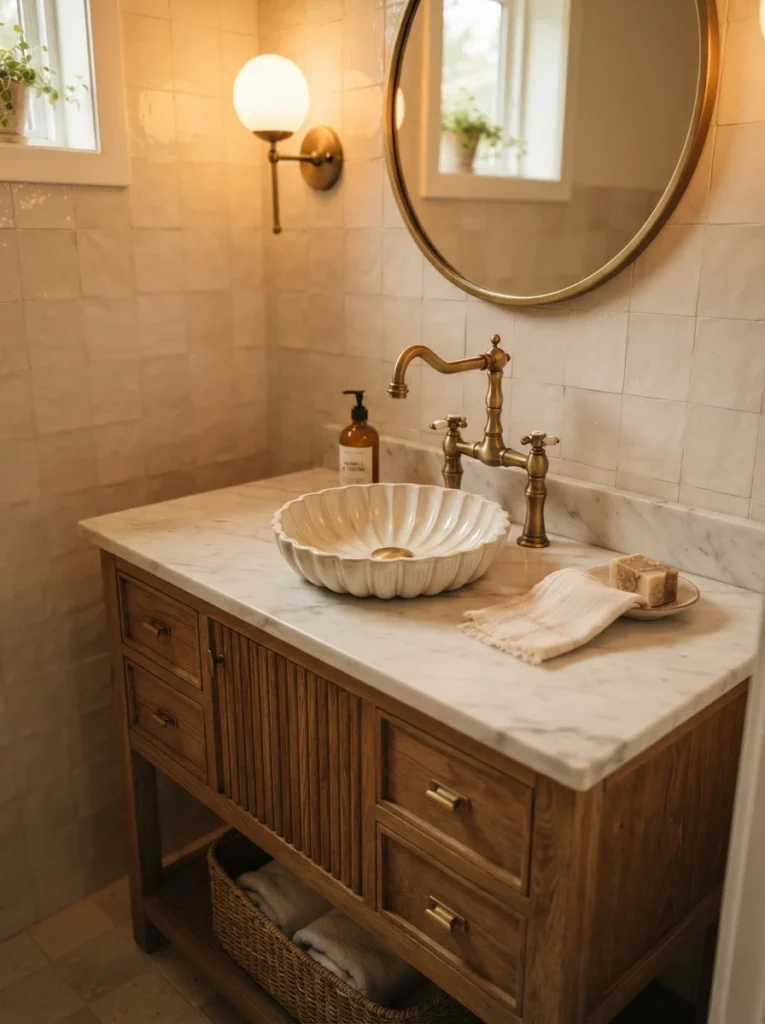
13. Before: Dark, Dingy Grout — After: A Fresh Regrout in a Complementary Tone
Grout that’s darkened with age and mildew can make even clean, undamaged tile look neglected. Having it professionally cleaned or fully regrouted in a fresh, complementary tone can make existing tile look brand new without the cost of replacing it entirely.
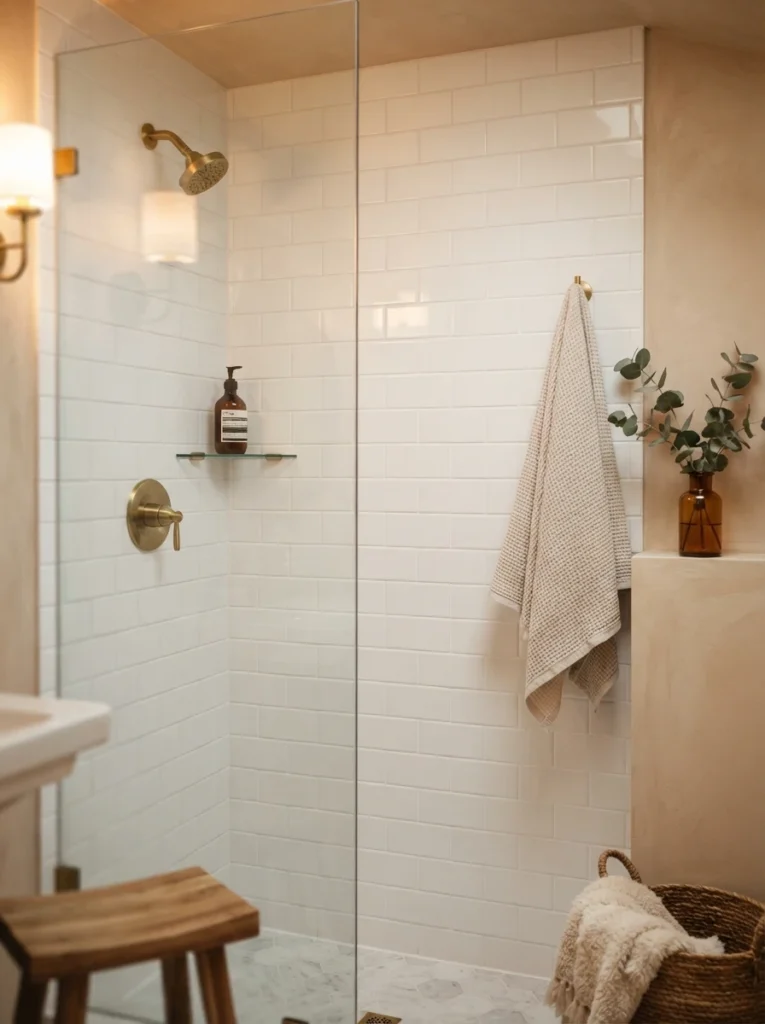
14. Before: Boring Builder-White Walls — After: A Warm Neutral or Bold Accent Wall
Flat white walls are the default in most builder-grade bathrooms, and they rarely do the room any favors. Repainting in a warm neutral like soft beige or warm gray, or committing to one bold accent wall, gives the room a considerably more finished, intentional feel.
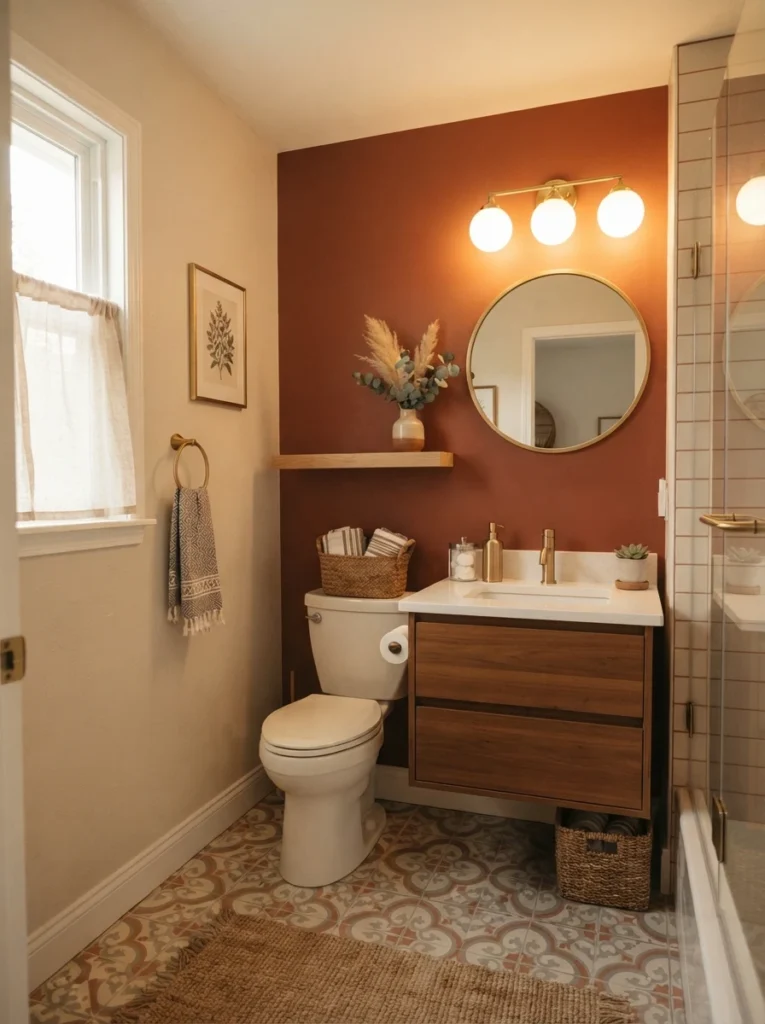
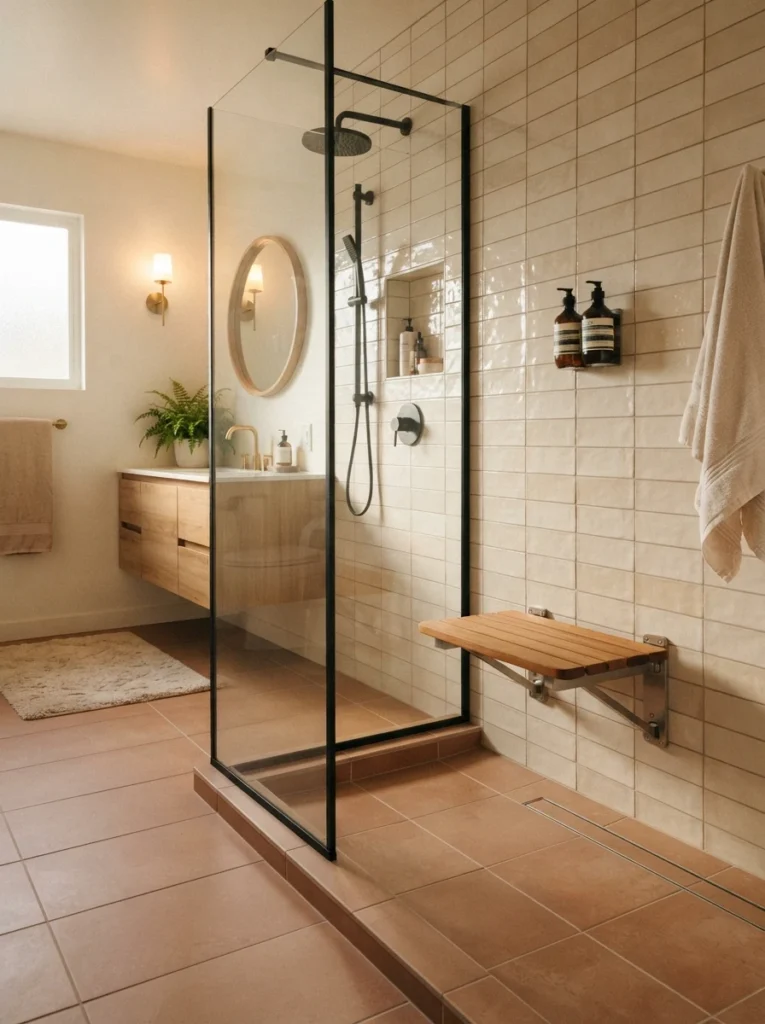
15. Before: A Standard Tub With a High Curb — After: A Curbless Shower With a Fold-Down Bench
Beyond simply removing a tub, upgrading to a zero-threshold curbless shower with a built-in fold-down bench adds both accessibility and a genuinely spa-like quality to the finished room. This kind of makeover often pairs well with widening the doorway slightly and adding comfort-height fixtures throughout.
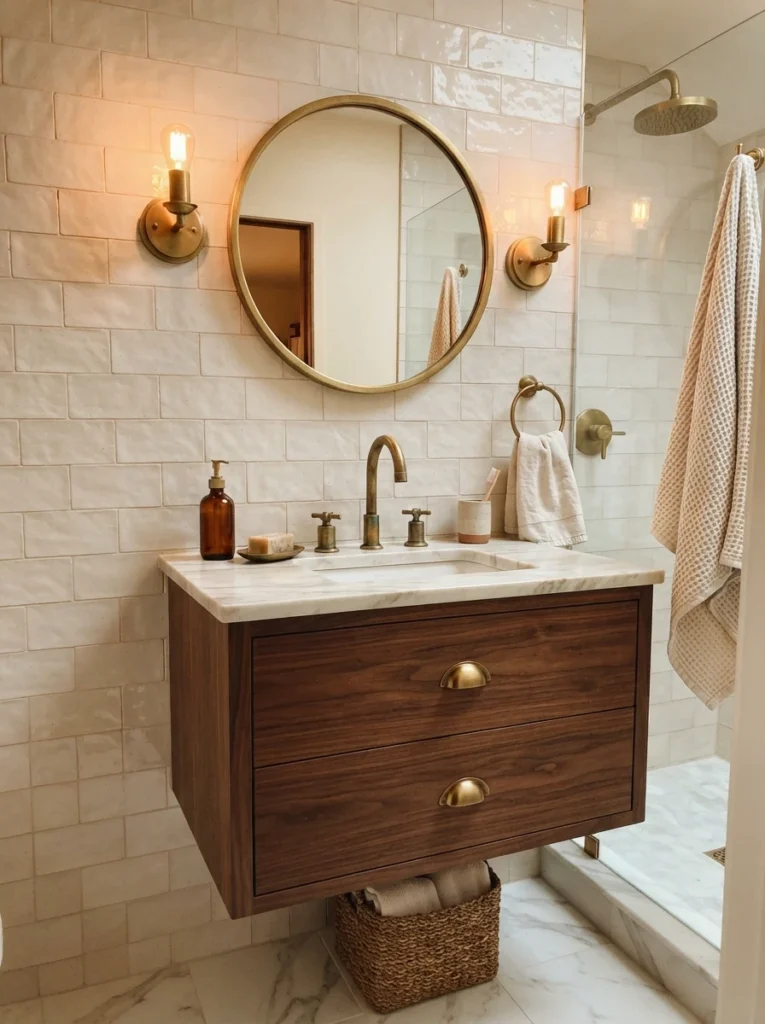
16. Before: Tarnished, Dated Brass Fixtures — After: Unlacquered Brass or Matte Black
Old, shiny brass fixtures from a previous design era can feel dated in a way that’s hard to place. Swapping them for either a warm unlacquered brass, which develops a natural living patina over time, or a clean matte black, brings the room’s hardware fully current.
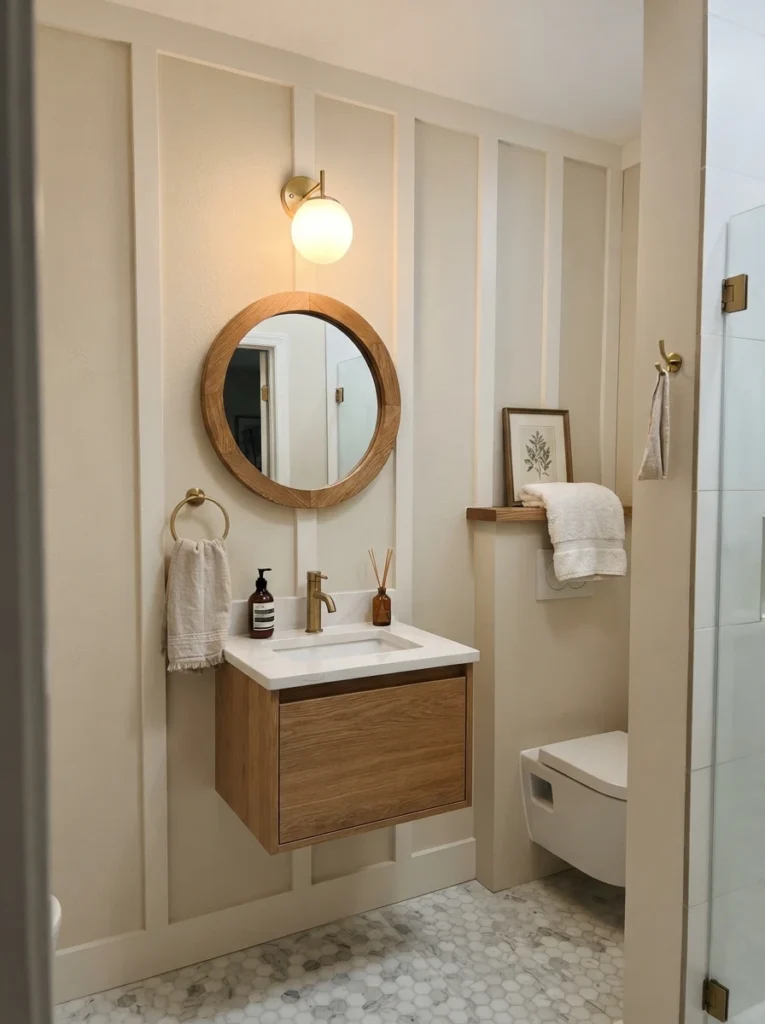
17. Before: A Blank, Plain Wall — After: A DIY Board-and-Batten Accent Wall
A plain, featureless wall is an easy opportunity for a weekend DIY project. Installing board-and-batten trim and painting it in a contrasting or complementary tone adds real architectural texture to the room for the cost of lumber and paint.
18. Before: An Old, Inefficient Toilet — After: A Comfort-Height, Water-Efficient Model
An old toilet isn’t just a style issue, it’s often a function and efficiency issue too. Replacing it with a comfort-height, water-efficient model improves daily use while also giving the room one less dated fixture pulling down the overall look.
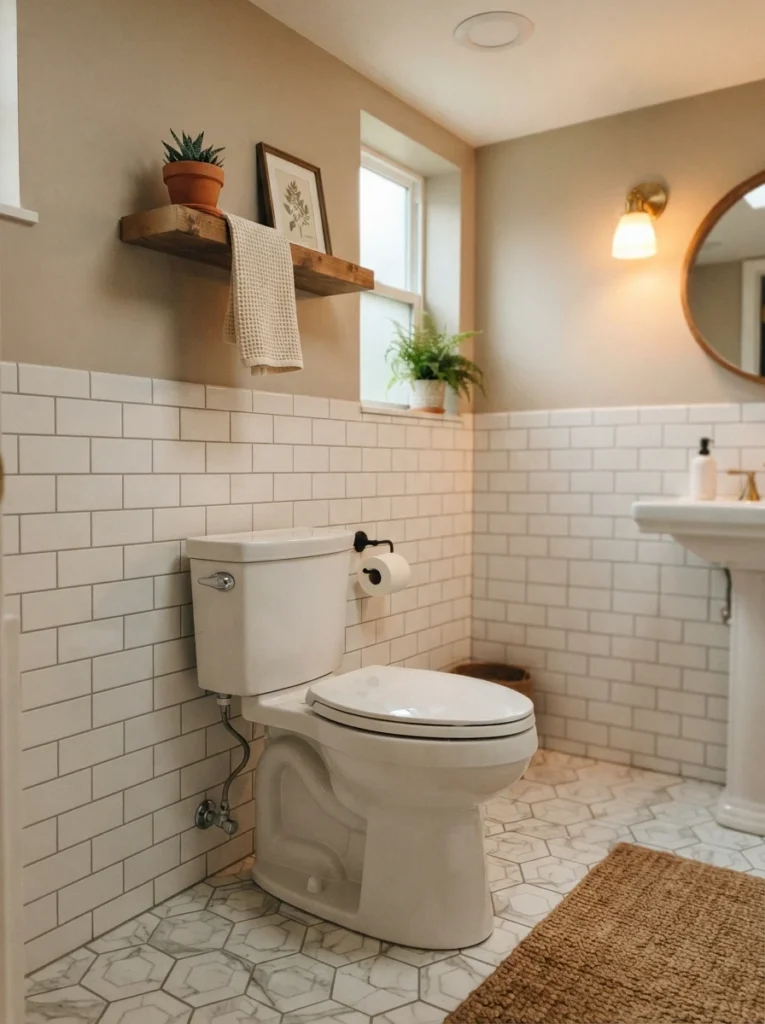
19. Before: No Real Storage at All — After: A Slim Linen Tower or Floating Shelves
A bathroom with genuinely no built-in storage often ends up looking cluttered no matter how it’s decorated, simply because everything has to sit out. Adding a slim linen tower or a set of floating shelves gives every towel and toiletry a home, which does more for the room’s finished look than almost any cosmetic change.
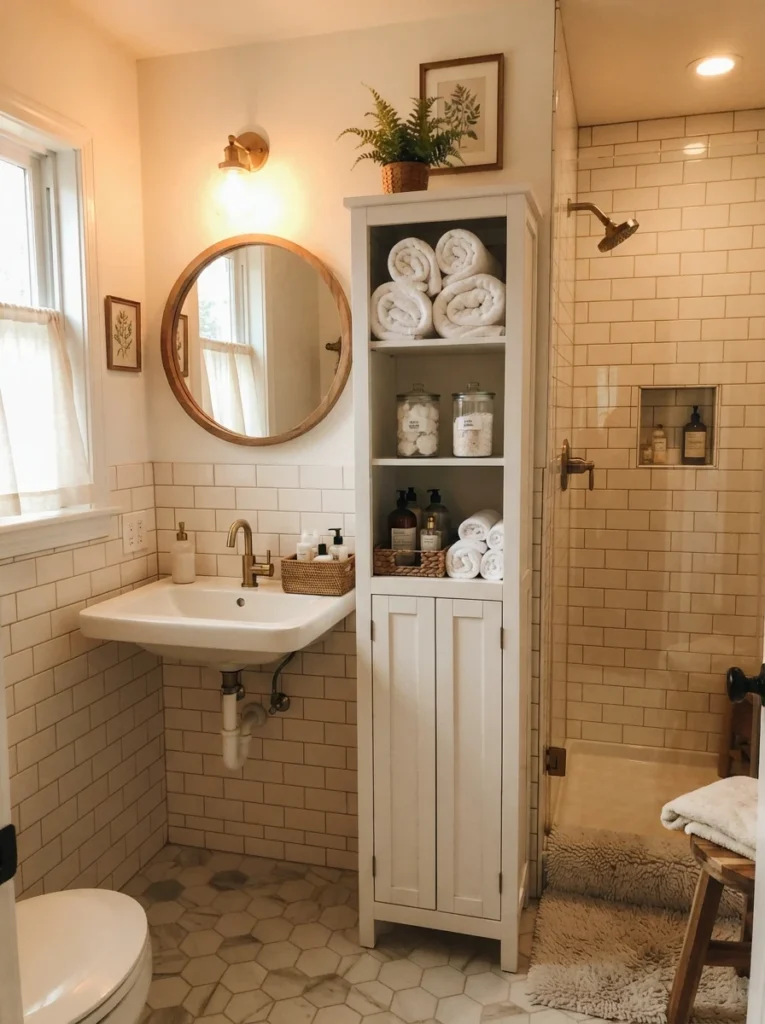
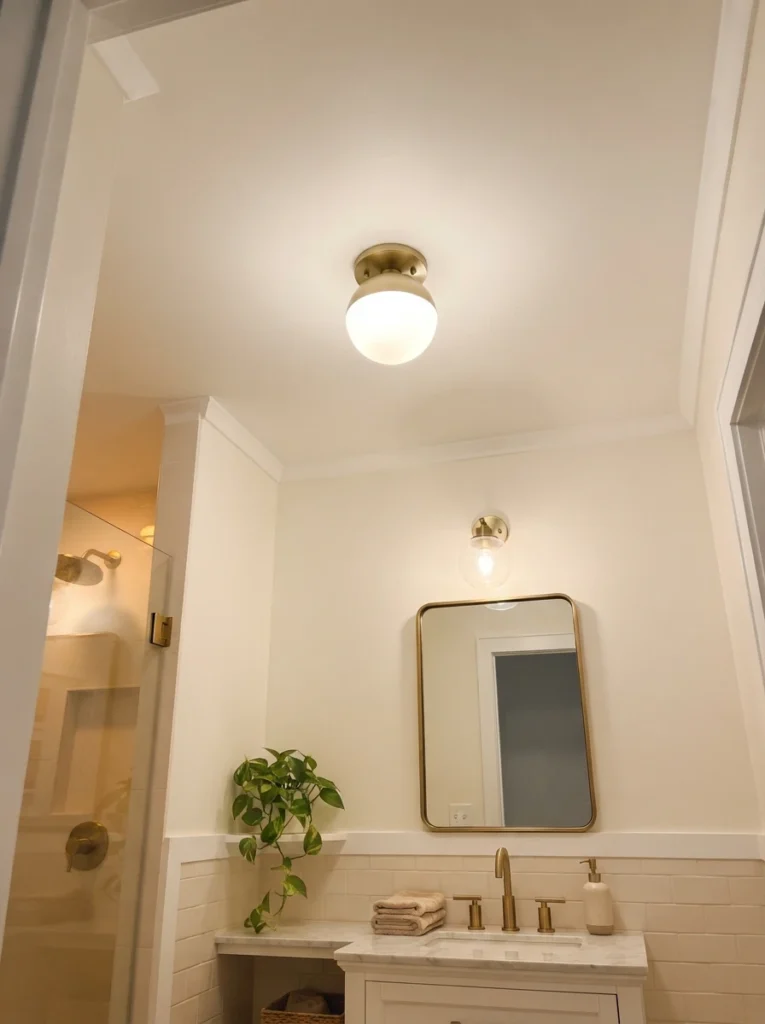
20. Before: A Dated, Boxy Light Fixture — After: A Modern Flush Mount or Wall Sconces
An old boxy overhead fixture with a yellowed glass cover is one of the more subtle but persistent signs of a bathroom stuck in an earlier decade. A modern flush mount, or a pair of wall sconces flanking the mirror, updates the room’s lighting and its overall style at the same time.
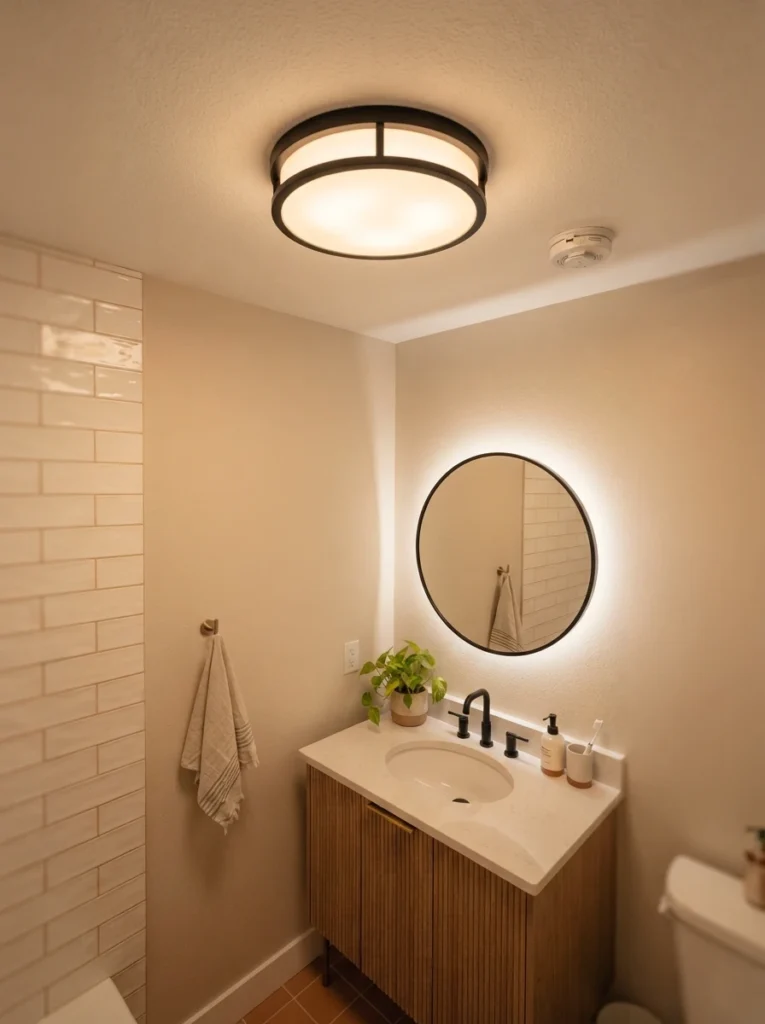
21. Before: A Cold Tile Floor — After: Heated Flooring
If a floor is already being torn up as part of a makeover, adding radiant heated flooring underneath the new tile is a relatively modest additional cost that delivers an outsized daily comfort upgrade. It’s one of those changes that doesn’t photograph dramatically but genuinely transforms how the finished bathroom feels to use.
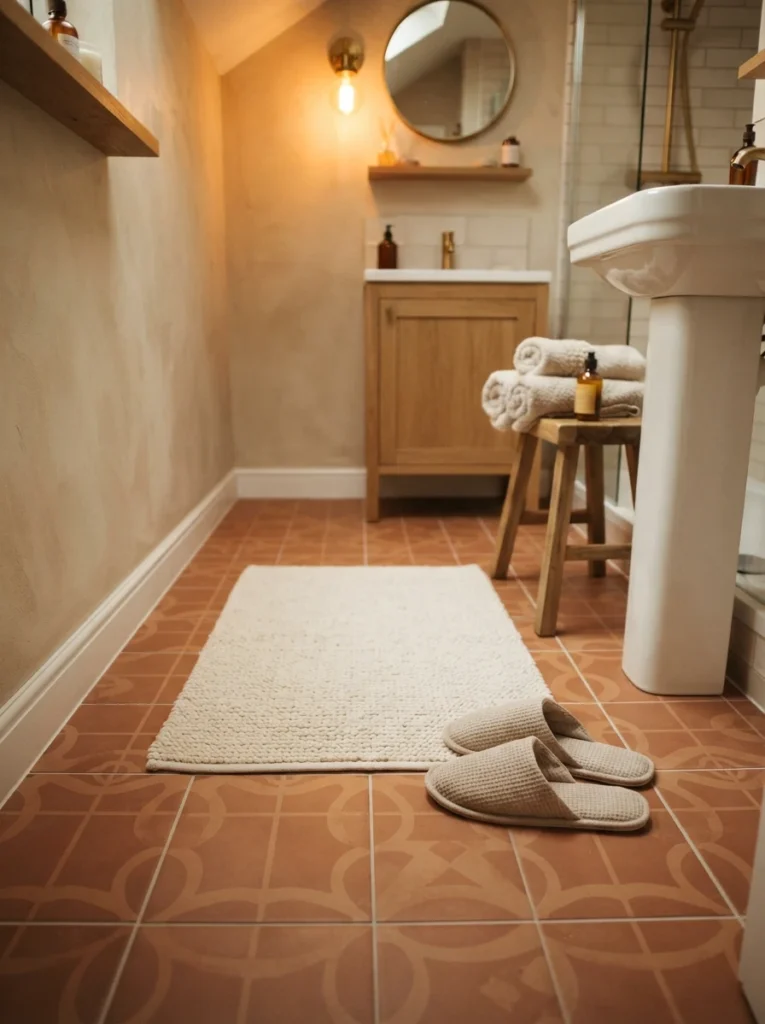
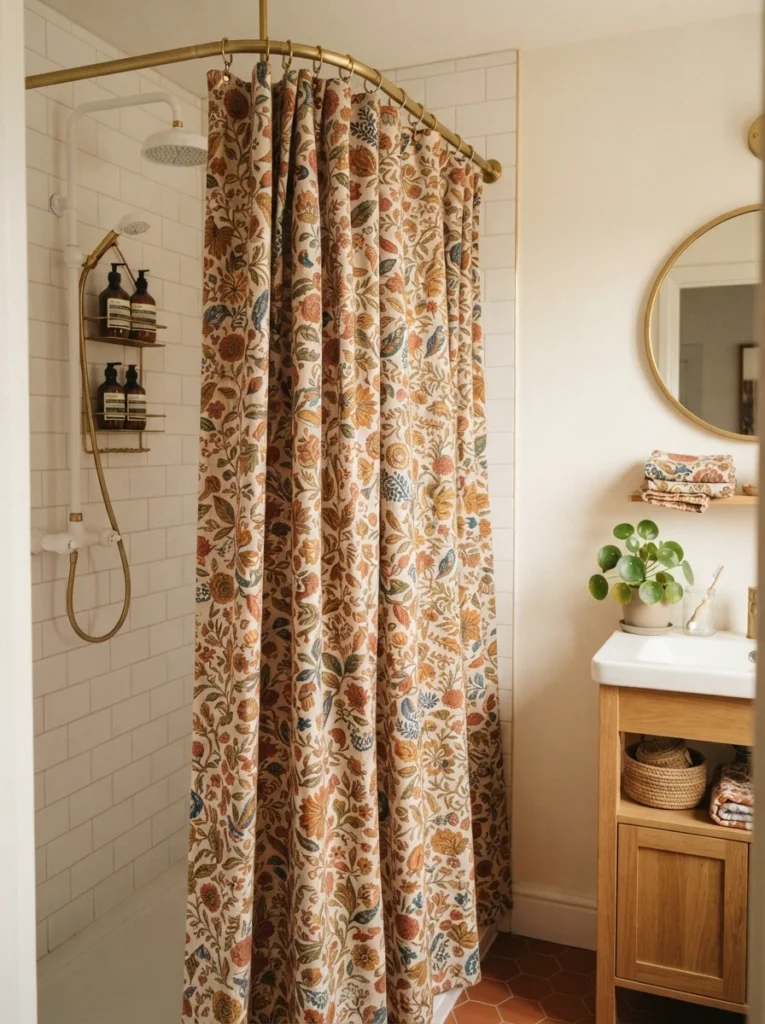
22. Before: A Plain or Dated Shower Curtain — After: A Patterned Fabric Curtain
A basic, worn shower curtain is one of the cheapest and fastest swaps available in any bathroom makeover. A curtain in a fresh pattern, texture, or color acts like a large piece of art in the room and can shift the entire mood for a relatively small purchase.
23. Before: A Mismatched, Dated Overall Palette — After: A Cohesive Modern Color Scheme
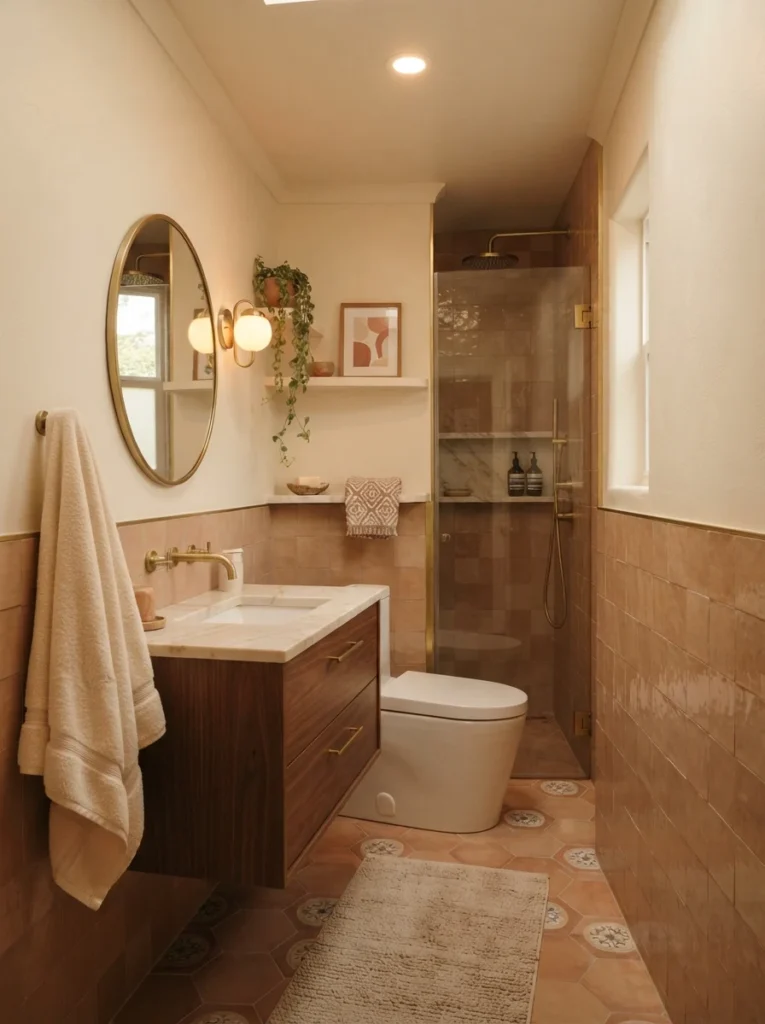
Perhaps the most common thread across every dated bathroom is a color palette that was never planned as a whole, mismatched tile, an unrelated paint color, hardware in three different finishes. Committing to one cohesive palette across paint, tile, and hardware ties every other individual makeover step together into something that actually looks designed.
The most convincing before-and-after transformations rarely come from doing everything at once. They come from identifying which specific elements are actually dragging the room down, the fixture, the lighting, the palette, and swapping those out deliberately. Pick even three or four of these that match what’s holding your own bathroom back, and the combined effect can look like a renovation that cost far more than it actually did.