17 Easy Halloween Window Decorations Kids Can Help Make
TL;DR: Halloween window decorations are an easy way to make your home feel festive from both the inside and outside. Paper ghosts, colorful silhouettes, tissue-paper suncatchers, spooky garlands, and glowing crafts can all be made with inexpensive supplies such as construction paper, cardstock, washable paint, tissue paper, and removable tape. Choose decorations that are simple enough for kids to personalize, then layer them at different heights to create a cheerful Halloween display.
Decorating windows is a fun Halloween activity because children can help with nearly every step, from drawing and painting to cutting shapes and arranging the finished pieces. You do not need expensive decorations or complicated materials to create a display that catches attention from the street.
Here are 17 easy Halloween window decorations kids can help make.
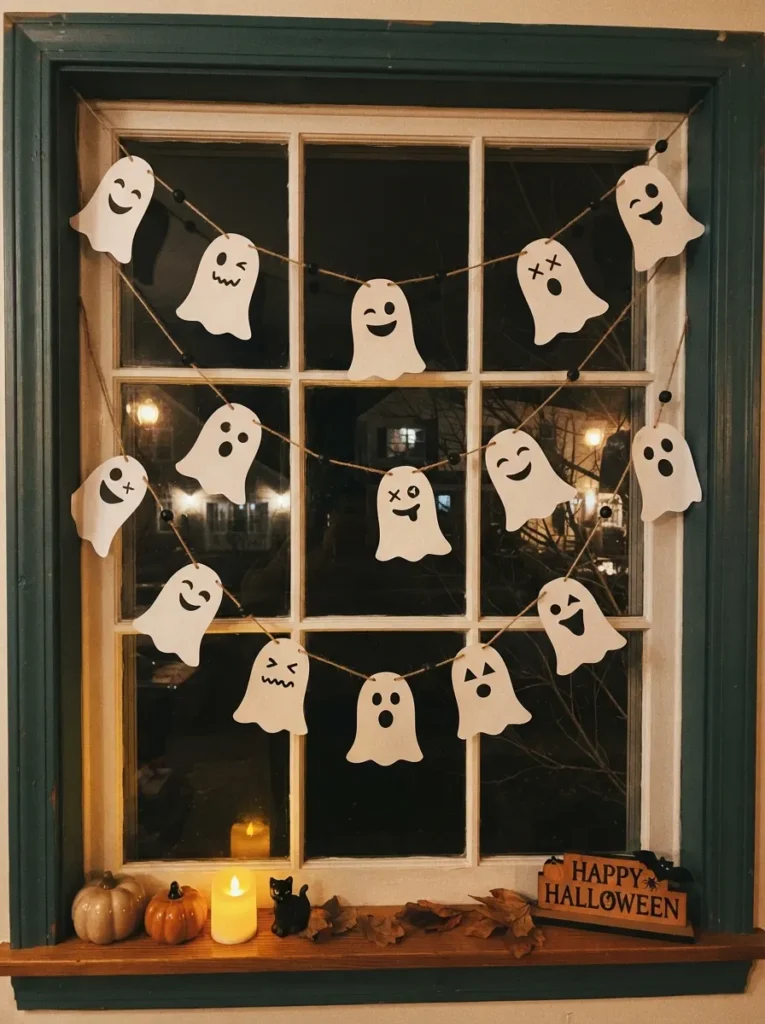
1. Make Paper Ghost Garlands
Cut ghost shapes from white cardstock or construction paper, then let kids decorate each one with different facial expressions. Add black paper eyes, drawn-on mouths, or colorful bows and hats.
Connect the ghosts with yarn or ribbon and hang the garland across the top of a window. Use removable hooks or tape so the glass and frame are not damaged.
2. Create Black Cat Silhouettes
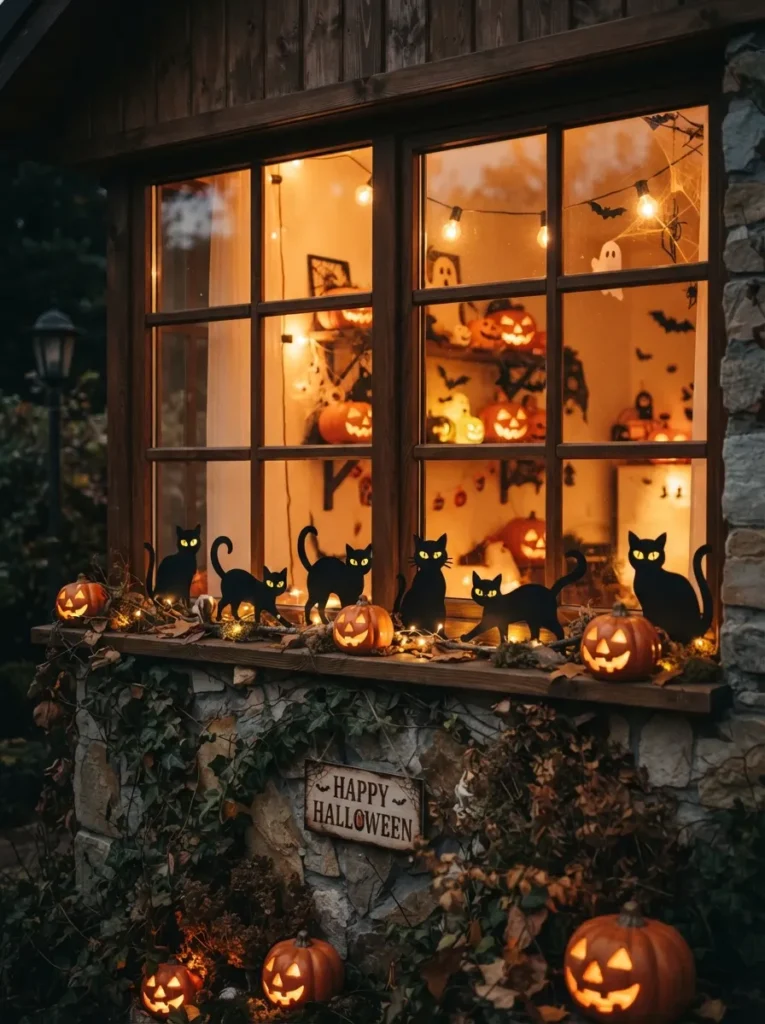
Draw or print simple black cat shapes and cut them from cardstock. Include cats sitting, stretching, arching their backs, or looking toward the moon.
Arrange the silhouettes along the bottom of the window so they appear to be watching the street. Add yellow paper eyes or place a warm lamp behind the display to make the shapes more visible after dark.
3. Design Tissue-Paper Pumpkin Suncatchers
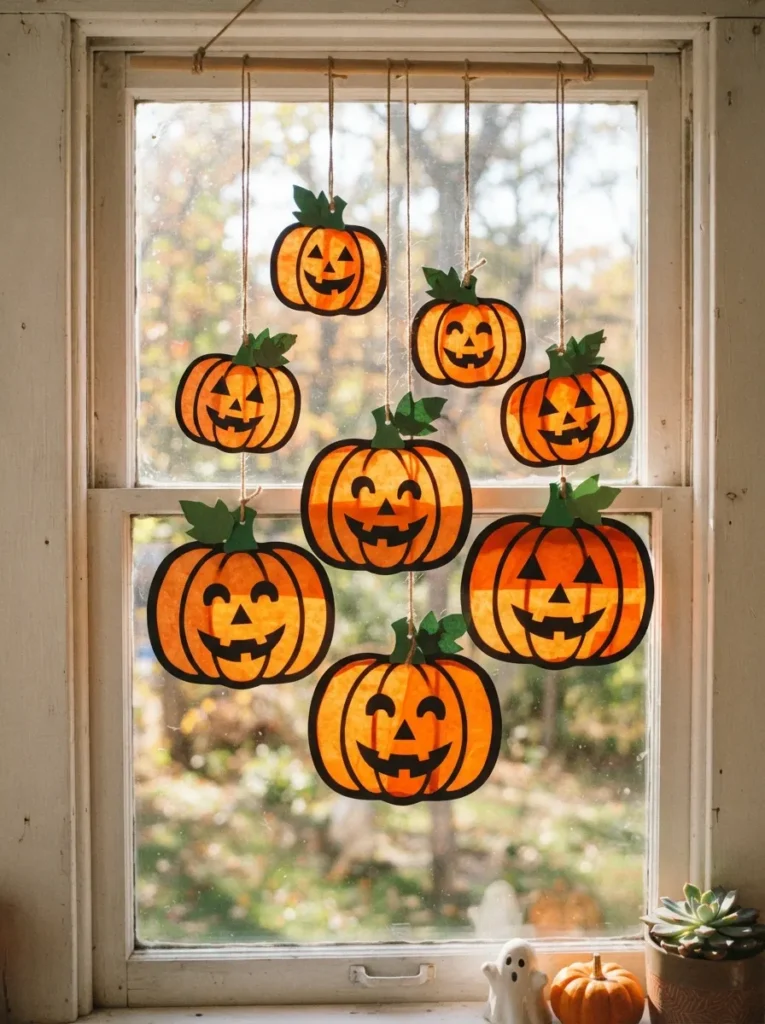
Cut a pumpkin outline from black construction paper, then cover the open center with orange tissue paper. Add a green paper stem and black facial features to create a colorful jack-o’-lantern.
Hang the finished pumpkins in a sunny window using clear tape or suction cups. The light shining through the tissue paper will make the pumpkins glow during the day.
4. Hang Flying Bats
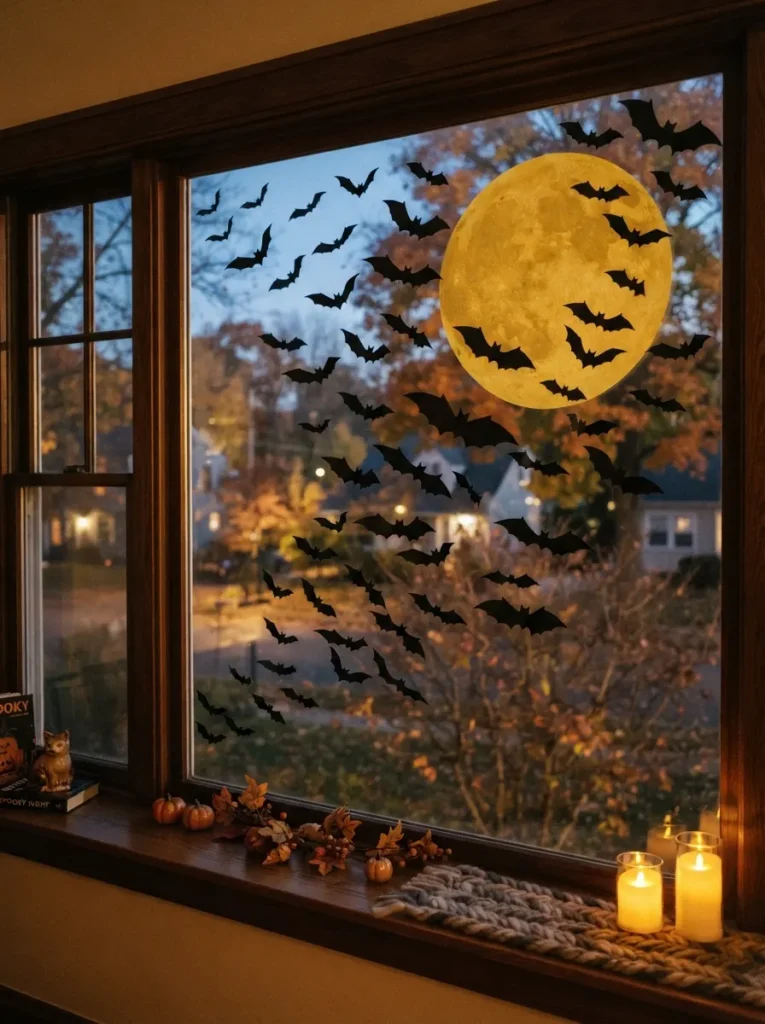
Cut bats in several sizes from black paper or lightweight cardstock. Fold the wings slightly down the center so they look three-dimensional, then attach them to the window with removable adhesive dots.
Arrange the bats in a group that appears to fly upward across the glass. Add a paper moon in the corner for a simple nighttime scene.
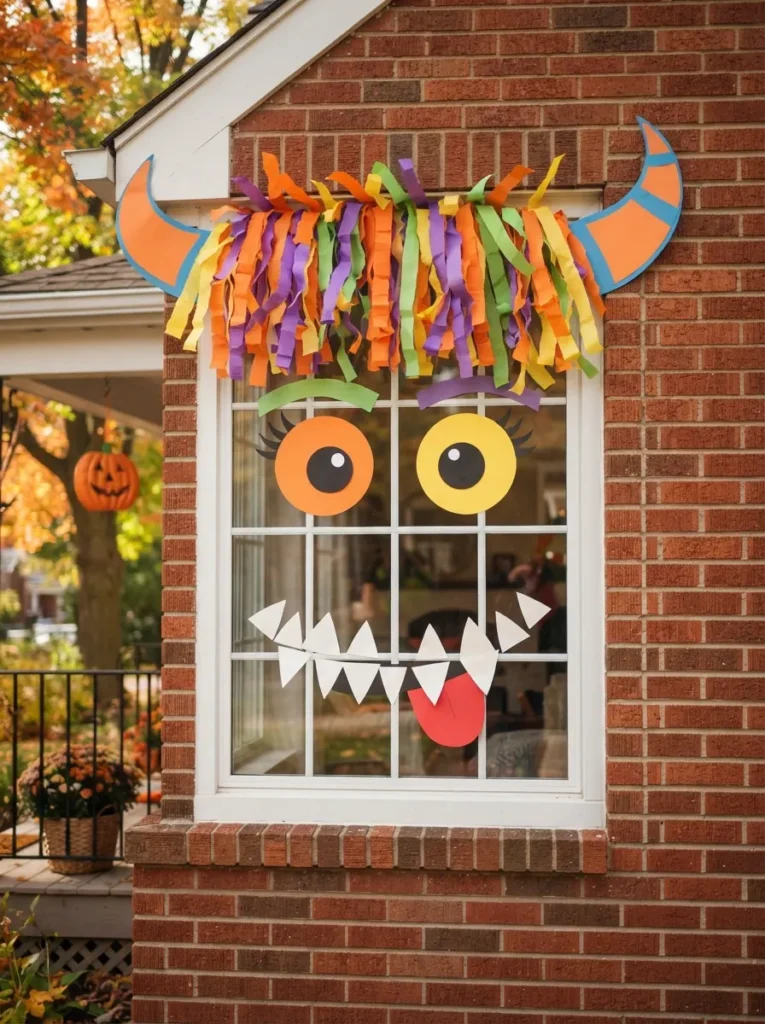
5. Make Colorful Monster Faces
Use the window panes as separate spaces for a large monster face. Cut oversized eyes, eyebrows, teeth, horns, and hair from colored paper, then arrange the pieces directly on the glass.
Let kids choose whether their monster looks friendly, surprised, sleepy, or silly. Removable double-sided tape works well for holding lightweight paper pieces in place.
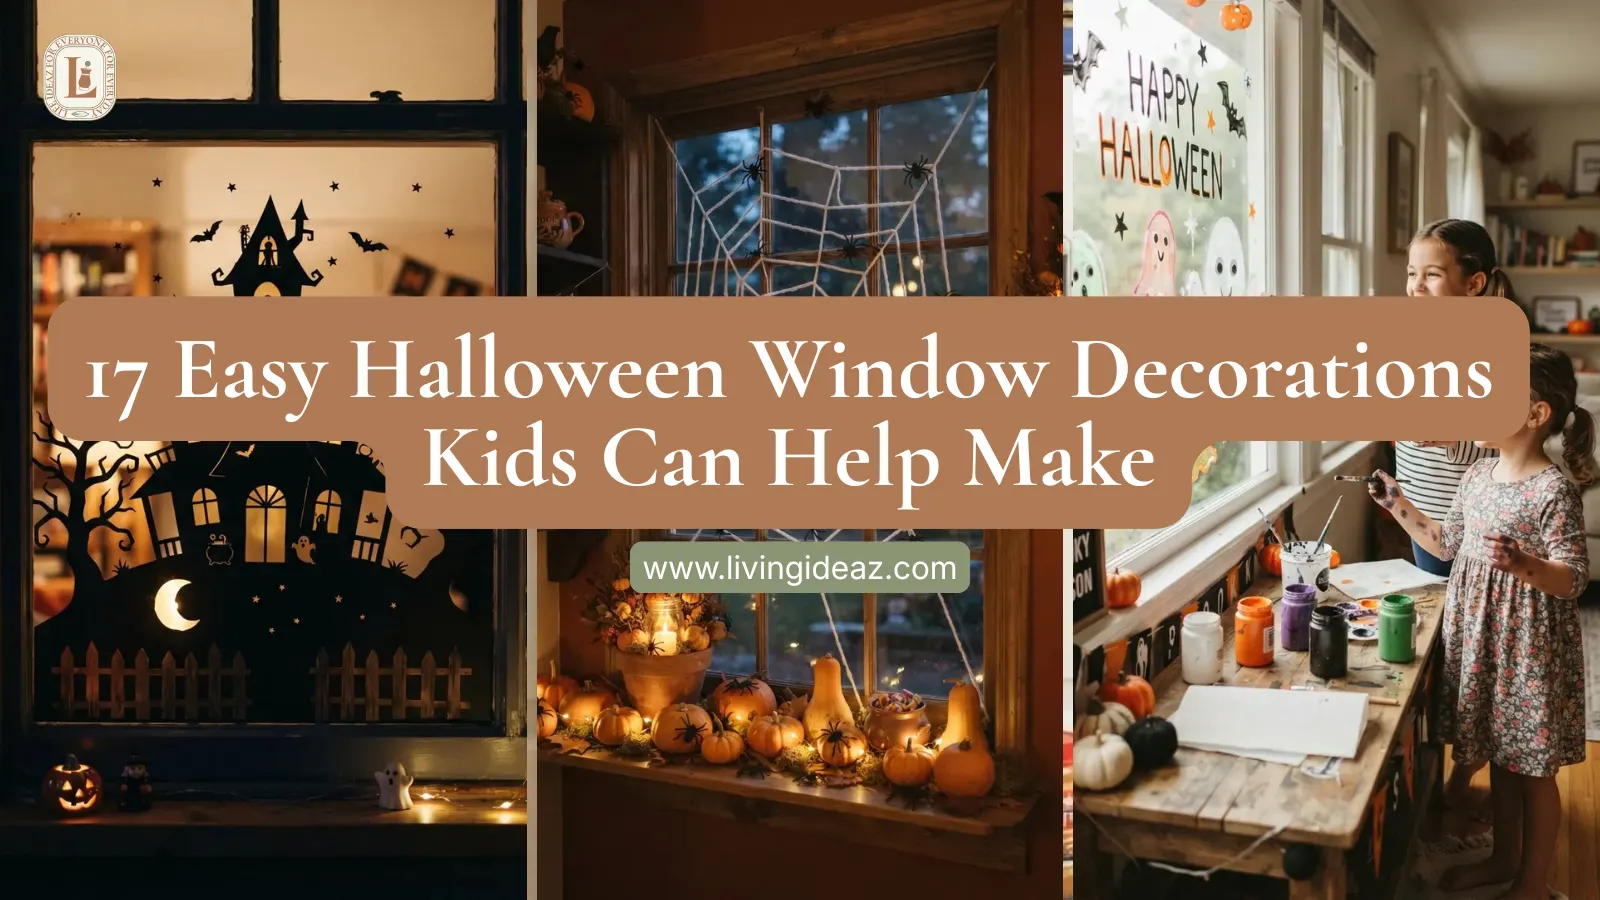
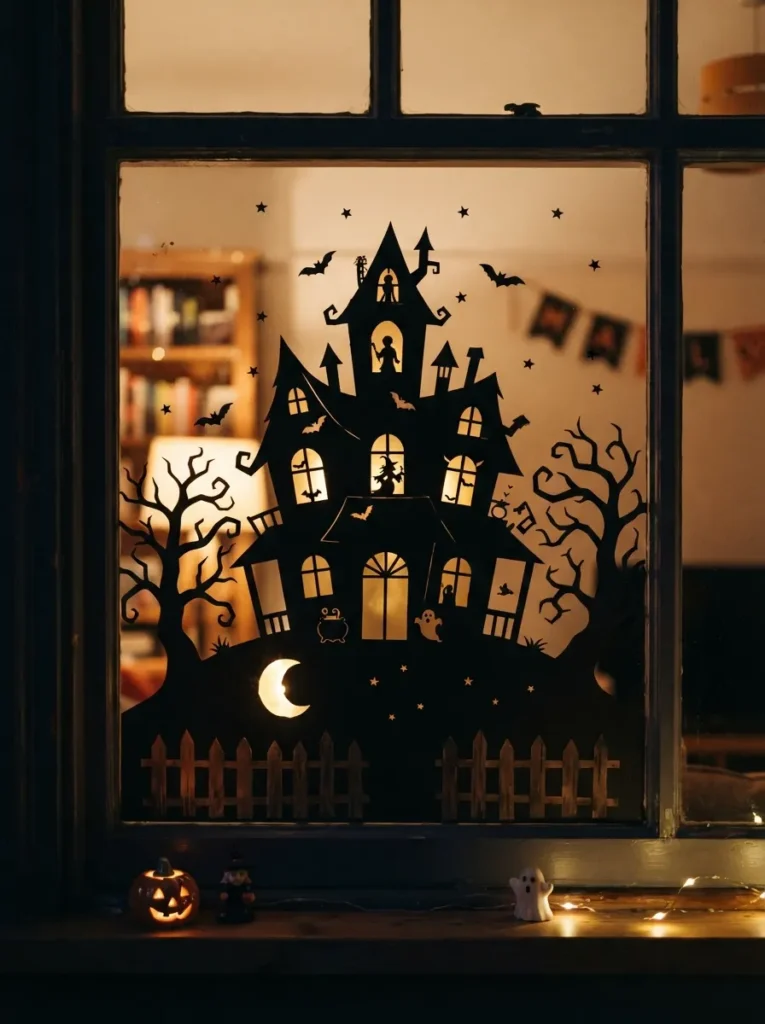
6. Create a Haunted House Silhouette
Cut a simple haunted-house skyline from black paper or poster board. Include crooked rooftops, tall windows, a crooked fence, bare trees, and a small moon.
Place the silhouette along the lower half of a window and add yellow paper squares behind some of the windows. The glowing windows create a spooky scene without being too frightening for young children.
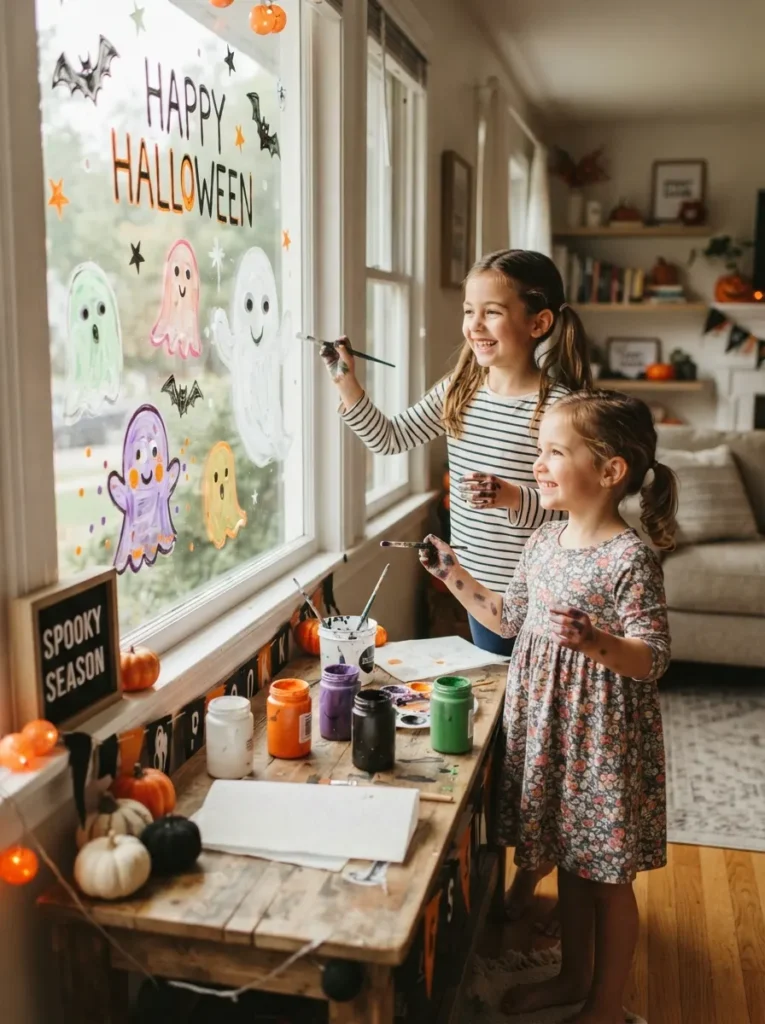
7. Paint Reusable Window Ghosts
Use washable window markers or tempera paint to draw friendly ghosts directly on the glass. Kids can create different faces, costumes, hats, and speech bubbles for each ghost.
Add simple white ghost outlines against a darker window background, or use multiple colors for a playful display. Test the paint on a small area first to make sure it removes easily.
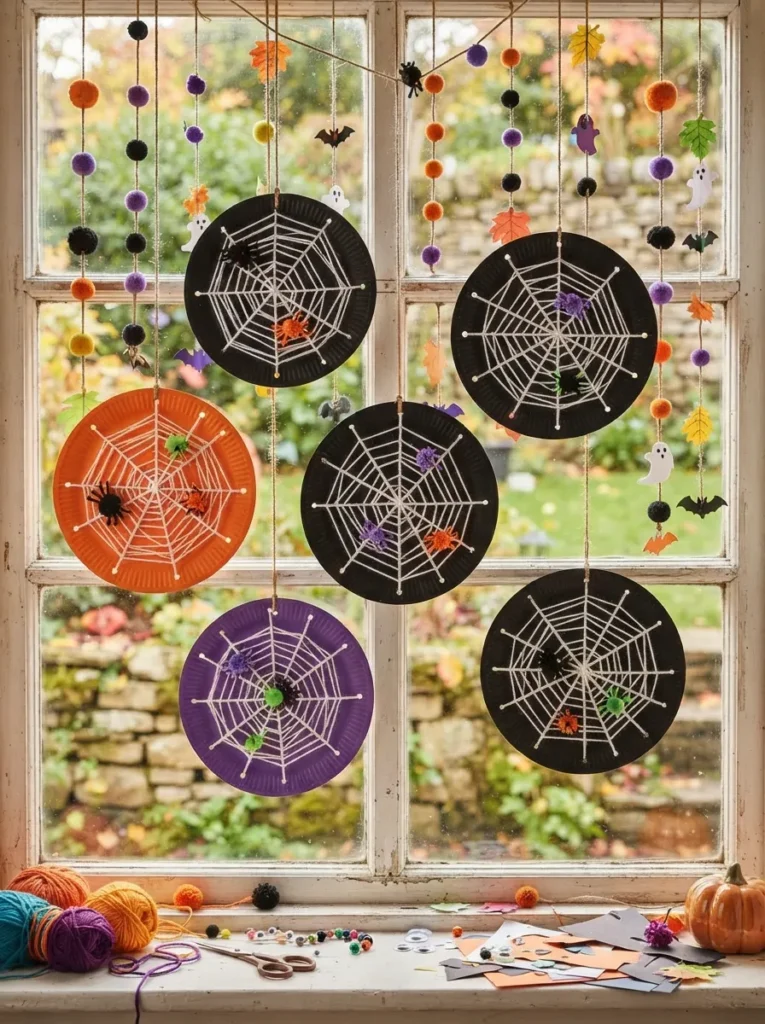
8. Make Paper Plate Spiderwebs
Paint paper plates black or leave them white, then cut sections from the center to create a web-like pattern. Weave white yarn through the openings and attach a small paper or pom-pom spider.
Hang the finished webs in separate windows or group several together. Kids can use different yarn colors to make the display more playful.
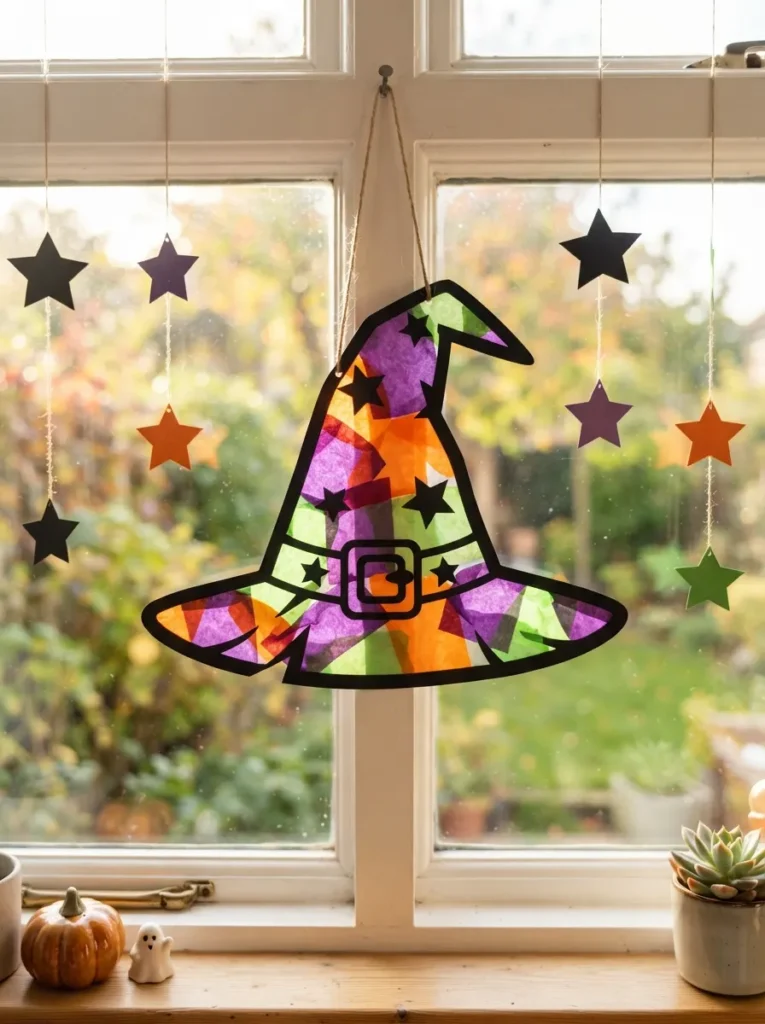
9. Create a Tissue-Paper Witch Hat
Cut a large witch-hat shape from black cardstock and fill selected sections with purple, orange, or green tissue paper. Add a wide brim and a colorful paper band around the middle.
Place the hat in the center of a window or combine it with paper stars and a moon. This craft creates a bright stained-glass effect when sunlight passes through the tissue paper.
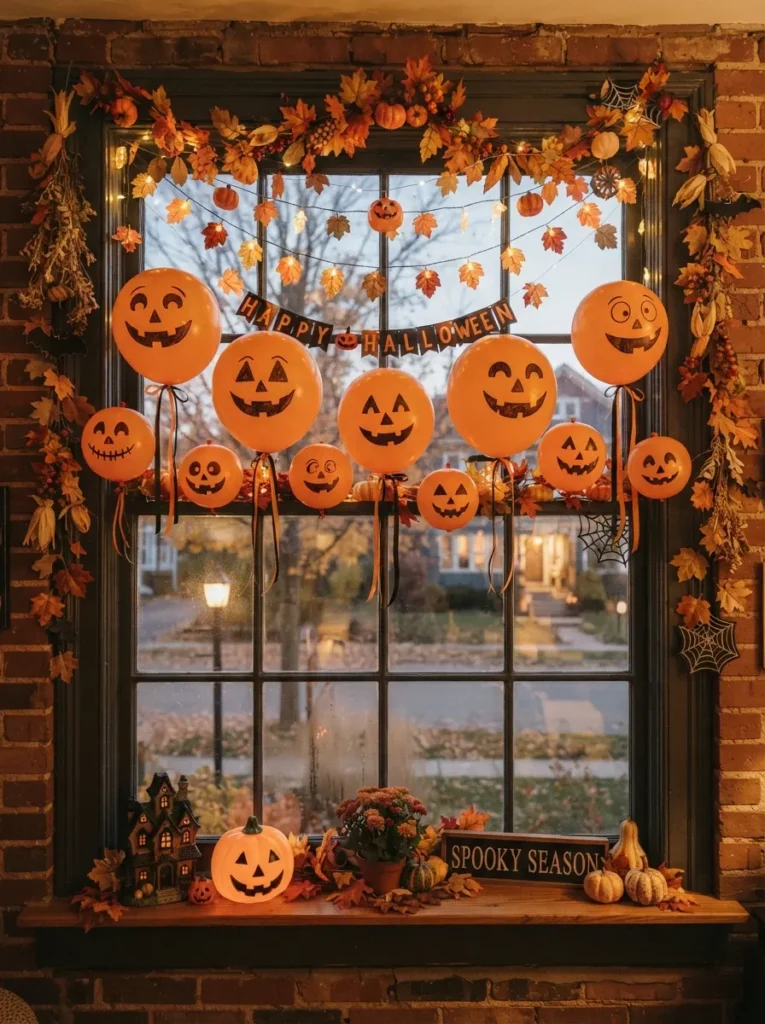
10. Hang Pumpkin Balloon Decorations
Draw jack-o’-lantern faces on orange balloons using a permanent marker, then tie them to ribbon or string. Attach the ribbons to the top of a window so the balloons hang at different heights.
Use only lightweight balloons and keep them away from curtains, heaters, candles, and electrical fixtures. This decoration is especially fun for a Halloween party or classroom window.
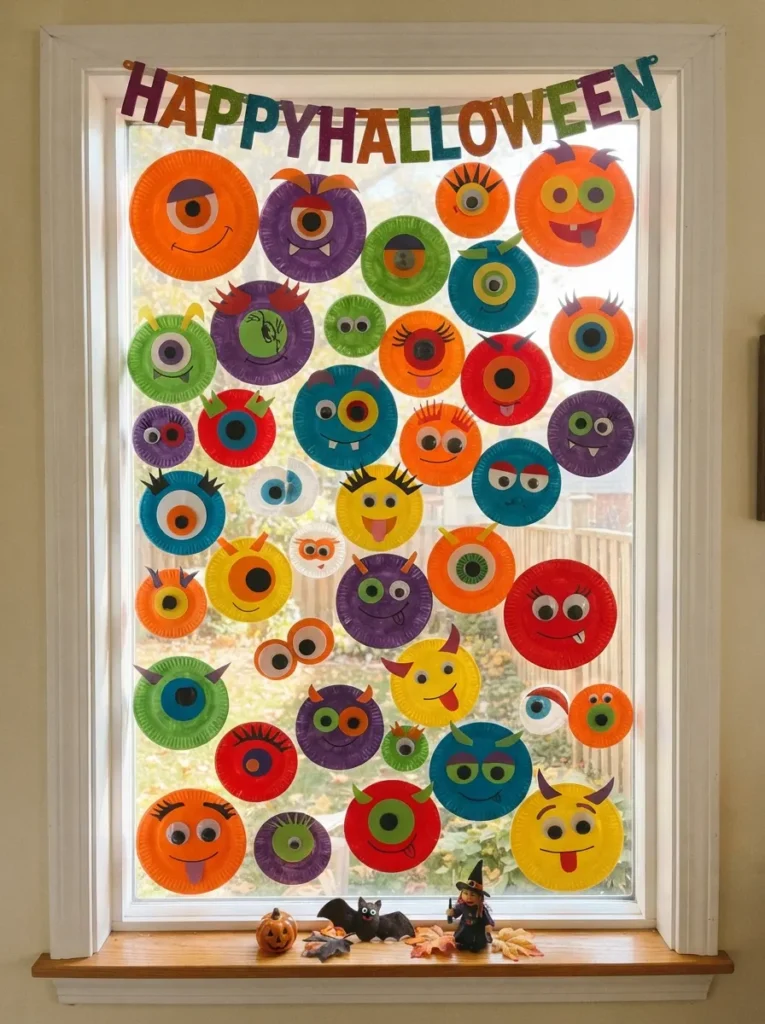
11. Make Monster Eyes With Paper Plates
Paint paper plates in bright colors and add large black pupils to create oversized monster eyes. Use different sizes and expressions so the eyes look like they belong to a group of curious creatures.
Tape the eyes across the window, leaving space between them for a playful effect. Add paper eyebrows or eyelashes for even more personality.
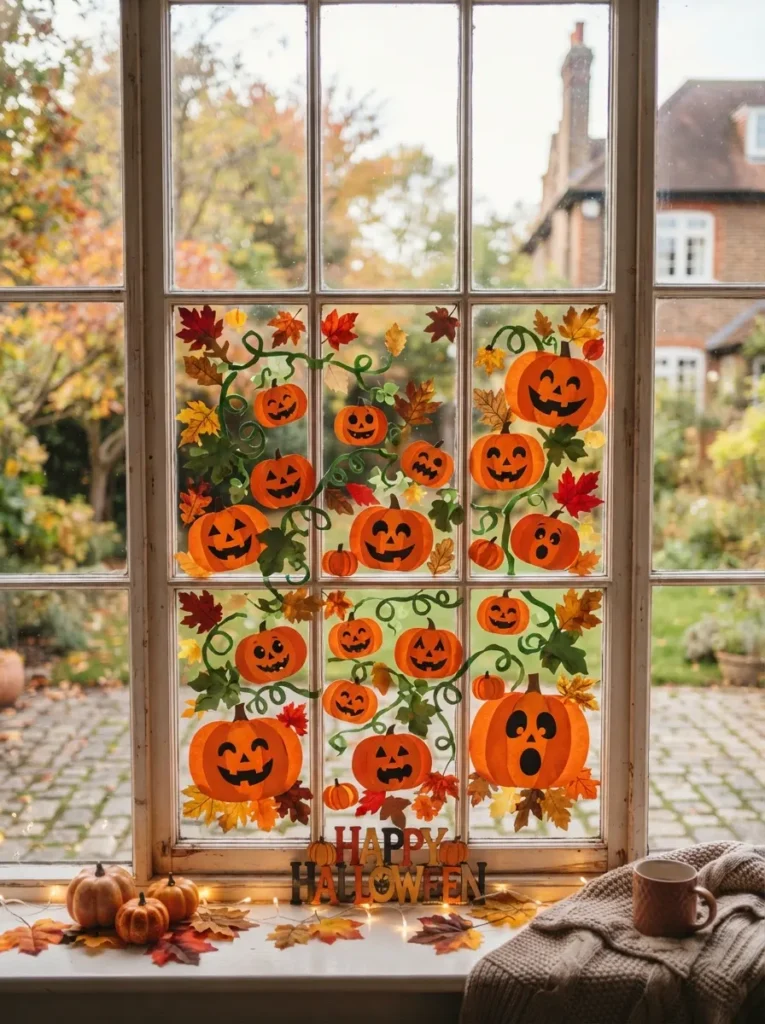
12. Create a Paper Pumpkin Patch
Cut pumpkins from orange paper and add black faces, green stems, and curly paper vines. Arrange the pumpkins along the bottom of the window to create a miniature patch.
Layer pumpkins of different sizes so the display has depth. Kids can decorate each pumpkin with a different expression, pattern, or silly accessory.
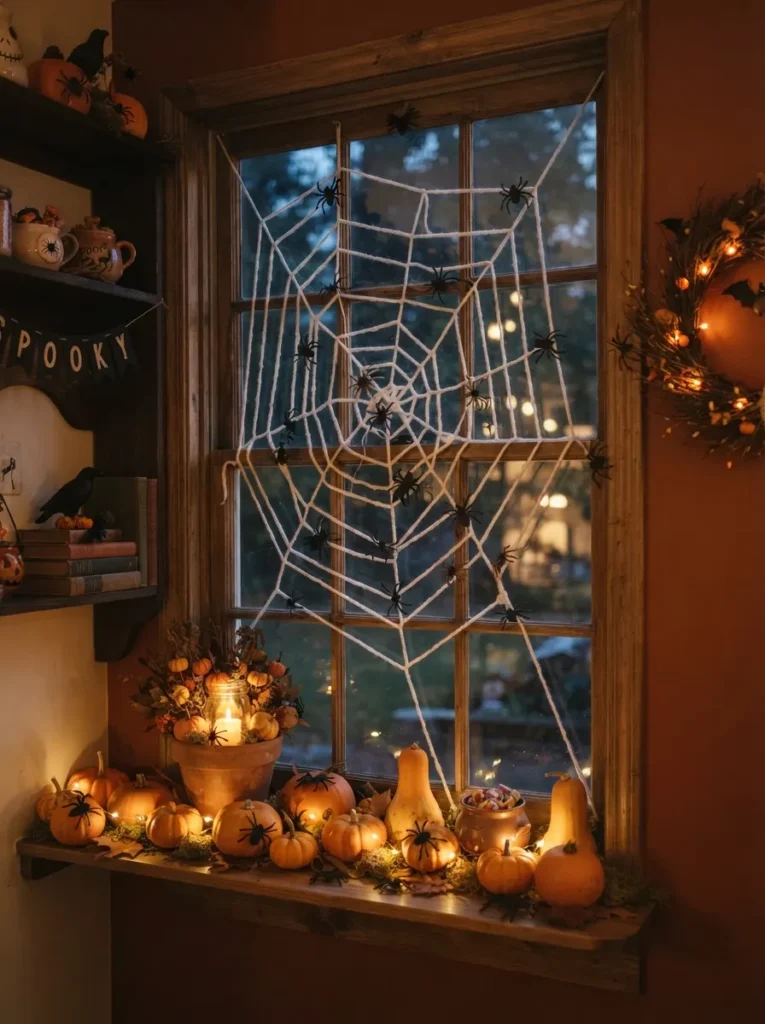
13. Make a Spiderweb Window Corner
Use white yarn, cotton string, or removable white tape to create a large spiderweb in one corner of the window. Start with several lines extending from the corner, then connect them with curved sections.
Add a black paper spider in the middle and a few smaller spiders nearby. Keep the web away from window locks and handles so the window remains easy to open.
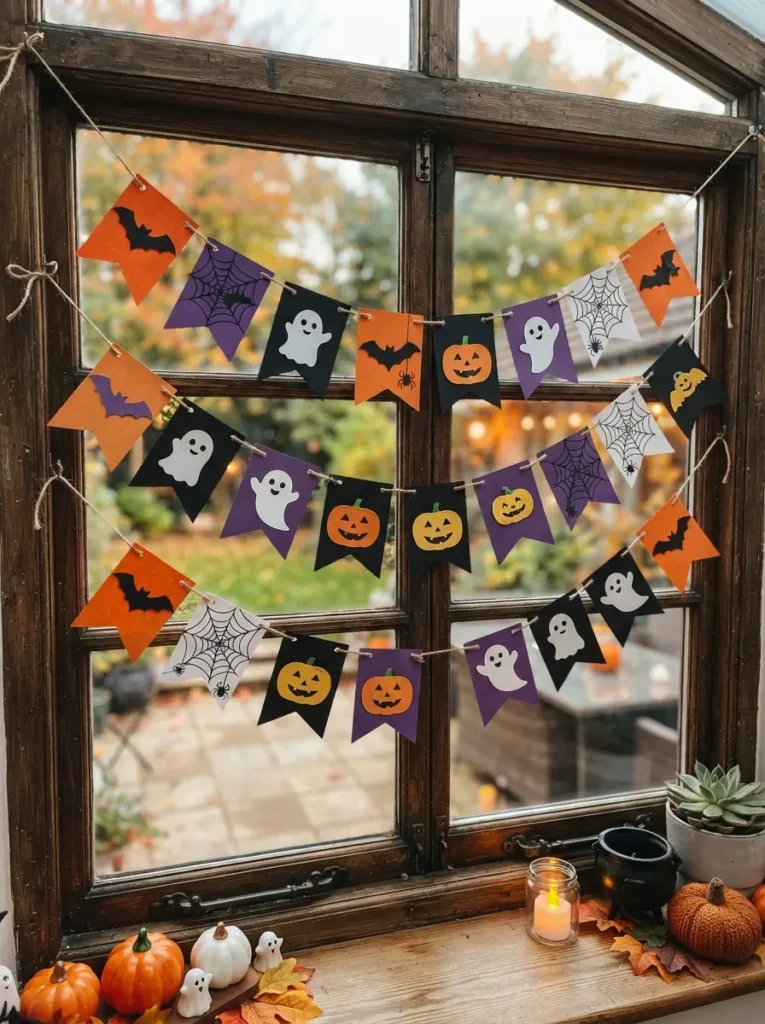
14. Design Halloween Window Flags
Cut small triangles from orange, black, purple, and white paper, then decorate them with pumpkins, bats, ghosts, or simple patterns. Attach the triangles to a length of ribbon or twine.
Hang the finished bunting across the top or middle of a window. This decoration is quick to make and easy for younger children to help color or decorate.
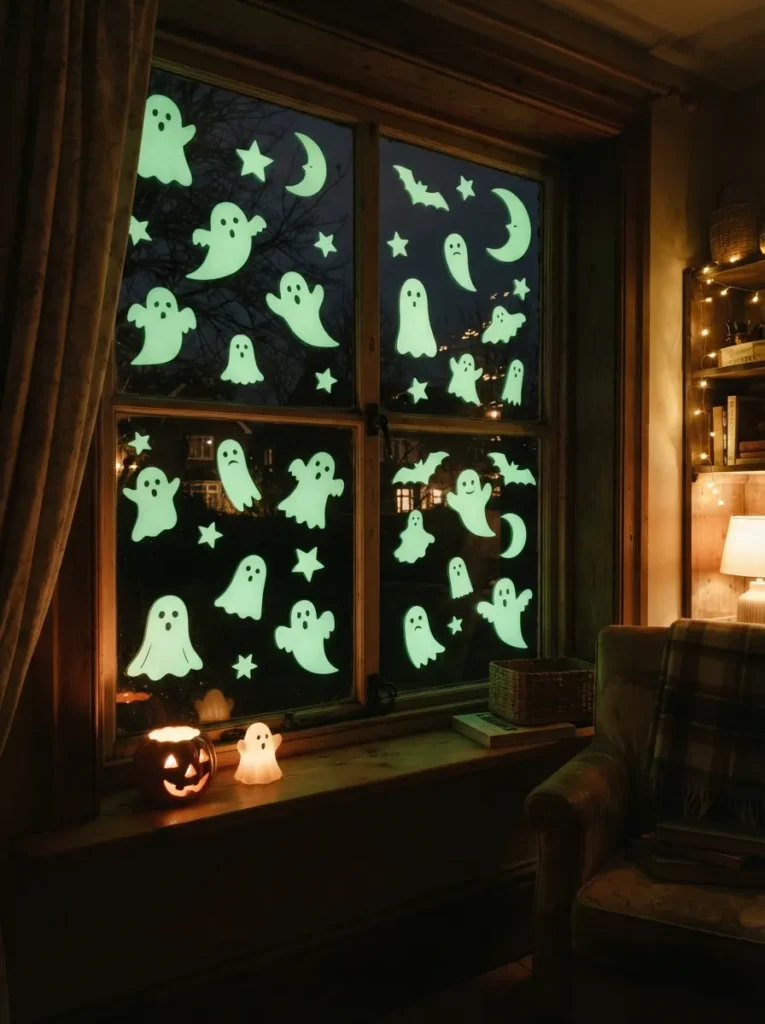
15. Build a Glow-in-the-Dark Display
Use glow-in-the-dark paper, stickers, or paint to create stars, ghosts, moons, and small bats. Arrange the decorations on a dark paper background inside the window so they become more visible after sunset.
Charge the pieces under a lamp or daylight before displaying them. Use removable materials and keep the decoration away from outdoor moisture.
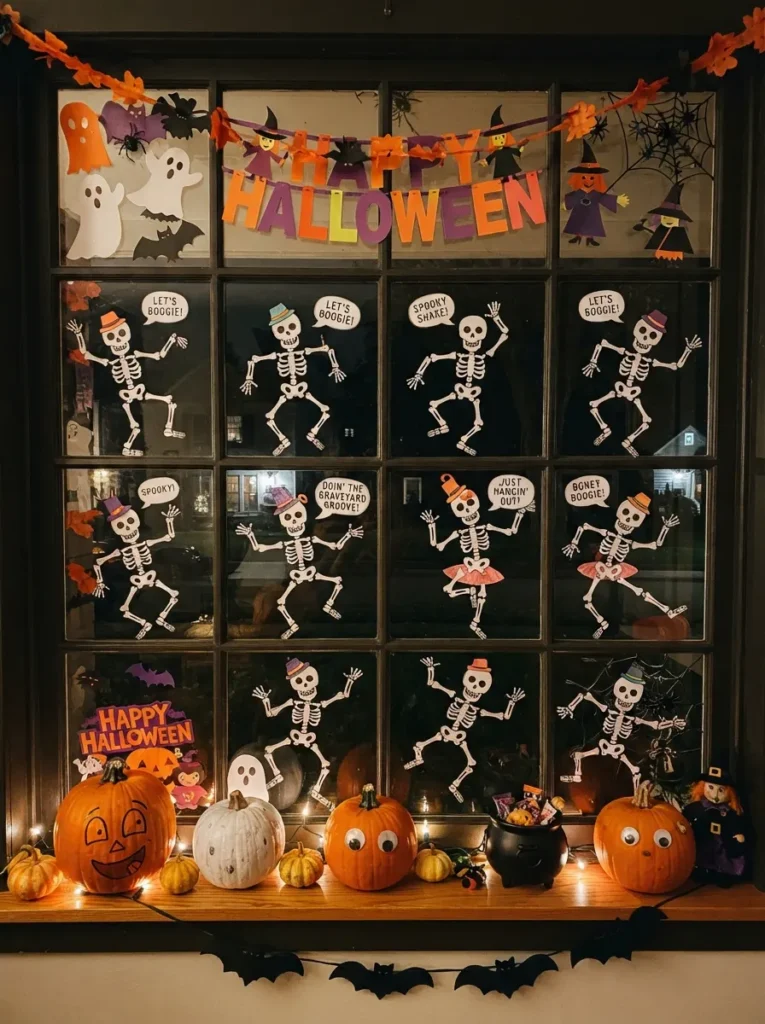
16. Make a Friendly Skeleton Scene
Cut skeleton pieces from white paper and arrange them across the window as if they are dancing, waving, or holding a sign. Use black paper for the background or add dark outlines to make the bones stand out.
Let children create funny poses instead of a realistic skeleton. Add speech bubbles with messages such as “Boo,” “Happy Halloween,” or “Trick or Treat.”
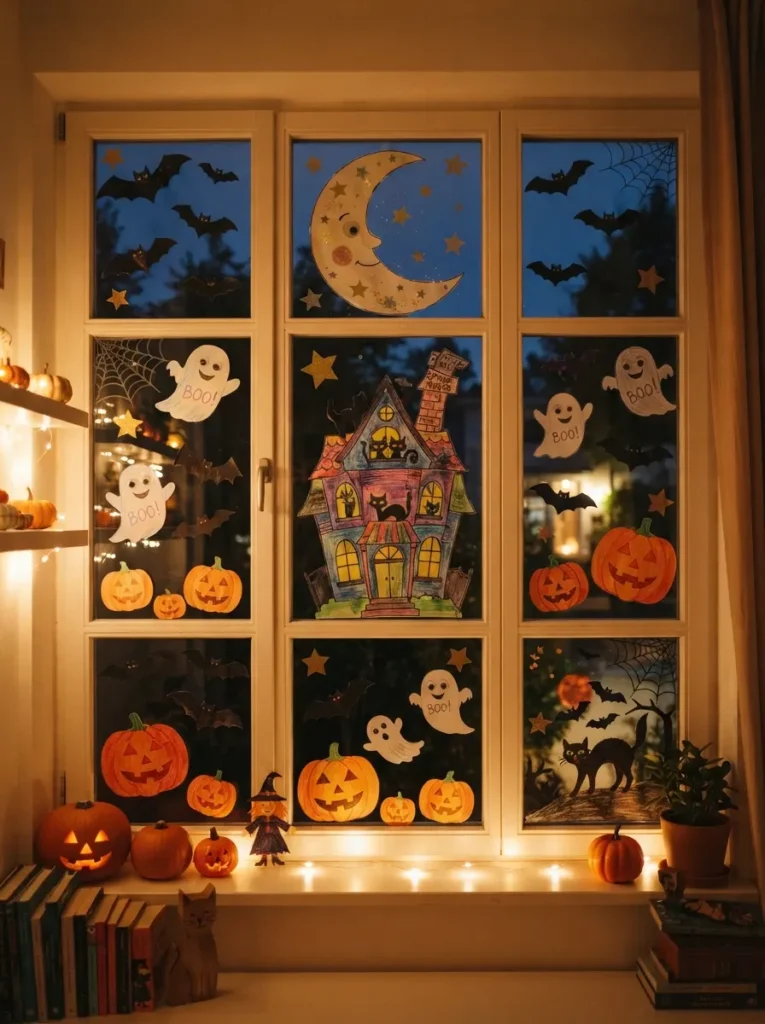
17. Create a Full Halloween Window Scene
Combine several simple decorations into one complete display. Use a paper moon, bats, a haunted house, pumpkins, ghosts, stars, and a black cat to create a miniature Halloween landscape.
Place larger shapes toward the bottom and smaller pieces near the top to make the window feel deeper. Let kids plan the scene on paper first, then work together to arrange the final decorations.
The best Halloween window decorations are simple enough for kids to make and easy to remove afterward. Use construction paper, tissue paper, washable paint, yarn, paper plates, and removable tape to create a display full of personality. Keep decorations away from window locks, heaters, open flames, and electrical cords, and let children decide whether their scenes should look spooky, silly, colorful, or sweet.