21 Halloween Crafts for Kids That Keep Them Busy All Afternoon
TL;DR: The best Halloween crafts for kids are simple, colorful, and flexible enough for different ages and skill levels. Paper ghosts, painted pumpkins, monster puppets, spiderweb decorations, and spooky garlands can be made with inexpensive supplies such as paper plates, cardboard tubes, construction paper, paint, yarn, and glue. Set up a few craft stations with washable materials, let children personalize their creations, and they can stay happily busy for hours.
Halloween is the perfect season for an afternoon of creative projects. Kids can make decorations for the front door, party table, bedroom, or classroom while experimenting with cutting, painting, gluing, folding, and decorating.
Choose a mixture of quick crafts and longer projects so younger children do not get frustrated and older kids have enough detail to keep them interested. Here are 21 Halloween crafts for kids that can keep them busy all afternoon.
1. Make Paper Plate Ghosts
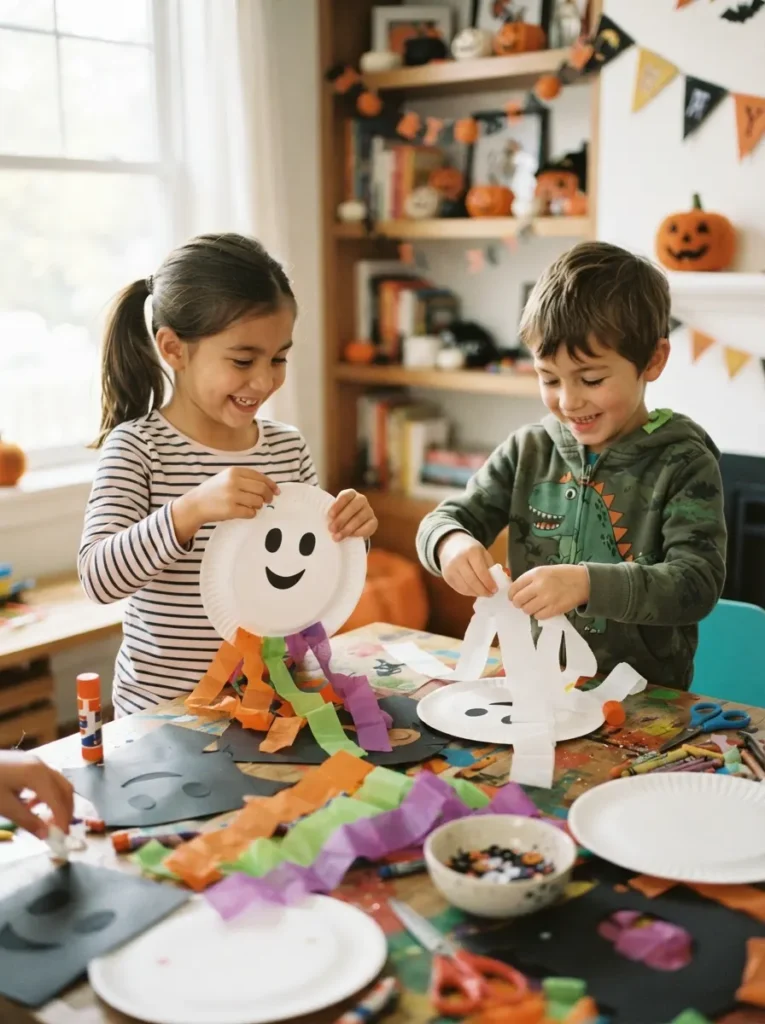
Turn ordinary paper plates into friendly Halloween ghosts with just a few basic supplies. Paint the plates white or leave them plain, then add black paper eyes and a smiling mouth.
2. Paint Miniature Pumpkin Faces
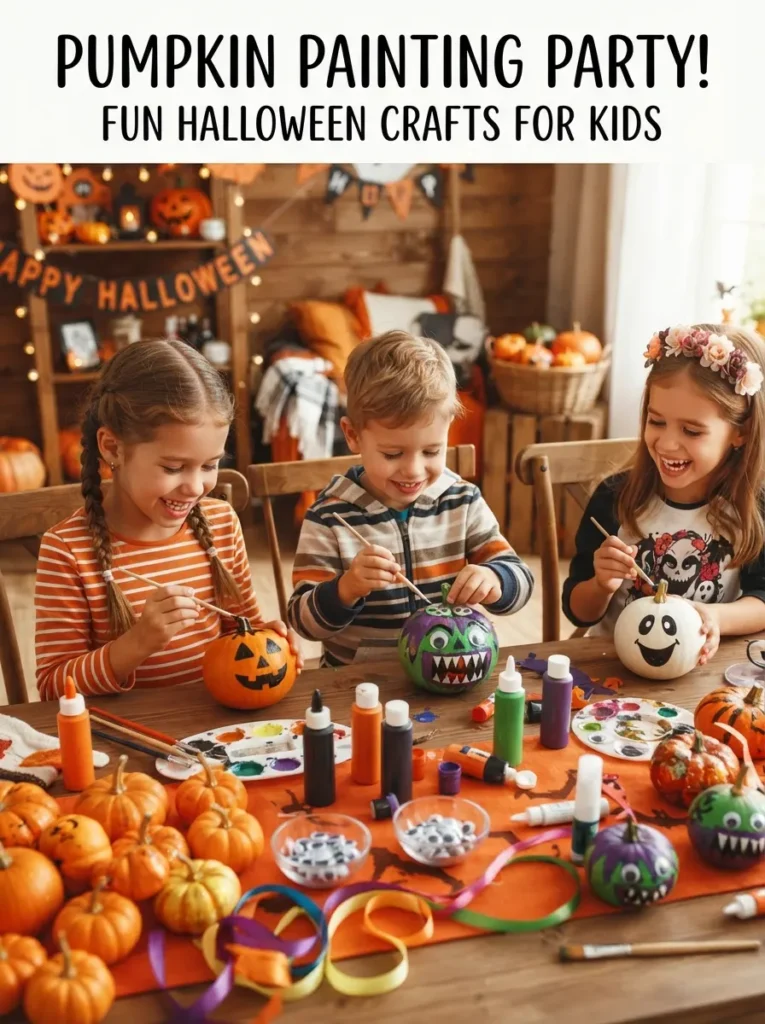
Give each child small pumpkins or craft foam pumpkins to decorate. They can paint traditional jack-o’-lantern faces, silly monsters, animals, or colorful patterns instead of carving them.
Use washable acrylic paint, paint pens, stickers, and googly eyes to add details. If using real pumpkins, allow them to dry fully before displaying them on a table or front porch.
3. Create Cardboard Tube Bats
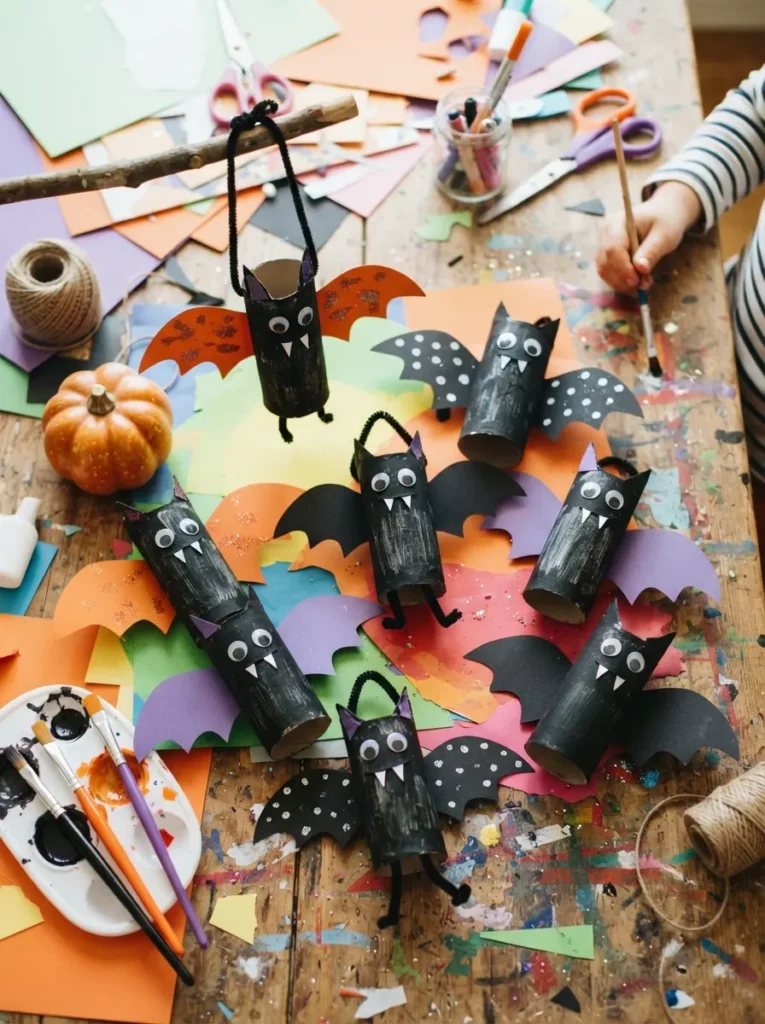
Save empty cardboard toilet paper or paper towel tubes and turn them into little bats. Paint the tubes black, then glue on paper wings, pointed ears, white eyes, and tiny fangs.
Kids can make an entire bat family using different sizes and expressions. Add a piece of string to the top of each bat so the finished crafts can be hung from a branch or ceiling.
4. Build a Paper Spiderweb
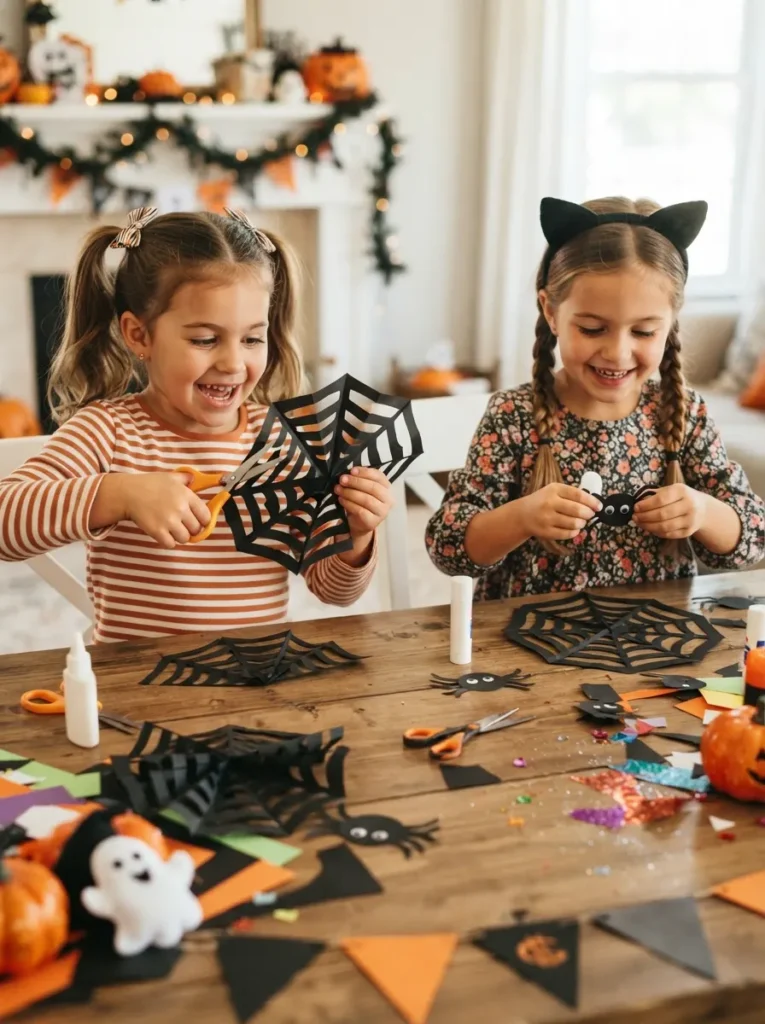
Make spiderweb decorations using black construction paper and child-safe scissors. Fold the paper several times, cut small shapes along the edges, and unfold it carefully to reveal the web pattern.
Younger children can use a printable web template, while older kids can experiment with their own shapes. Add a paper or pom-pom spider in the center and hang the webs in windows.
5. Design Monster Paper Bags
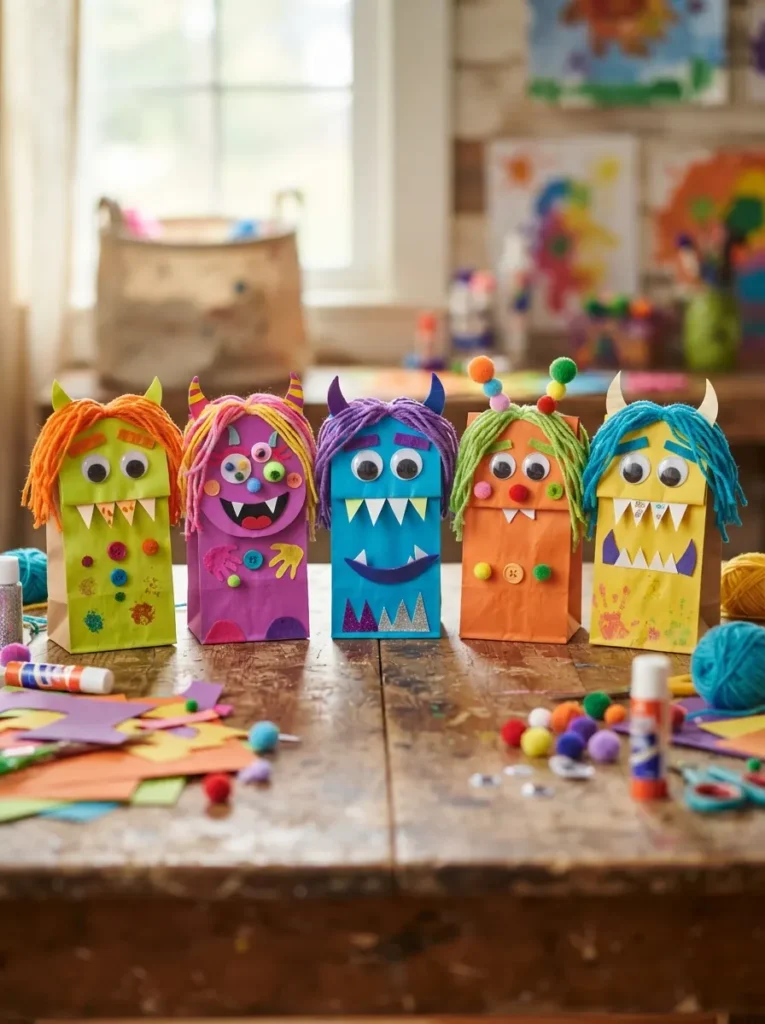
Turn plain paper lunch bags into monster puppets. Cover the bags with colored paper or paint, then add eyes, teeth, horns, ears, hair, and silly mouths.
Encourage kids to give each monster a name and personality. Once the puppets are finished, they can put on a short Halloween puppet show for the family.
6. Make a Spooky Handprint Tree
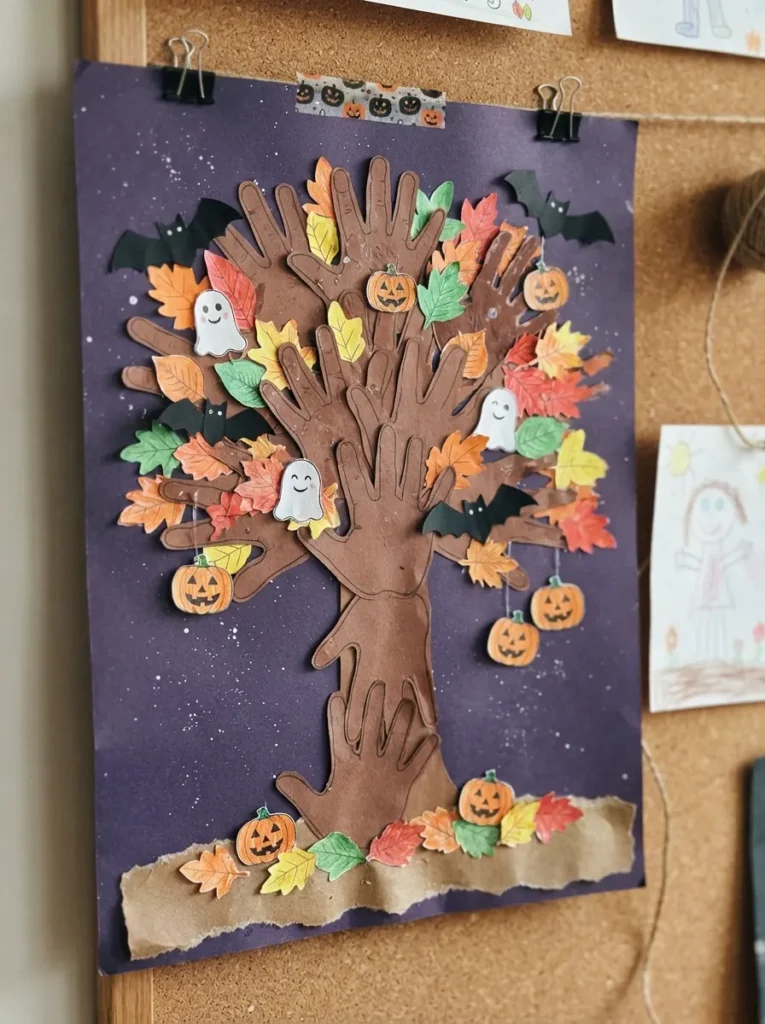
Trace each child’s hand and forearm on brown construction paper to create the trunk and branches of a spooky tree. Cut out the shape and glue it to a sheet of dark blue, purple, or black paper.
Add colorful paper leaves, pumpkins, bats, ghosts, or owls to the branches. Each child can personalize the tree with their name and the date as a keepsake.
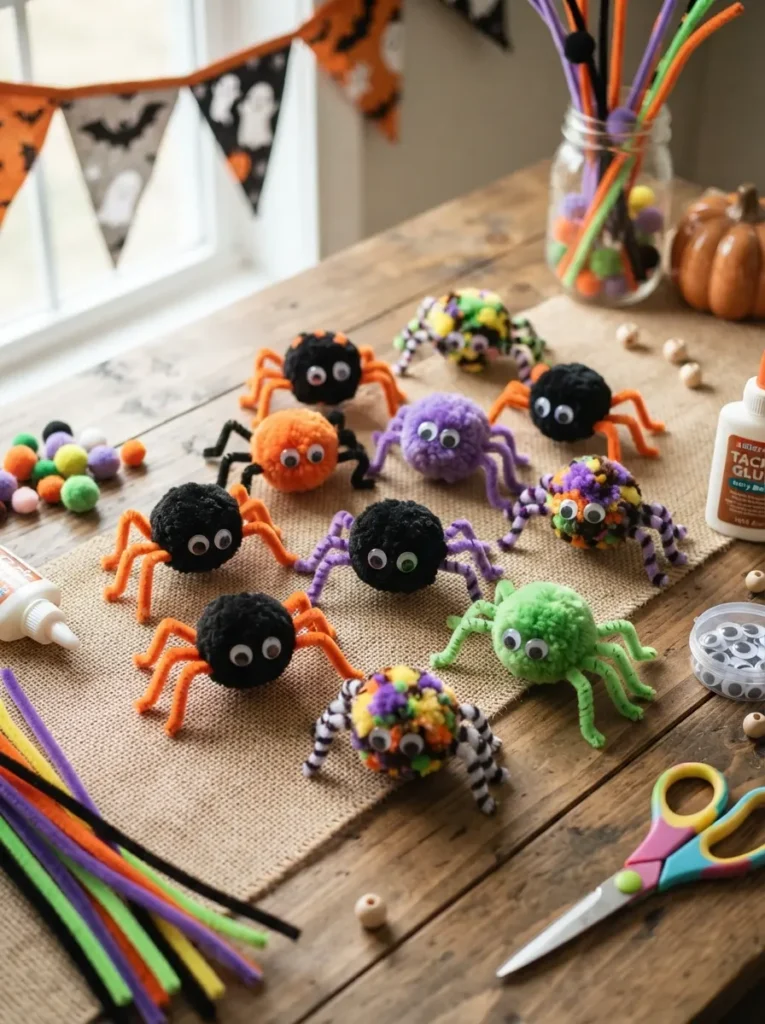
7. Create Pom-Pom Spiders
Make soft, friendly spiders with black pom-poms, googly eyes, and pipe cleaners. Attach four short pipe cleaners on each side of the pom-pom, then bend them into spider legs.
Use colorful pom-poms for silly spiders or stick with black for a more traditional Halloween look. Add a loop of thread if the spiders will be used as hanging decorations.
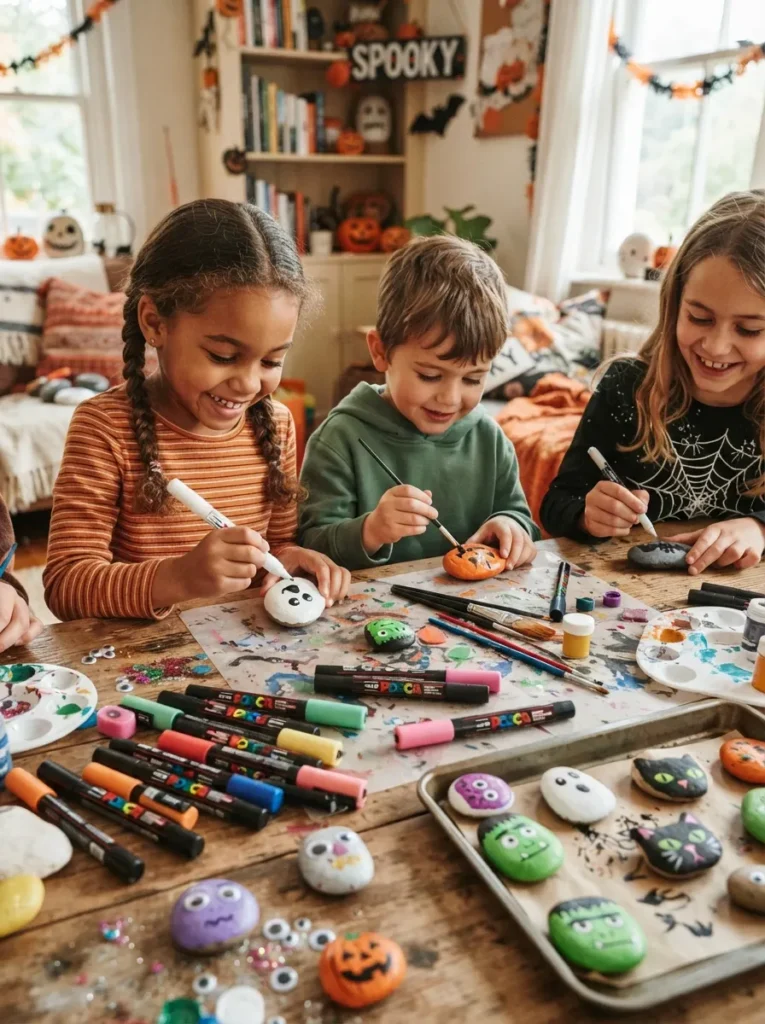
8. Decorate Halloween Rock Monsters
Collect smooth stones and turn them into tiny monsters, ghosts, pumpkins, or bats. Paint the rocks with bright colors, then add faces and details with paint pens once the base coat is dry.
Place the finished rocks in a bowl, along a garden path, or near the front door. Kids can also hide them outdoors for neighbors to discover, if appropriate for the area.
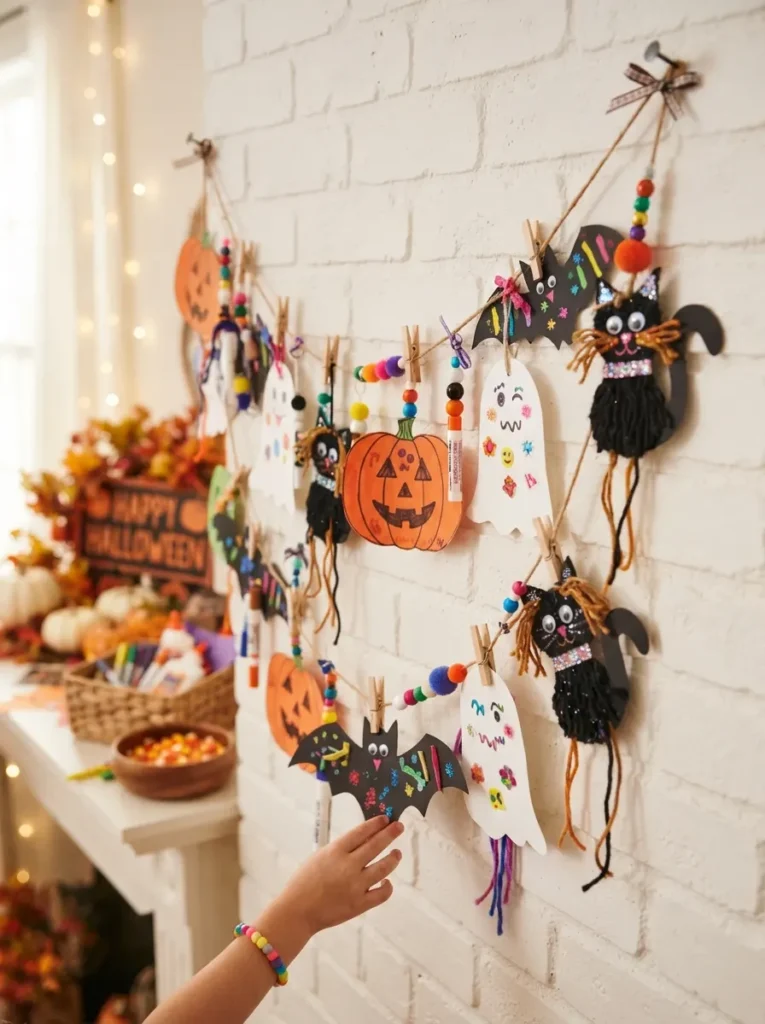
9. Make a Halloween Garland
Create a festive garland from paper pumpkins, bats, ghosts, and cats. Cut the shapes from construction paper, decorate them with markers or stickers, and attach them to yarn or ribbon.
Use a hole punch to make the process easier for younger children. Hang the completed garland across a mantel, window, bookshelf, or party table.
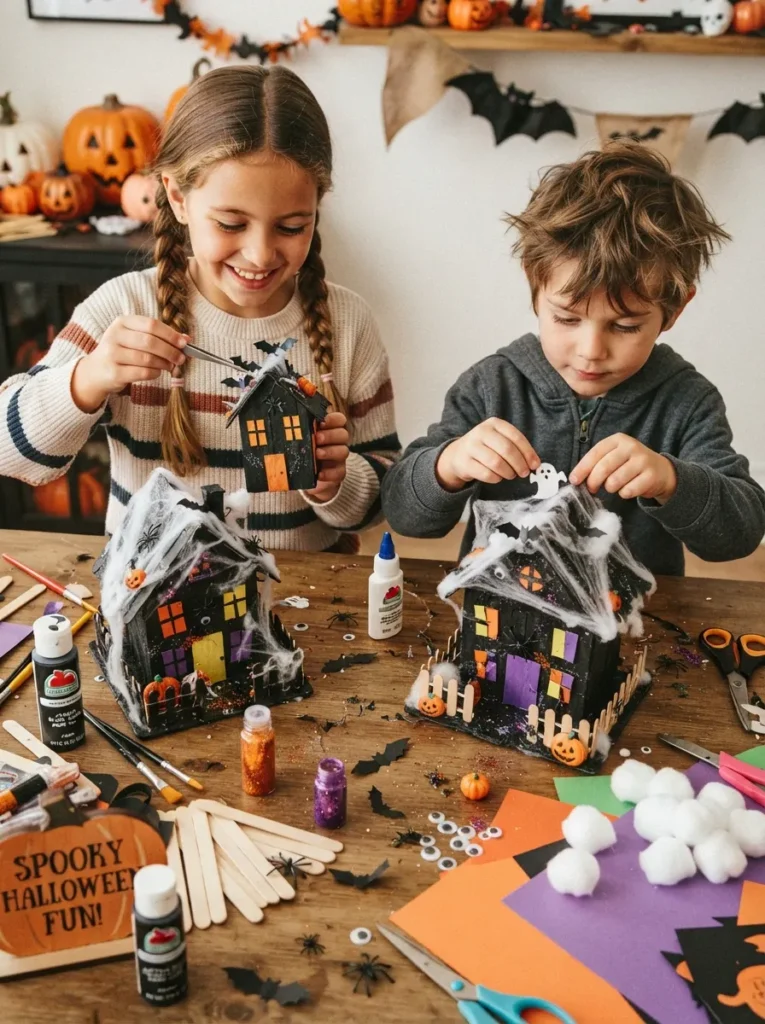
10. Build Popsicle Stick Haunted Houses
Use craft sticks to build tiny haunted houses. Glue the sticks into simple house shapes, then paint them black, gray, brown, or purple.
Add paper windows, crooked doors, cotton-ball cobwebs, and tiny bats. Adults should handle hot glue if it is needed, while children can safely paint and decorate the structures.
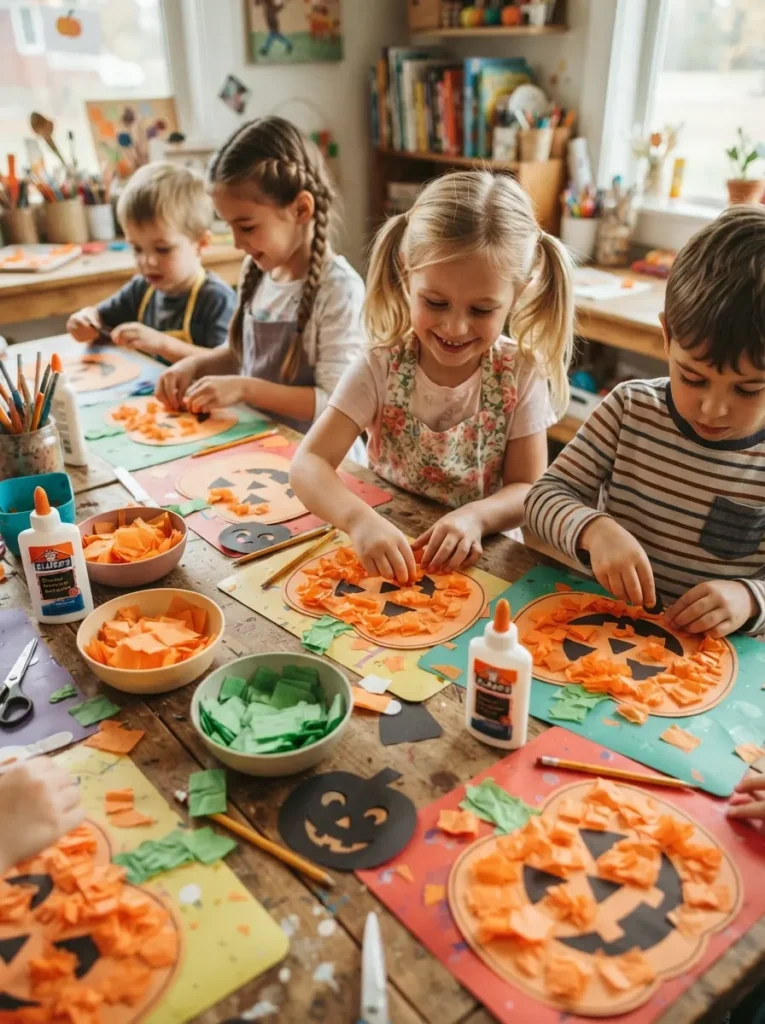
11. Make Tissue Paper Pumpkin Collages
Draw pumpkin shapes on paper or cardstock, then fill them with torn pieces of orange tissue paper. Add green paper stems and black construction-paper faces once the pumpkin is covered.
This craft is especially suitable for younger children because tearing and gluing paper are easy to manage. Make several pumpkins in different sizes and combine them into a large collage.
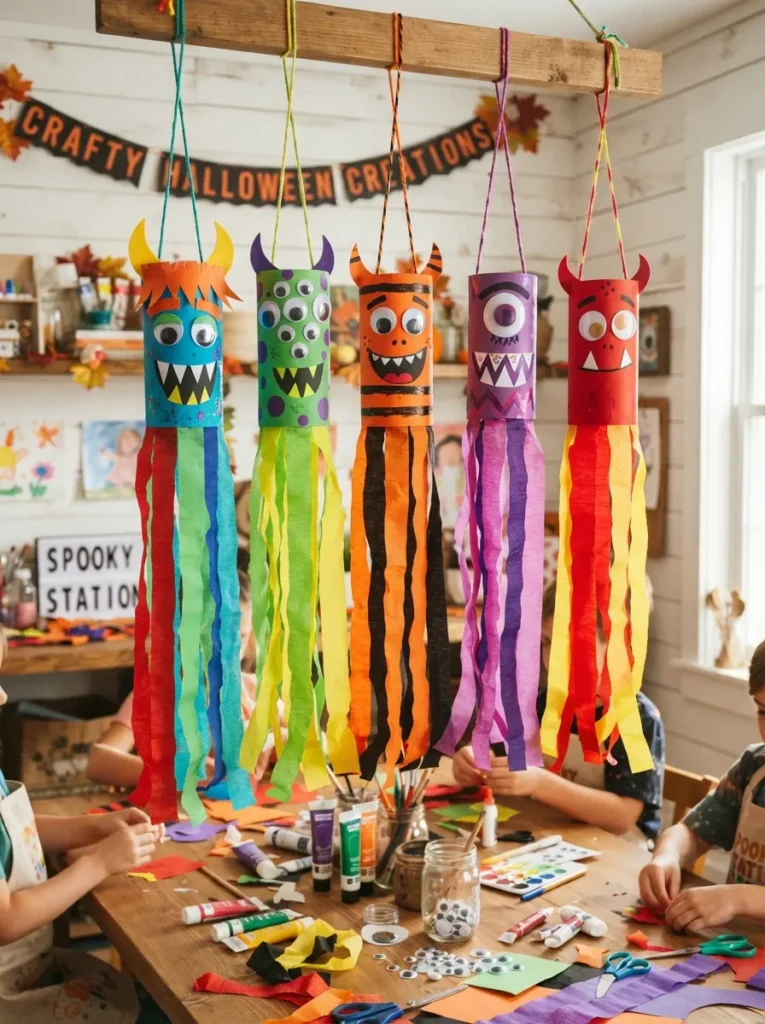
12. Create a Monster Windsock
Decorate a paper cup or lightweight cardboard tube as a monster, then attach long strips of crepe paper or ribbon underneath. Add googly eyes, teeth, horns, and colorful patterns to give each windsock a different expression.
Hang the finished decorations outside under a covered porch or indoors near a window. Use lightweight materials so the streamers can move gently in the air.
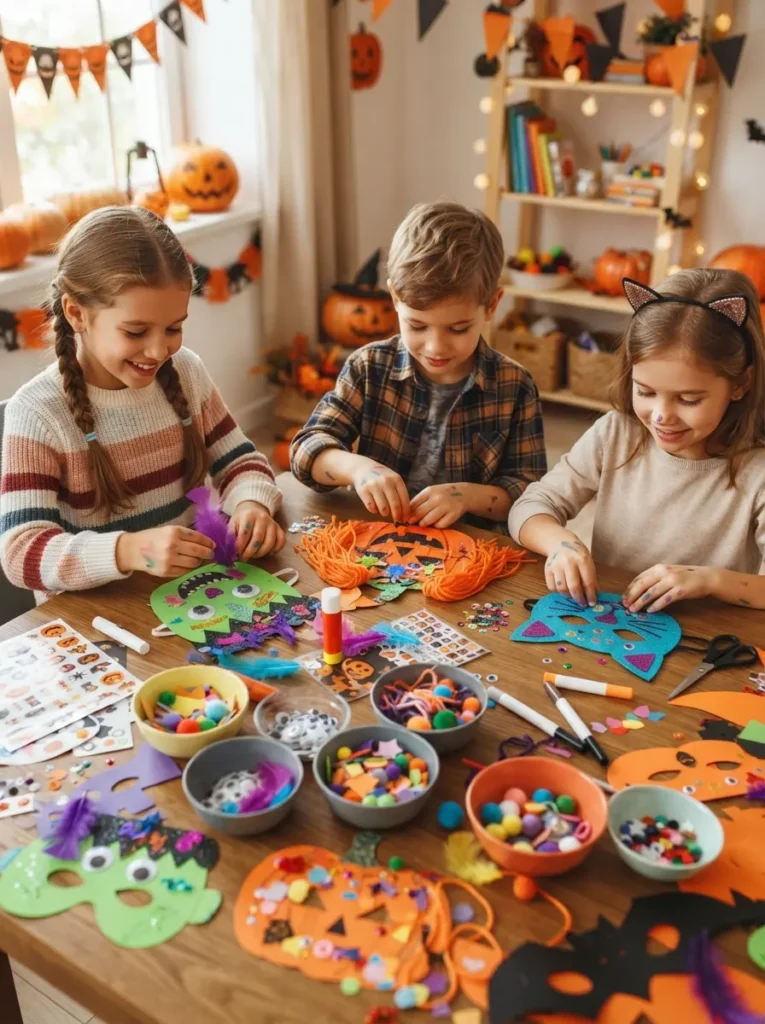
13. Decorate Halloween Masks
Cut simple mask shapes from cardstock or use inexpensive plain masks as the base. Kids can decorate them as black cats, pumpkins, monsters, witches, ghosts, or skeletons.
Provide feathers, stickers, washable markers, paper shapes, and yarn. Adults should cut the eye openings and attach elastic or craft sticks, depending on how the masks will be worn.
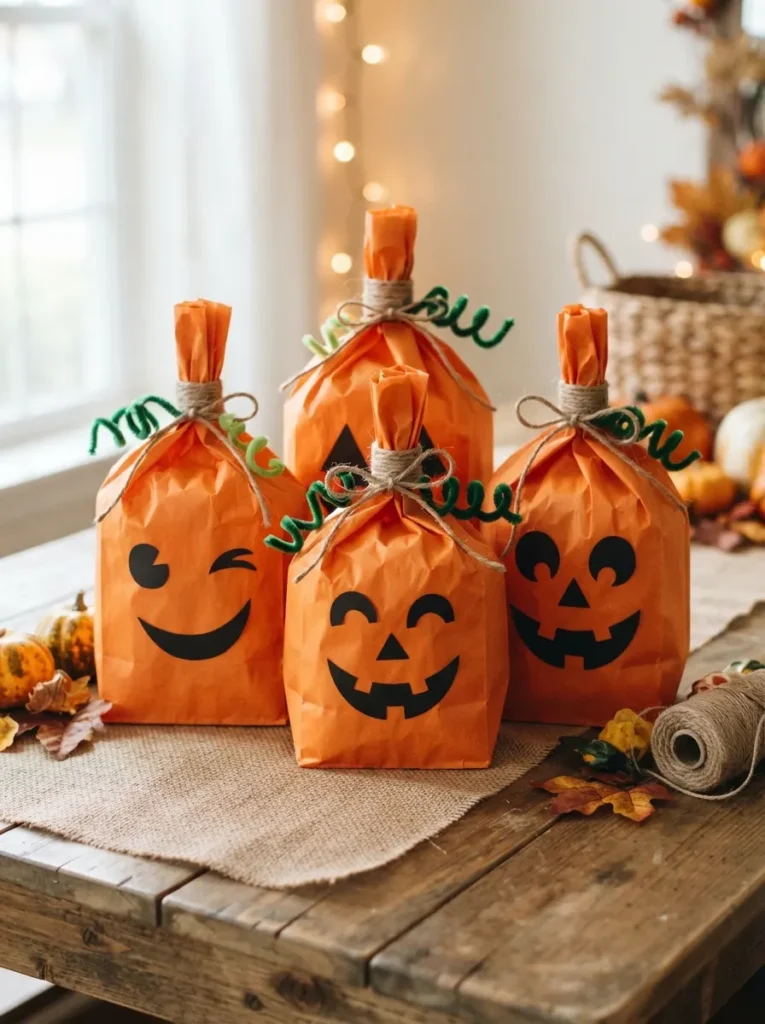
14. Make a Paper Bag Pumpkin
Use orange paper lunch bags to create hanging pumpkin decorations. Fill the bottom lightly with tissue paper, twist the top closed, and wrap it with green paper or pipe cleaners to create the stem.
Draw or glue on a jack-o’-lantern face. Make a collection of pumpkins with different expressions and hang them from a doorway or staircase.
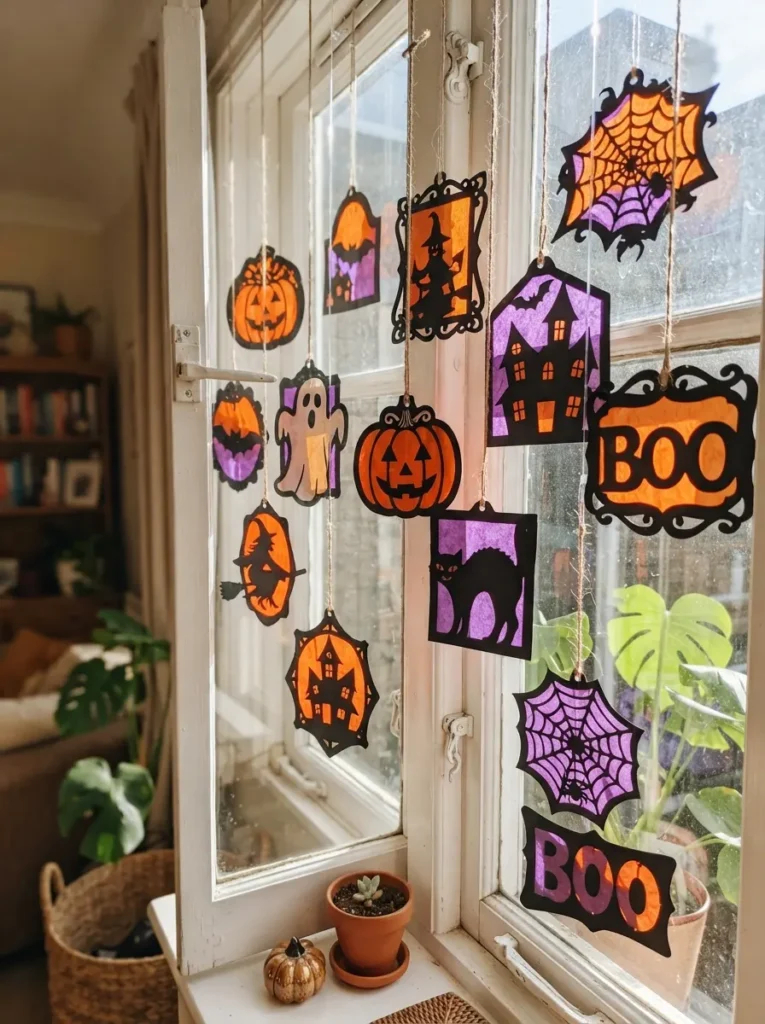
15. Create a Halloween Suncatcher
Use black cardstock to make a simple frame shaped like a pumpkin, ghost, or bat. Fill the openings with colorful tissue paper or transparent cellophane, then place the finished design in a sunny window.
The light shining through the colors creates a cheerful effect during the day. This craft can be made spooky or sweet depending on the colors and shape.
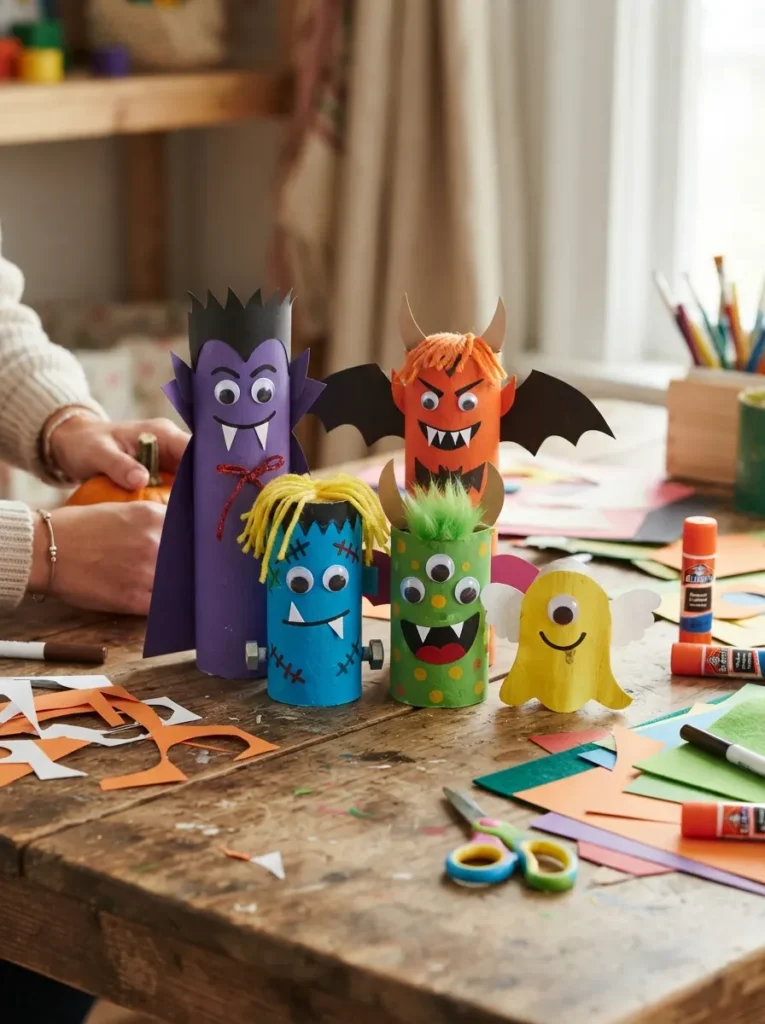
16. Build a Cardboard Tube Monster Family
Collect cardboard tubes and let children create a whole family of monsters. Paint each tube a different color, then add paper hair, googly eyes, horns, wings, and teeth.
Give the monsters different sizes and expressions. Once they are dry, kids can use them for pretend play, a small Halloween village, or a tabletop decoration.
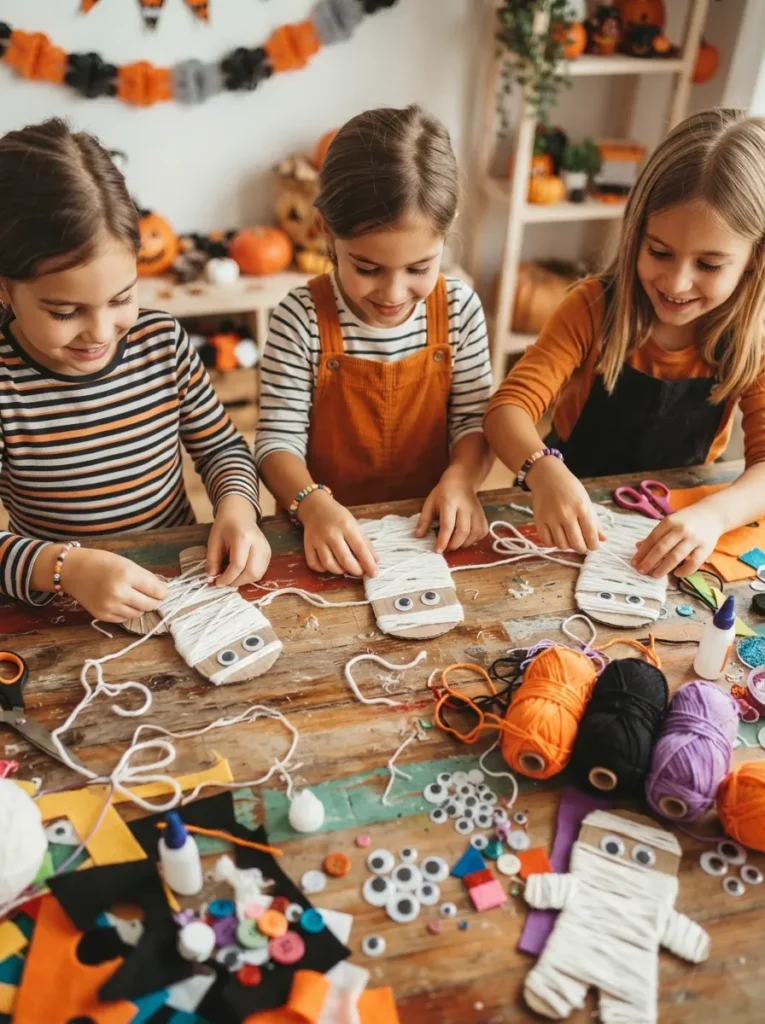
17. Make a Yarn-Wrapped Mummy
Wrap a cardboard figure, paper cup, or small plastic container with white yarn to create a mummy. Leave two small spaces for googly eyes or glue the eyes on top of the yarn.
The wrapping process keeps children occupied and helps develop fine motor skills. Use black or gray yarn for an unusual mummy, or mix several colors for a playful version.
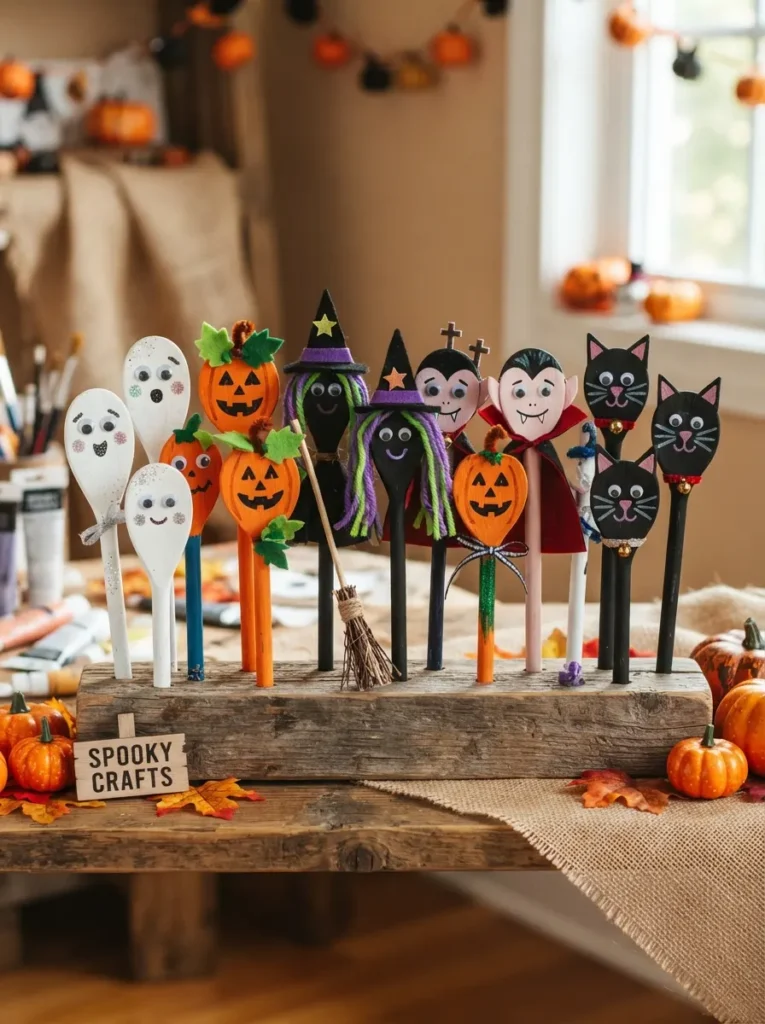
18. Paint Wooden Halloween Spoons
Use unfinished wooden spoons as the base for small Halloween characters. Paint the spoon heads as ghosts, pumpkins, witches, vampires, or black cats, then add paper hats, yarn hair, or tiny fabric capes.
These can become puppets, place cards, or decorations for a Halloween snack table. Use non-toxic, child-safe paint and allow the spoons to dry completely before handling.
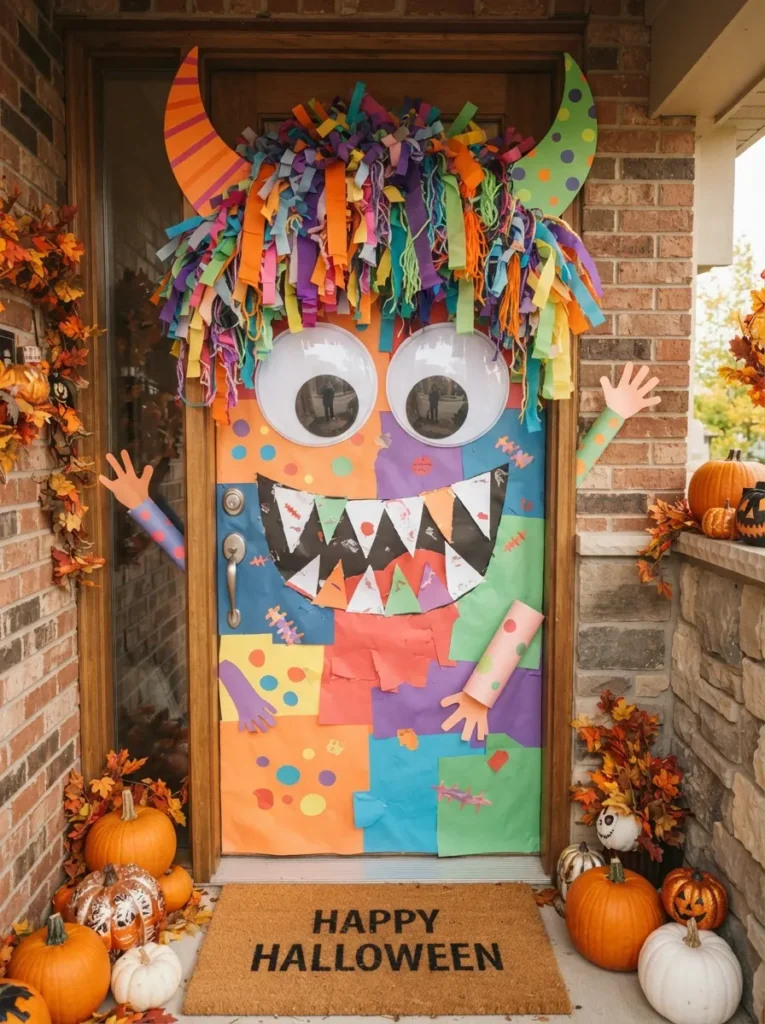
19. Create a Monster Door Decoration
Cut a large monster face from colored paper or poster board and attach it to an interior door. Add oversized eyes, eyebrows, teeth, horns, and colorful hair.
Kids can work together to design the face, making this a good group craft for siblings or a classroom. Use removable tape so the decoration can be taken down easily after Halloween.
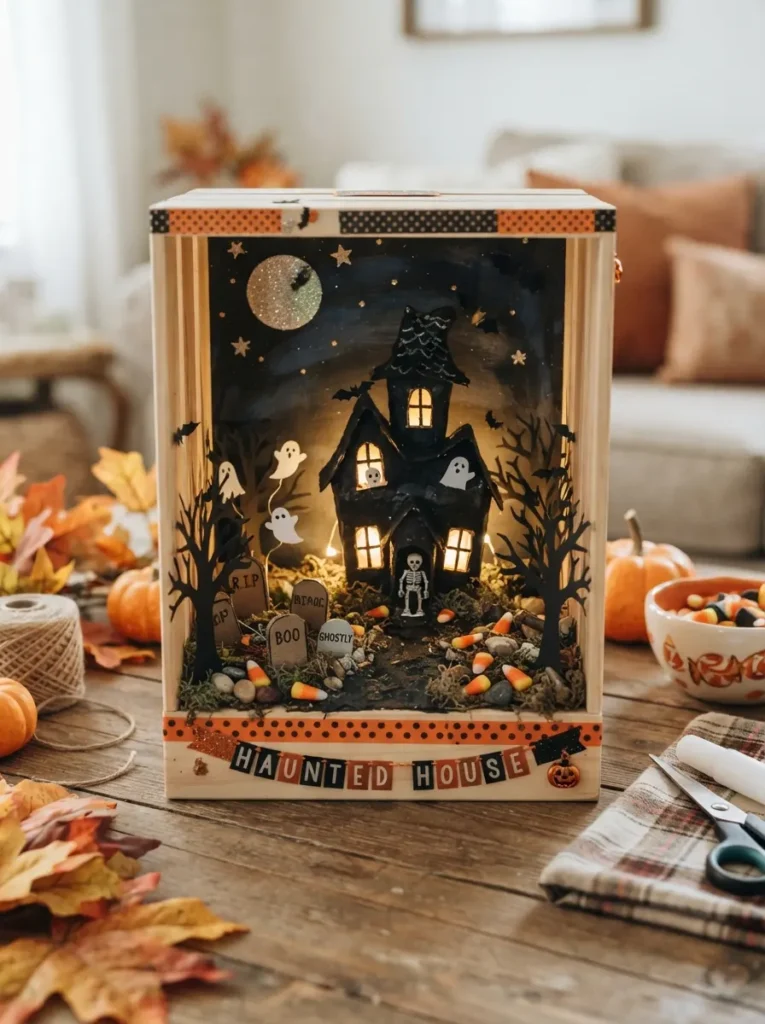
20. Make a Haunted House Shadow Box
Use a shallow cardboard box as the base for a miniature haunted house scene. Cover the inside with dark paper, then add paper trees, bats, ghosts, tombstones, and a tiny house.
Older children can create several layers to make the scene look three-dimensional. Add a battery-operated tea light behind the scene for a soft glow, with adult help during setup.
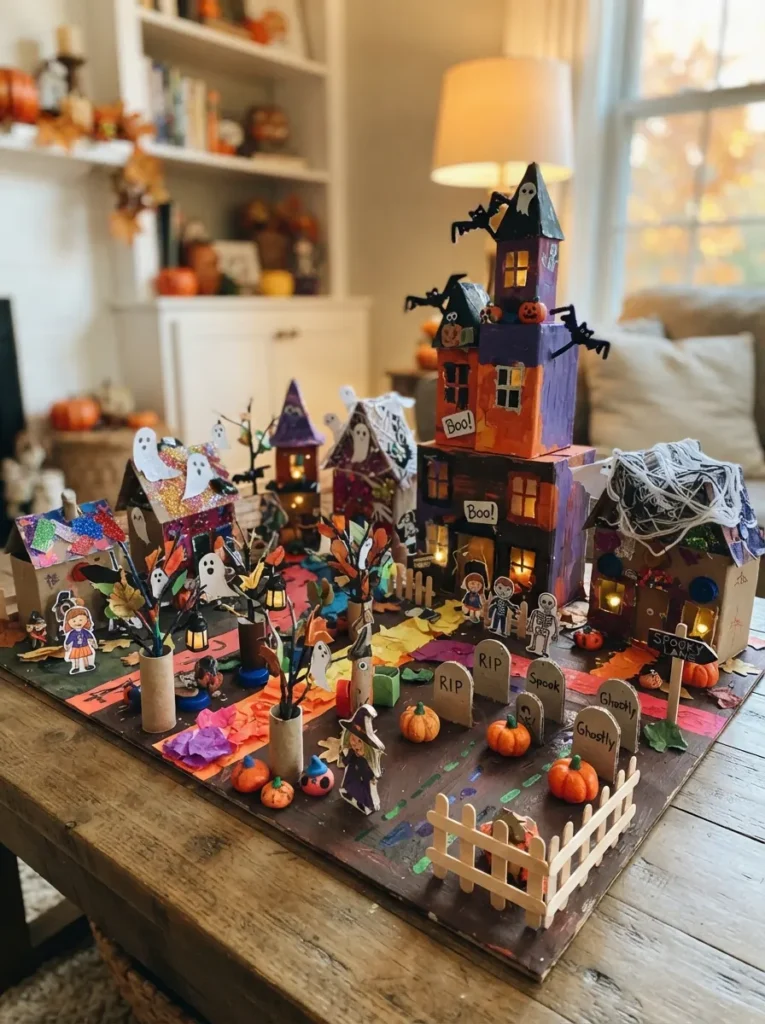
21. Create a Recycled Halloween Village
Use small boxes, cartons, tubes, bottle caps, and paper scraps to build a miniature Halloween village. Children can turn the recycled materials into haunted houses, shops, pumpkin patches, graveyards, and spooky trees.
Paint the pieces in a coordinated palette of black, orange, purple, gray, and green. Once the village is finished, kids can invent stories for the characters and rearrange the scene throughout the afternoon.
The best Halloween crafts for kids combine simple materials with plenty of room for imagination. Set out washable paint, construction paper, glue sticks, yarn, cardboard, stickers, and child-safe scissors, then let children choose whether their creations are cute, spooky, silly, or colorful. Provide adult supervision for scissors, small pieces, hot glue, and any battery-powered lights, and the craft afternoon can be both creative and safe.