12 Budget Pantry Makeover Ideas Under $50
TL;DR: A functional, good-looking pantry makeover doesn’t require custom shelving or a four-figure budget. Repurposed jars, thrifted baskets, a can of leftover paint, and a few dollar-store bins can transform a chaotic pantry for well under $50 if you shop your own house first and buy only what you genuinely can’t repurpose. The transformation comes from the system you build, not the price tag attached to it.
Pantry makeovers on Pinterest can make it look like you need custom shelving and a few hundred dollars in matching canisters just to get organized. In reality, some of the most functional pantry transformations come from people working with a tight budget and a lot of creativity, repurposing what they already own, shopping secondhand, and only spending money where it actually solves a real problem. A messy pantry is rarely about not having enough stuff. It’s about not having a system, and a system costs a lot less than people assume.
Here are 12 budget pantry makeover ideas that can realistically be done for under $50.
1. Shop Your Own House Before Buying Anything
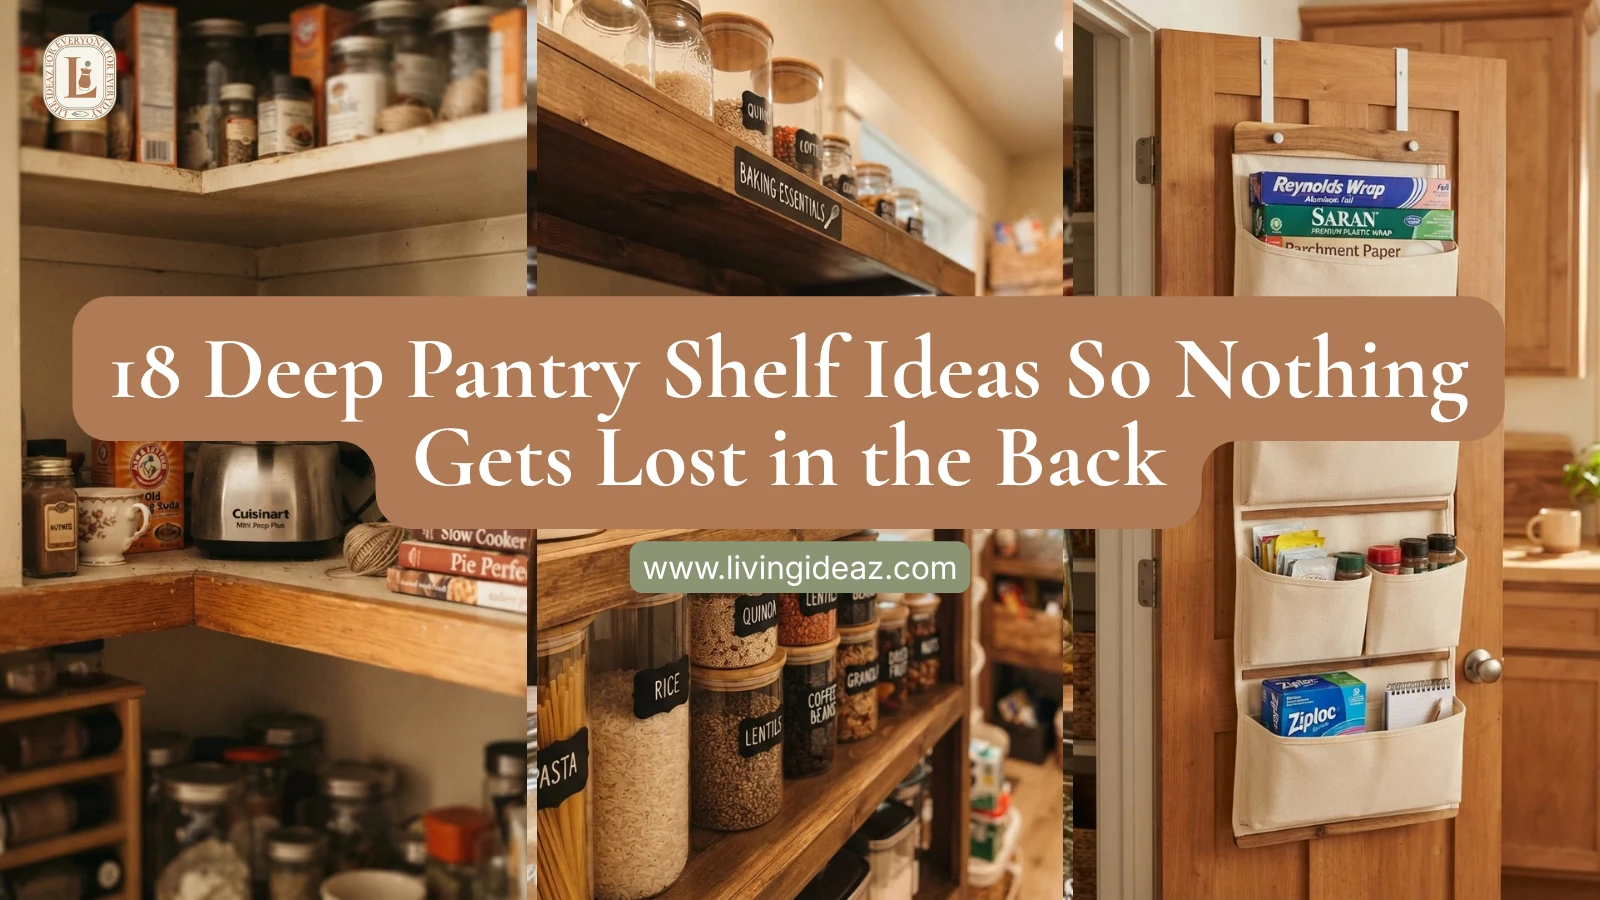
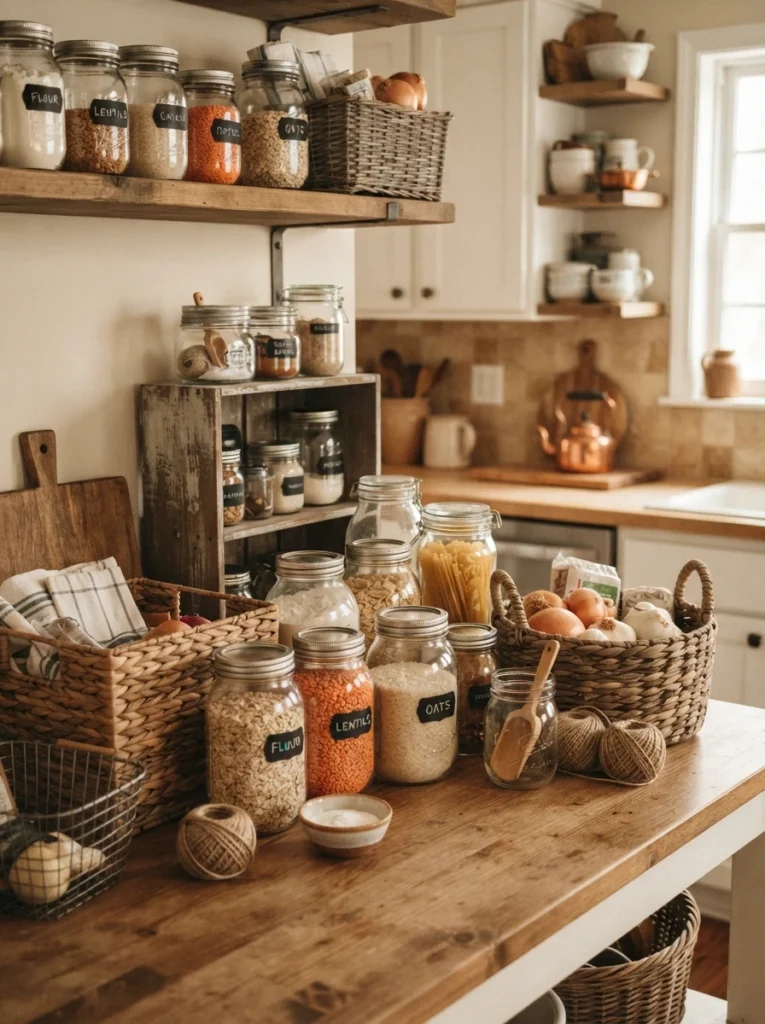
Before spending a single dollar, walk through your house looking for containers, baskets, and shelving you already own that could work in the pantry. An old bookshelf, mason jars from a past project, or baskets from another room can cover a surprising amount of what you’d otherwise buy new.
2. Decant Into Jars You Already Own Instead of Buying a Matching Set
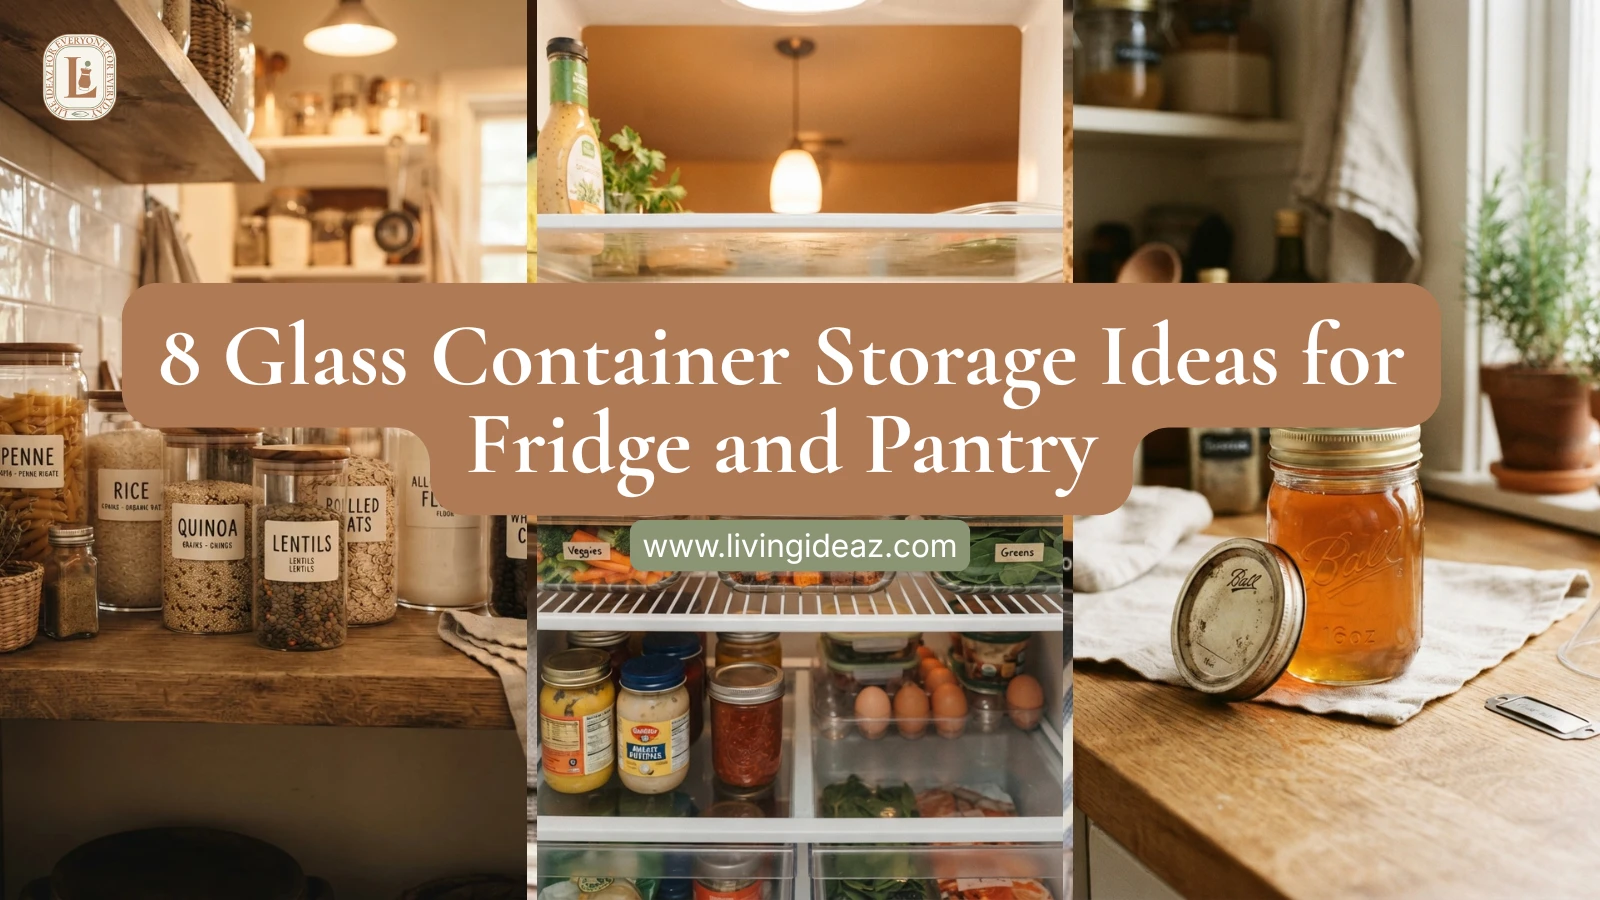
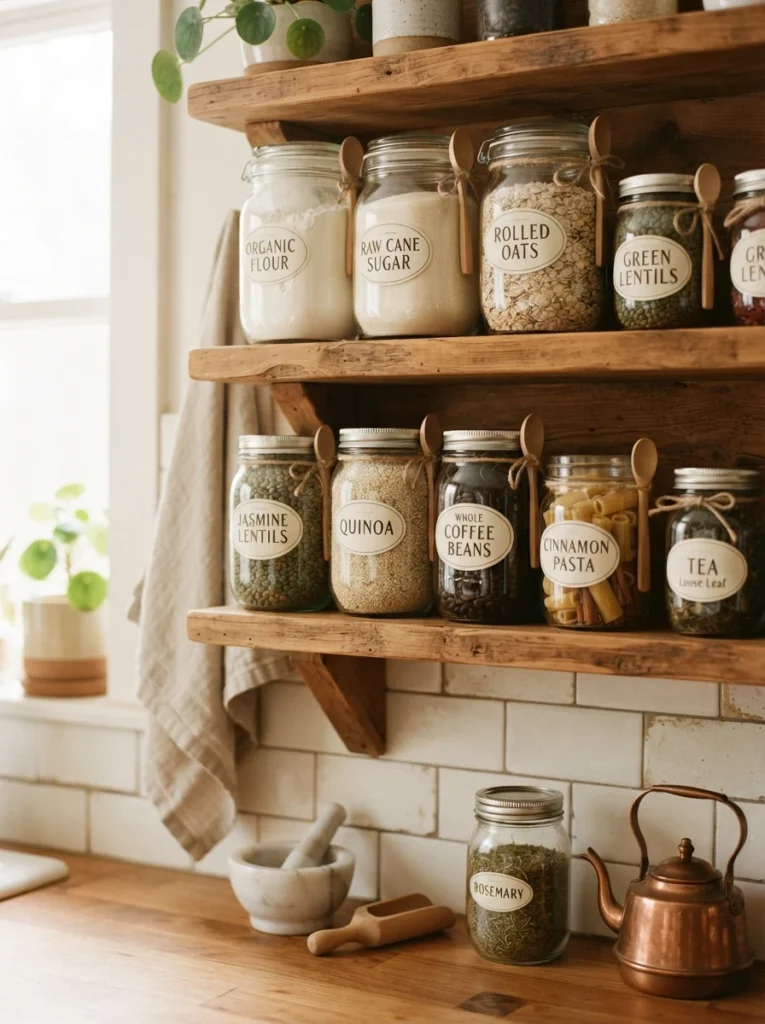
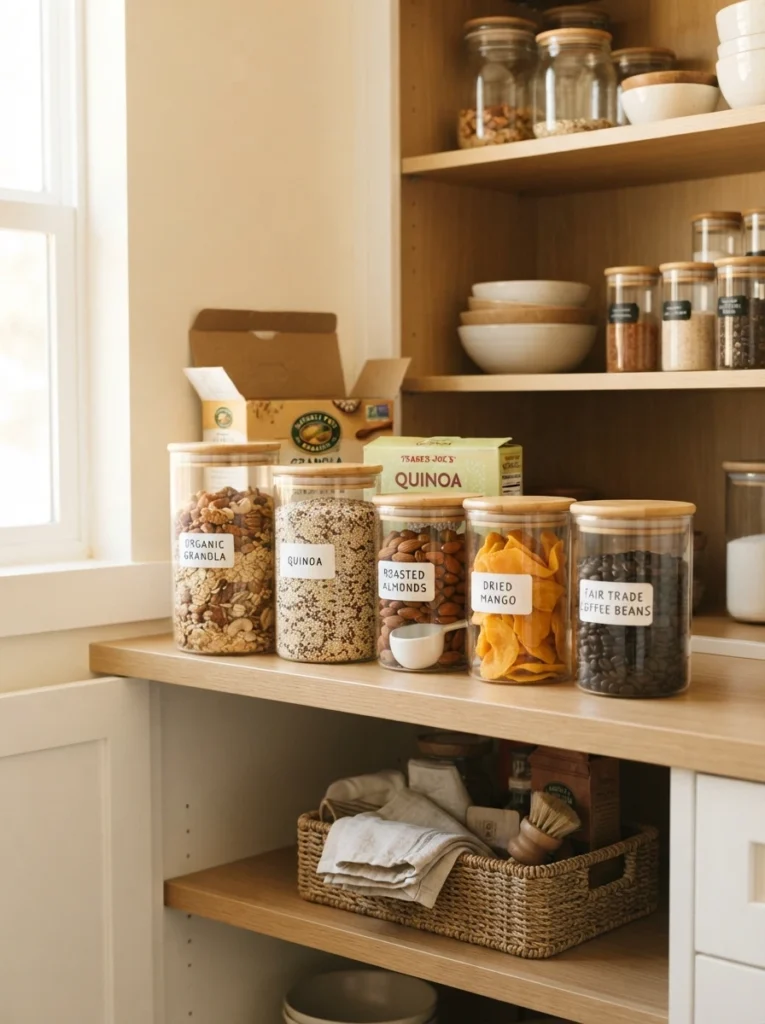
A uniform look is nice, but it’s not required for a pantry to function well. Reusing glass jars from pasta sauce, jam, or pickles, once washed and relabeled, gives you the same visibility and freshness benefits as a matching container set without spending anything on new ones.
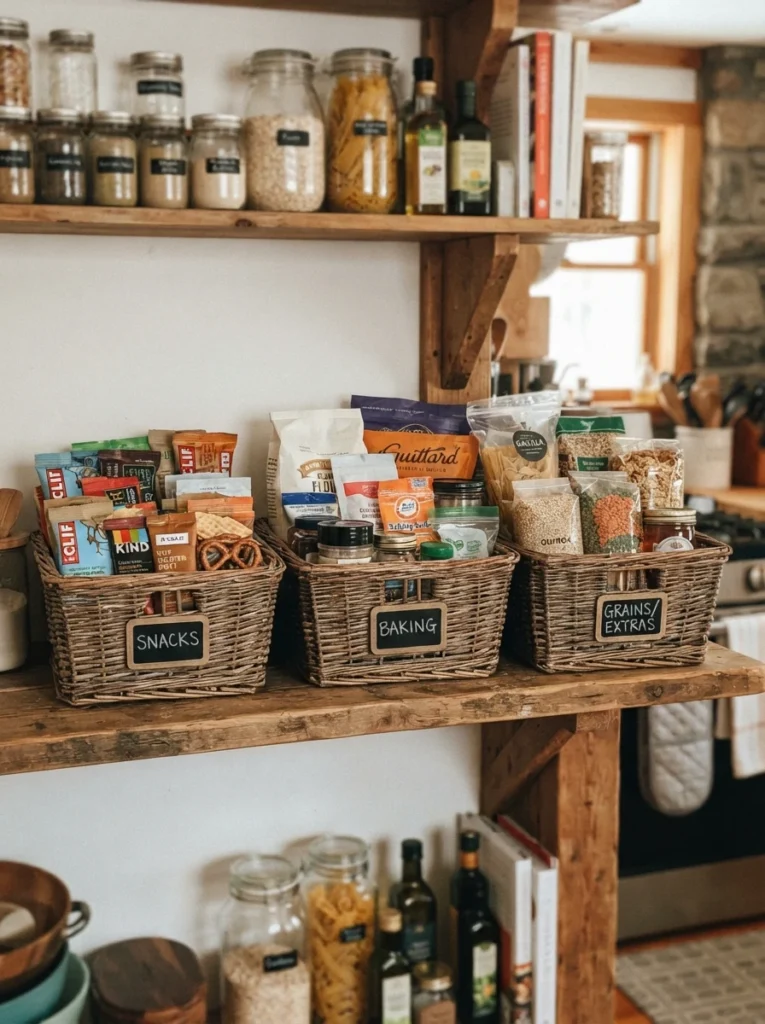
3. Use Thrifted Baskets Instead of New Ones
Secondhand stores and thrift shops regularly carry baskets in good condition for a fraction of retail price. A handful of thrifted baskets, even if they don’t perfectly match, can organize snacks, baking supplies, and loose items into contained groups for a few dollars each.
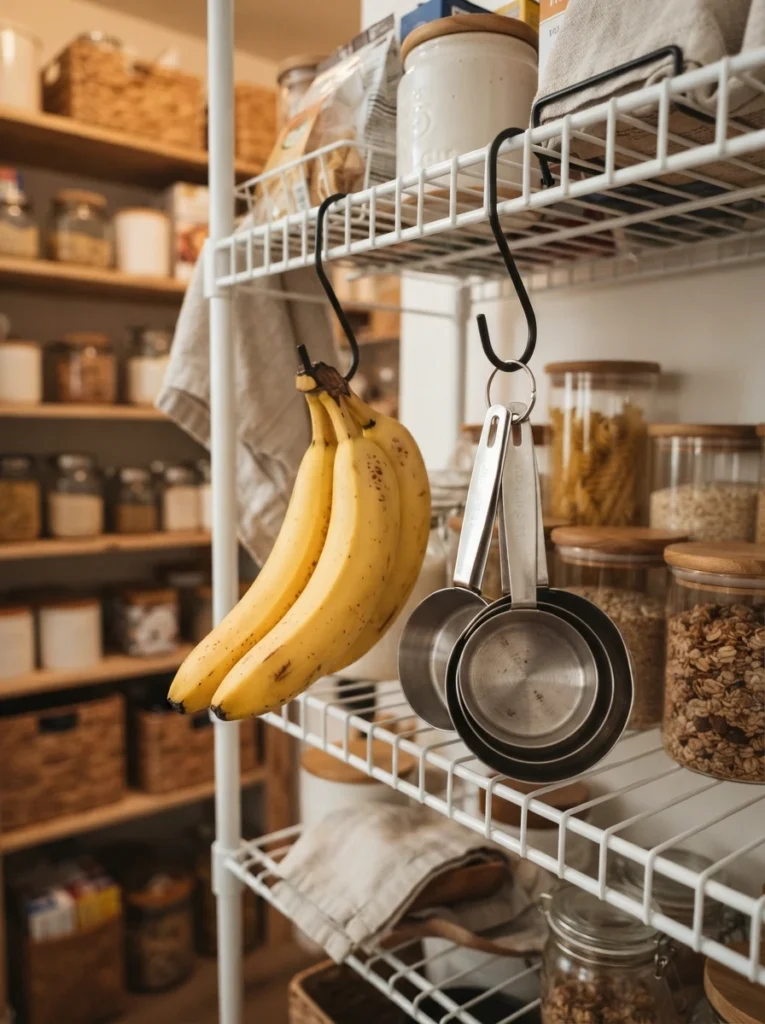
4. Repurpose Shower Curtain Hooks for Hanging Storage
Old shower curtain hooks, clipped onto an existing wire shelf, can hold bulky items like bananas, measuring cups, or bundles of drying herbs. It’s a nearly free trick that reclaims shelf space by getting bulky items up and out of the way.
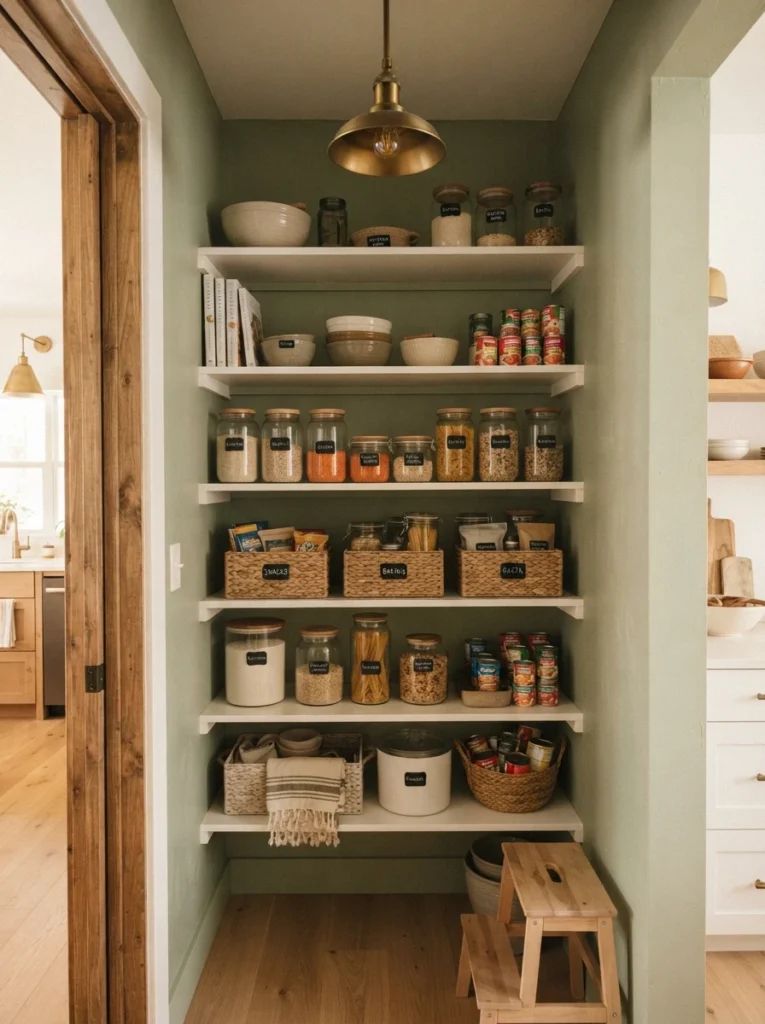
5. Add a Coat of Leftover Paint for an Instant Refresh
If you have leftover paint from a previous project, even a small amount can transform pantry walls or shelving that have gone drab or scuffed over the years. This single step often does more for how “finished” a pantry looks than any organizing product could on its own.
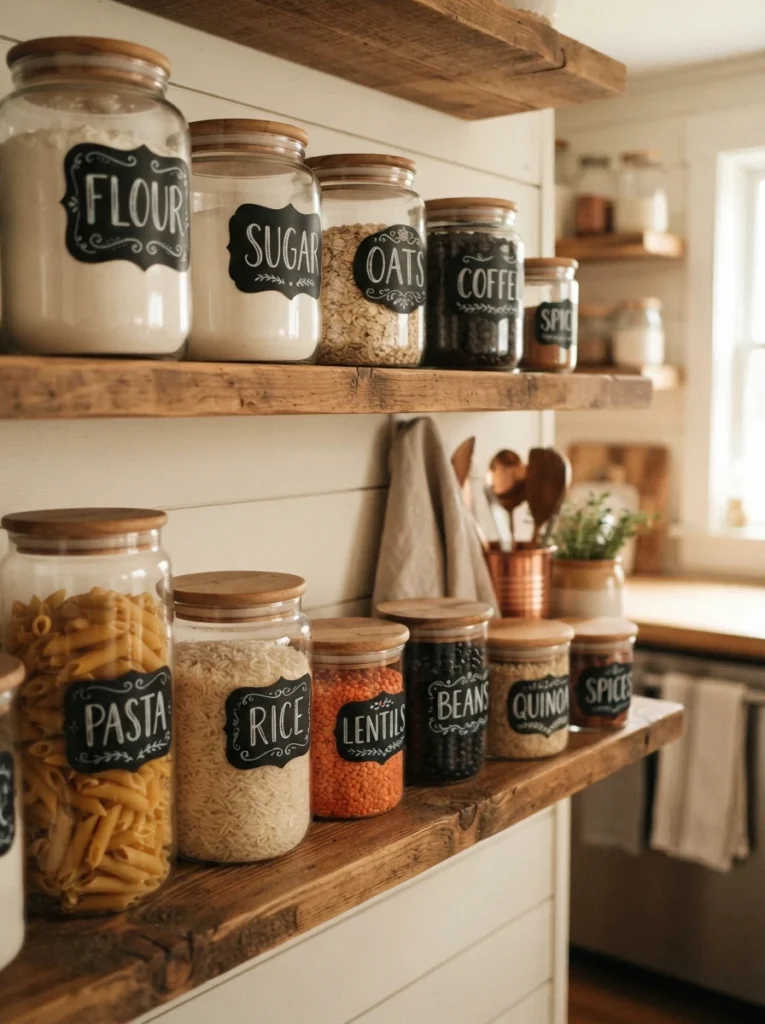
6. Use Chalk Labels Instead of a Printed Labeling System
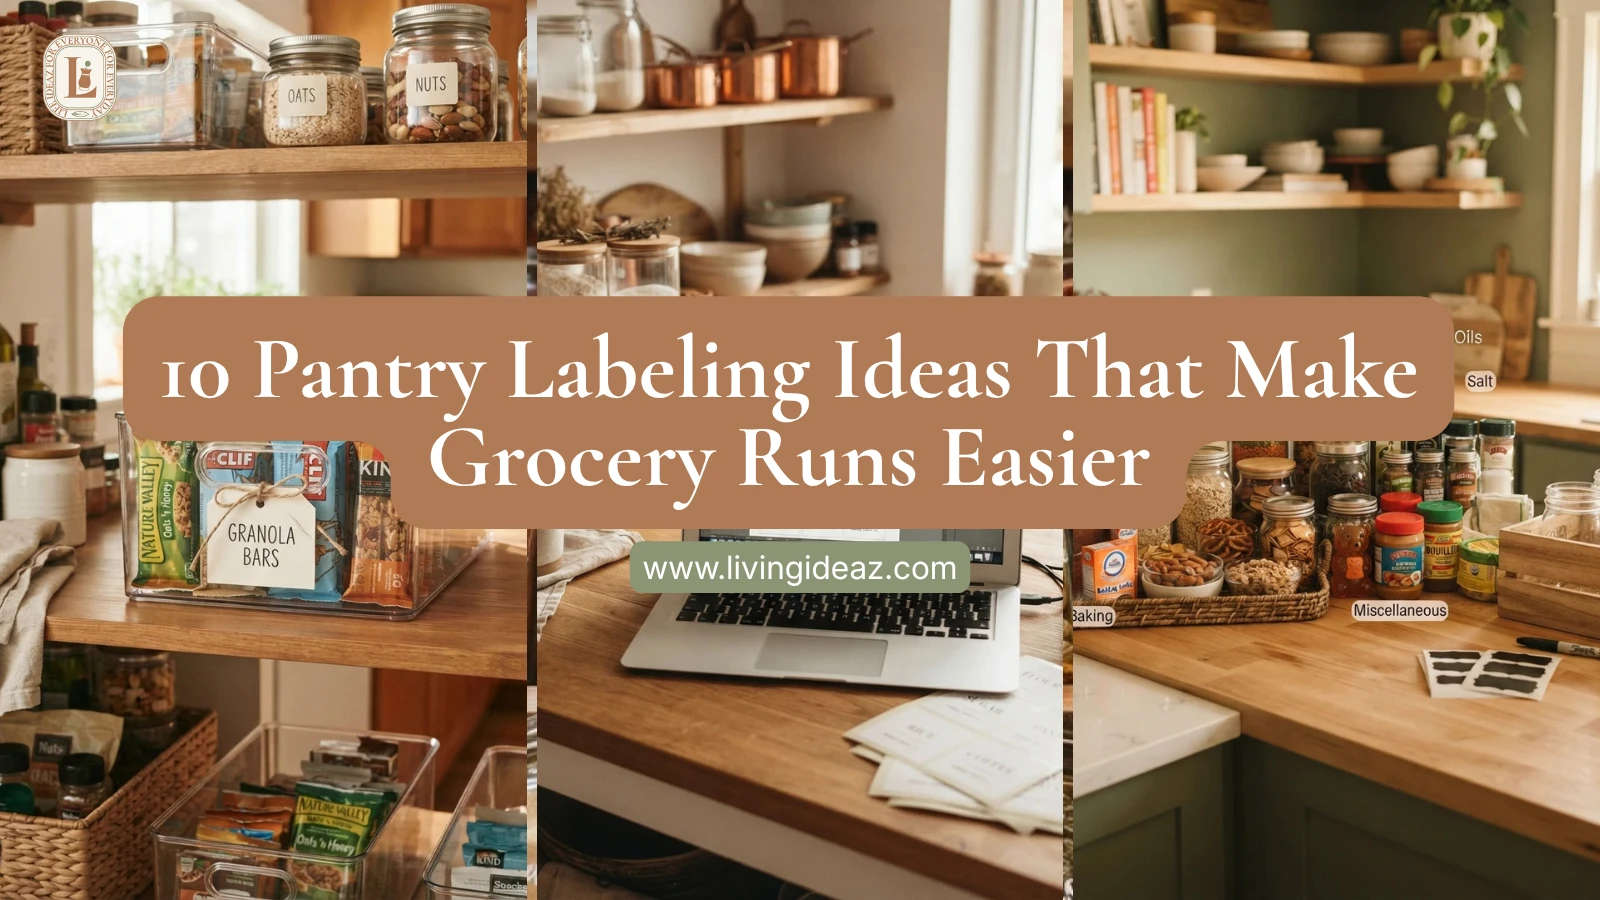
A label maker or printed labels look polished, but a simple chalkboard label sticker or a piece of chalkboard contact paper does the same job for a fraction of the price. It’s also easily updated by hand whenever contents change, without needing new labels each time.
7. Add Dollar-Store Bins for Loose Item Containment
Basic plastic bins from a dollar store can group loose items, snack packets, spice packets, small boxes, into tidy sections without a big investment. They won’t last forever, but for a budget makeover, they solve the containment problem immediately and cheaply.
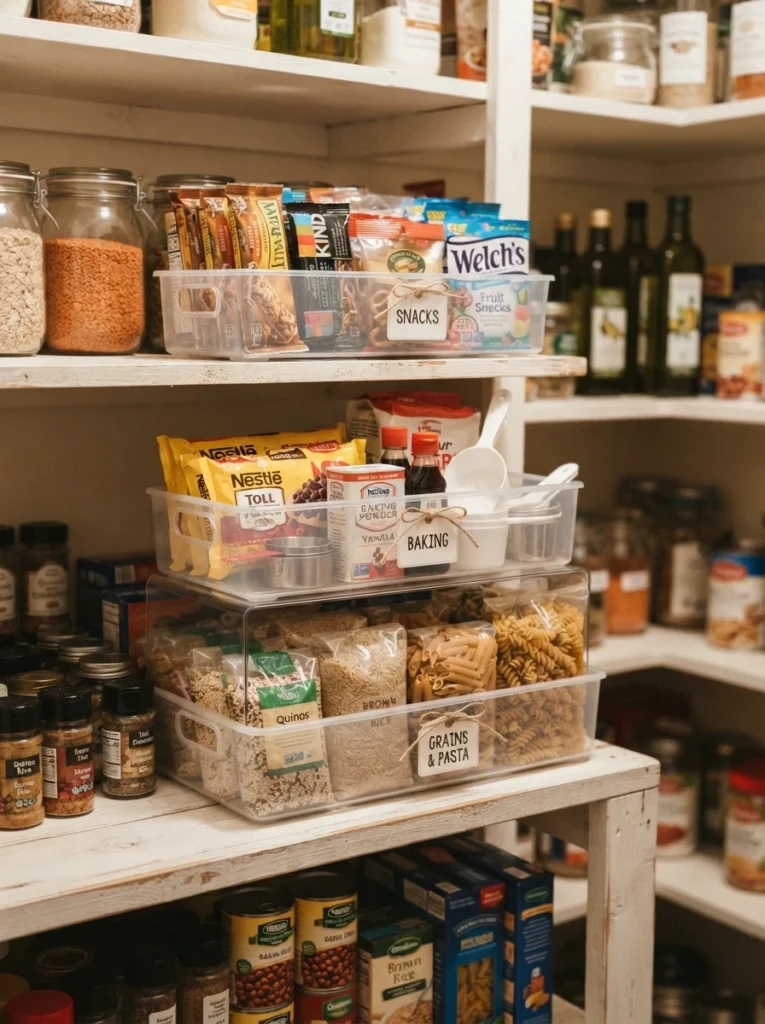
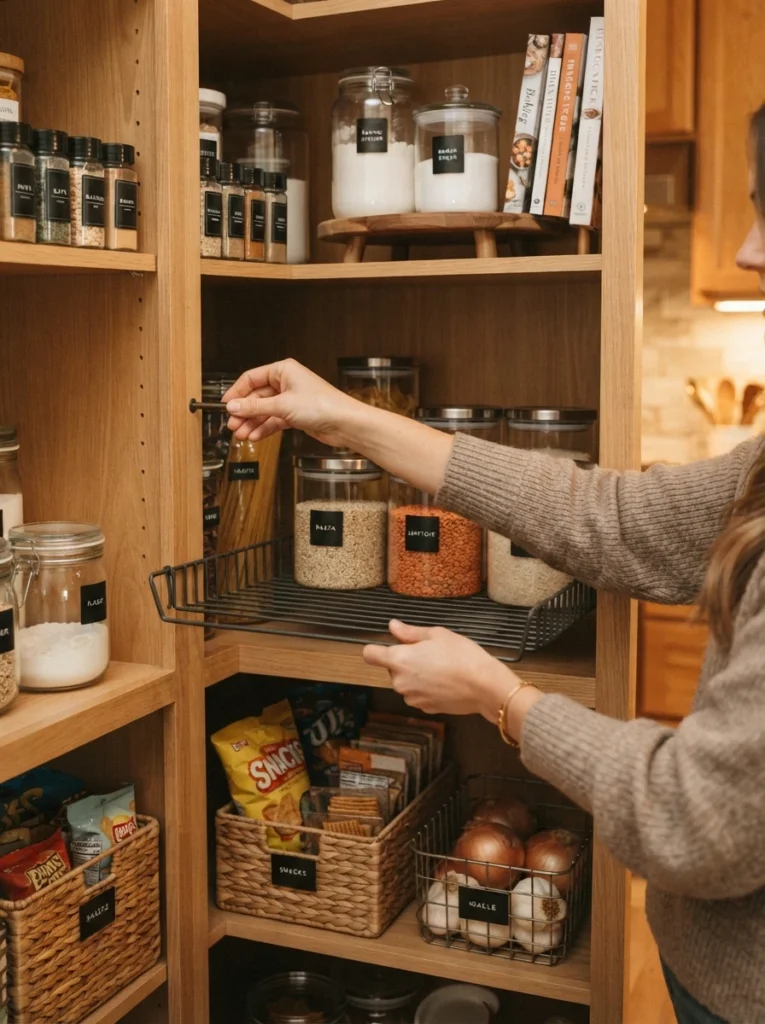
8. Reorganize Existing Shelves Before Adding New Ones
Sometimes a pantry doesn’t need more shelving, it needs the existing shelves used differently. Adjusting shelf height, if they’re adjustable, or simply regrouping what’s stored where can unlock significant extra capacity without spending on new shelving units at all.
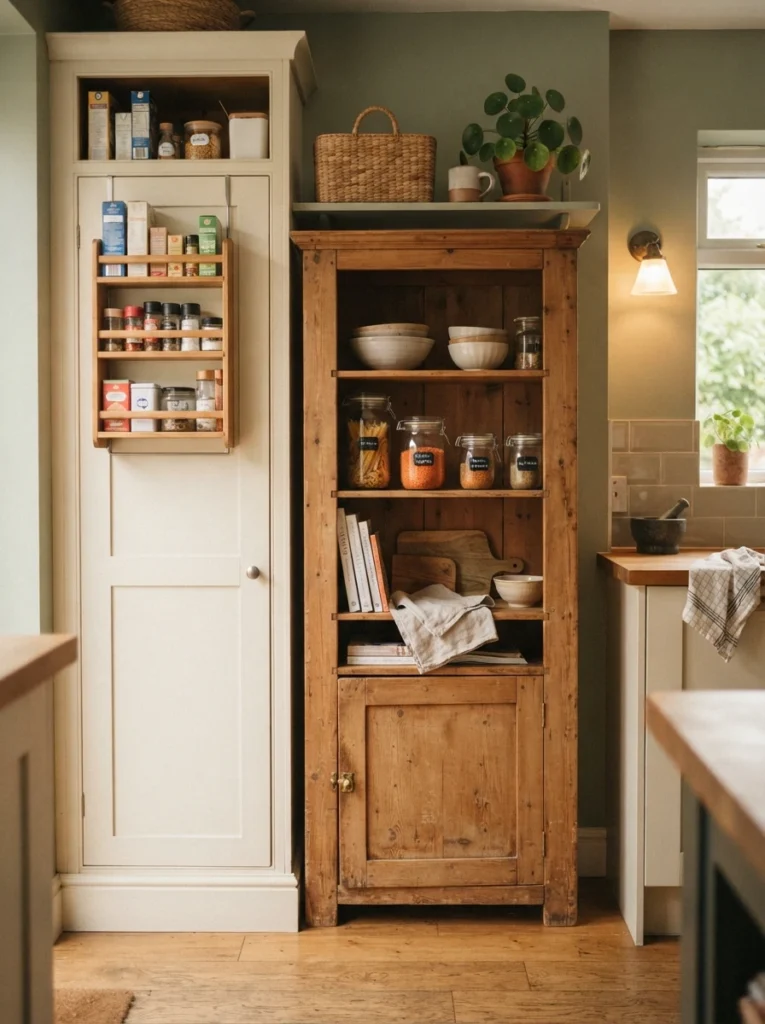
9. Find a Secondhand Freestanding Cabinet for Extra Storage
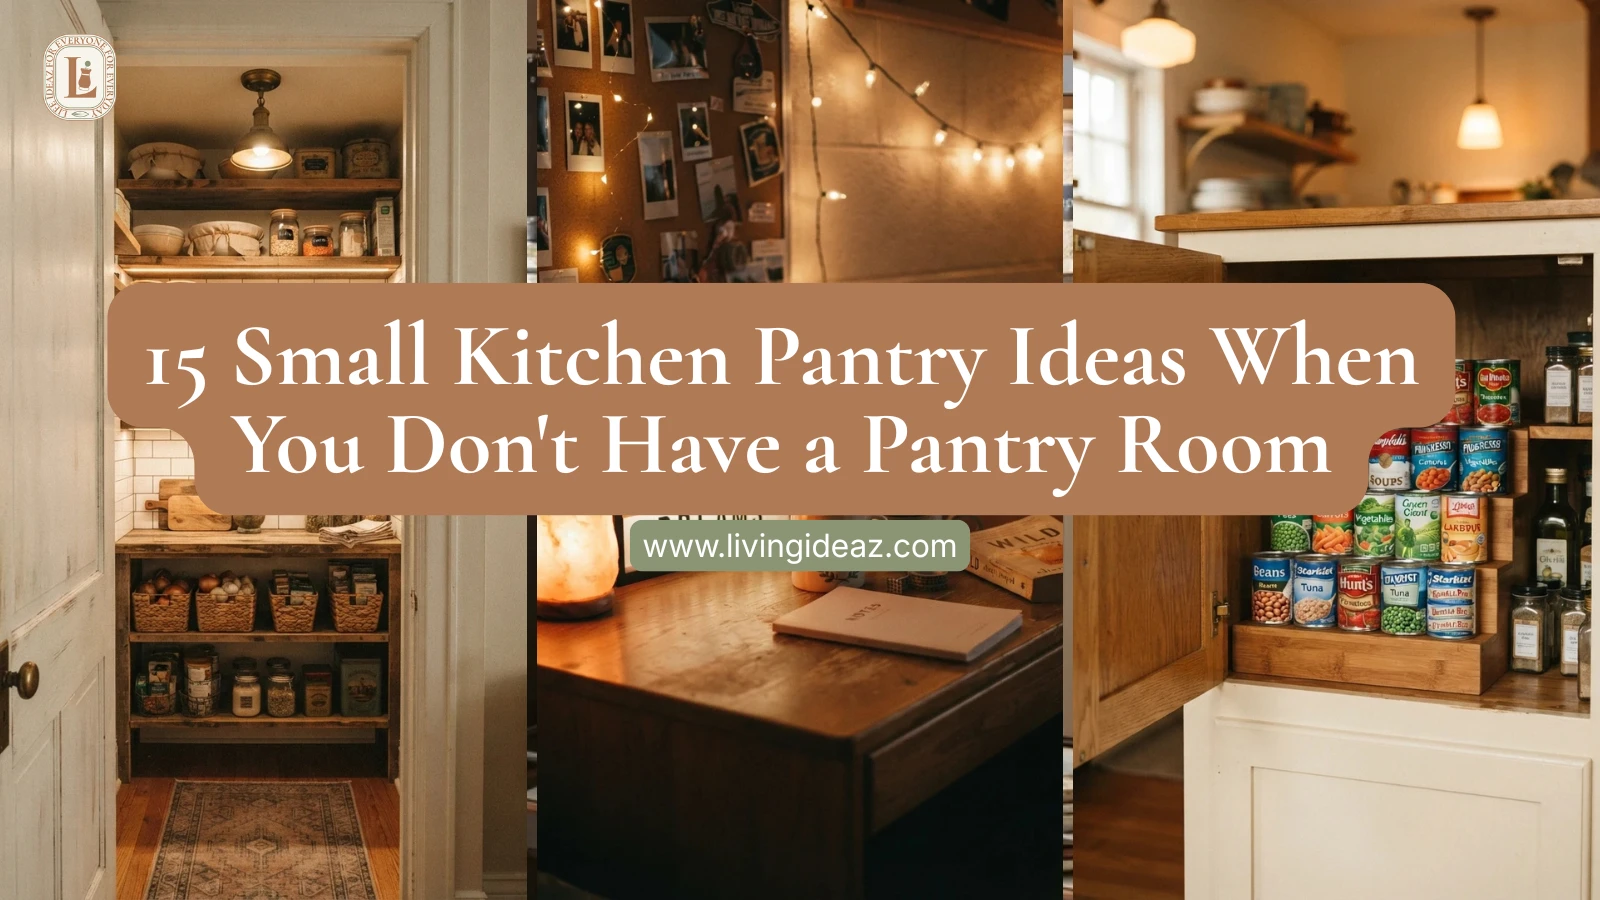
A small freestanding cabinet found secondhand, sometimes for as little as the cost of delivery, can extend a cramped pantry’s capacity significantly. Even a slightly rickety piece can be made functional again with a little cleaning and a fresh look at how it’s used.
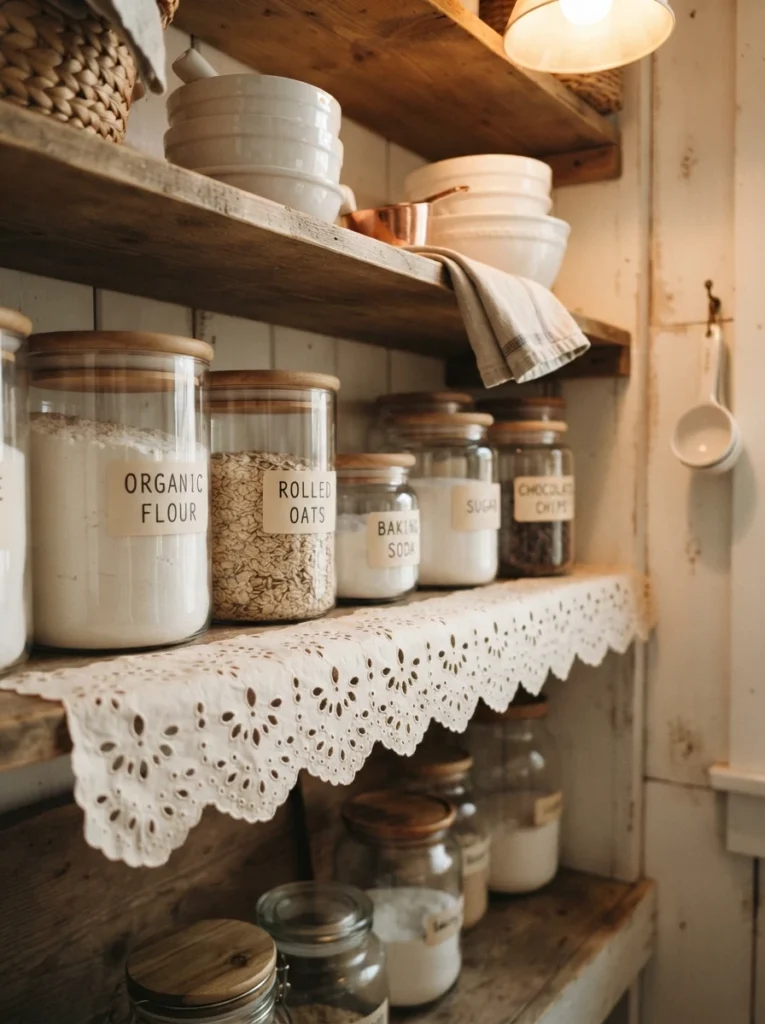
10. Use Paper Punch Eyelets Instead of Buying Decorative Shelf Trim
If you want a decorative edge on shelf liners without buying trim, a paper punch used to create an eyelet-lace pattern on plain paper gives a similar look for the cost of a few sheets of paper. It’s a small detail, but it adds a homemade, finished touch without a real expense.
11. Remove Bulky Boxes and Consolidate to Free Up Real Space
Before buying anything, remove the outer boxes from items like tea bags, granola bars, or snack packs and consolidate what’s left into a single container. Bulky cardboard packaging takes up far more space than the product actually needs, and getting rid of it can be the single biggest free space-saver in the whole makeover.
12. Spend Your Budget on the One Thing You Can’t DIY
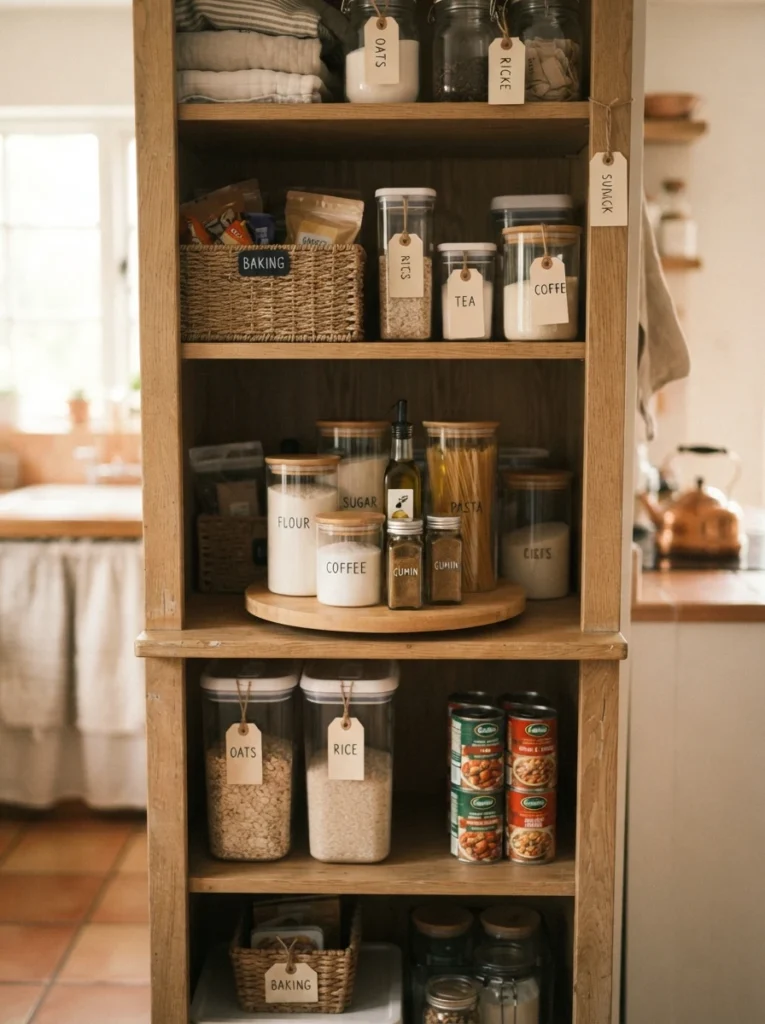
After repurposing, thrifting, and reorganizing everything you can, put whatever budget remains toward the one thing that genuinely needs to be purchased new, whether that’s a turntable for a dead corner or a specific size of stackable bin nothing secondhand could replace. Being intentional about that last purchase keeps the whole project well under budget.
A pantry makeover doesn’t need matching everything or a big budget to actually work. What makes the difference is removing the excess packaging, giving items a real home, and spending the little money you do have on the one or two things that genuinely can’t be solved with what’s already sitting around the house. The result holds up just as well as a pantry that cost ten times more.