
19 Fairy Light Ideas for Small Bedrooms That Don’t Look Messy
TL;DR: Messy fairy lights almost always come down to two things: visible tape or wire, and no real pattern to the drape. Clear adhesive hooks, a hidden battery pack, and a deliberate shape, whether that’s a canopy, a curtain, or a straight vertical line, are what separate a curated look from a tangled one.
Fairy lights get a bad reputation for looking like a dorm room afterthought, but that’s almost always an installation problem, not a fairy light problem. The right hooks, a consistent pattern, and a hidden power source are the difference between “college move-out sale” and something that actually looks styled.
Here are 19 fairy light ideas for small bedrooms that keep the look clean instead of chaotic.
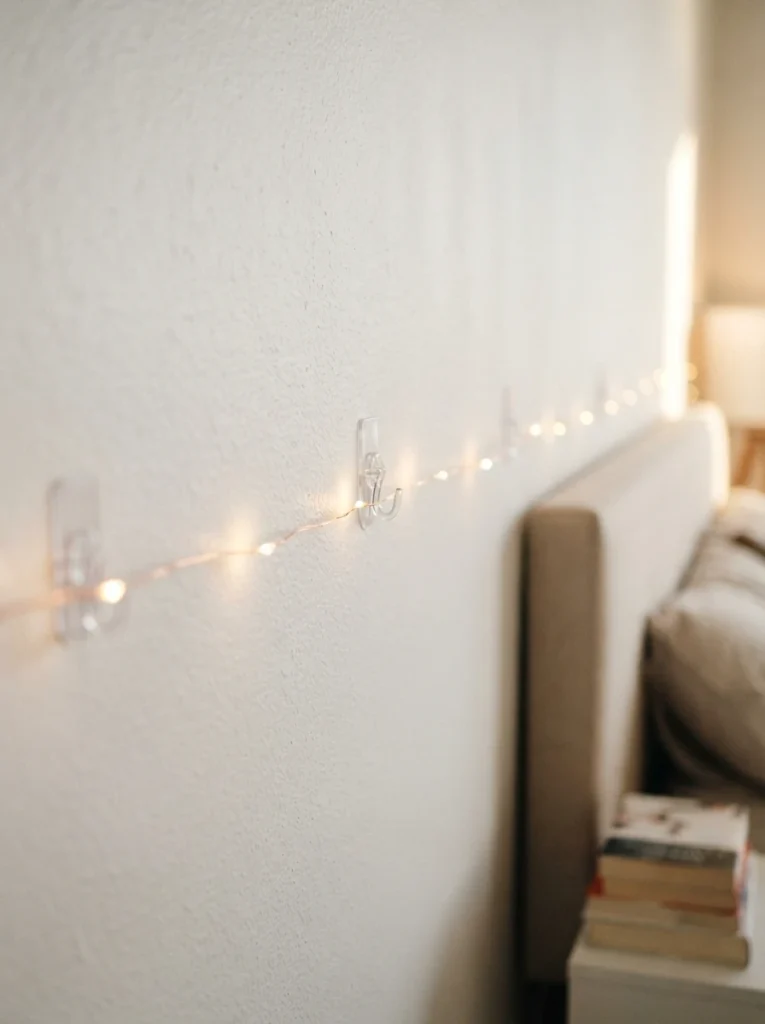
1. Use Clear Adhesive Hooks Instead of Tape
The most effective way to hang fairy lights without leaving marks or looking sloppy is clear adhesive hooks or Command strips, not tape. They hold the wire in a fixed, even line instead of letting it sag or twist.
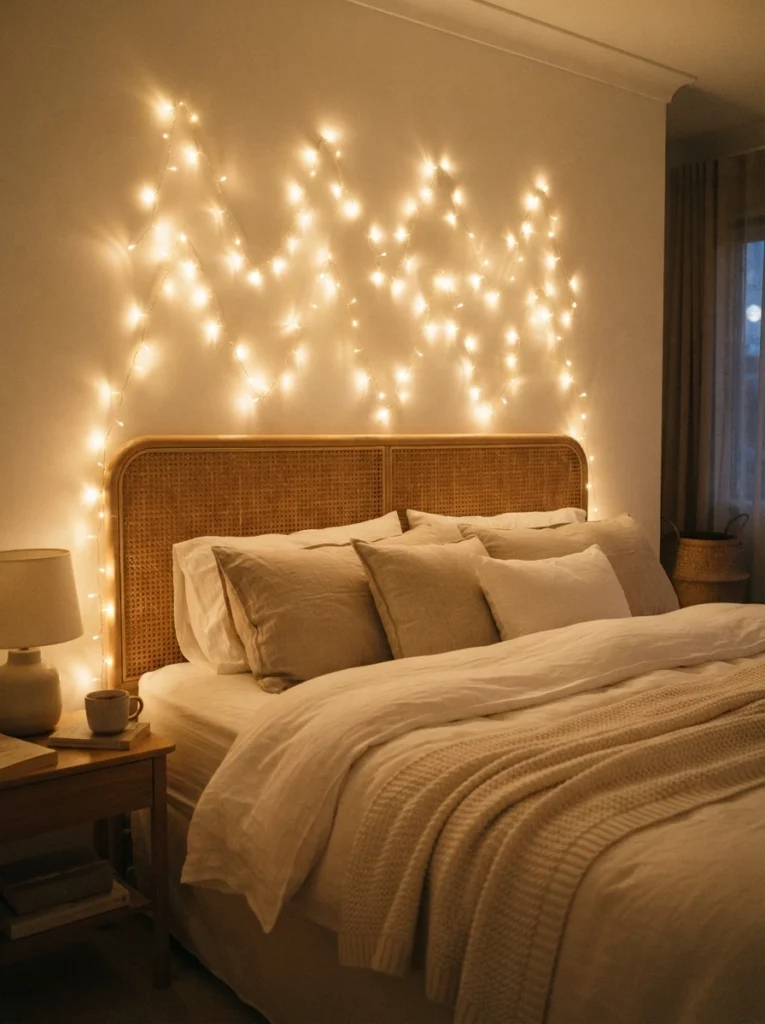
2. Weave Lights in a Zigzag Above the Bed
Arrange hooks evenly above your bed, then carefully weave the lights through them in a zigzag or draped pattern rather than letting the strand hang loosely. Secure any loose sections with extra clips for a tidy finish.
3. Hide the Battery Pack Completely
Tuck the battery pack behind the bed frame or within a pillow arrangement so only the lights themselves are visible. A visible battery box is one of the fastest ways to make an otherwise clean install look unfinished.
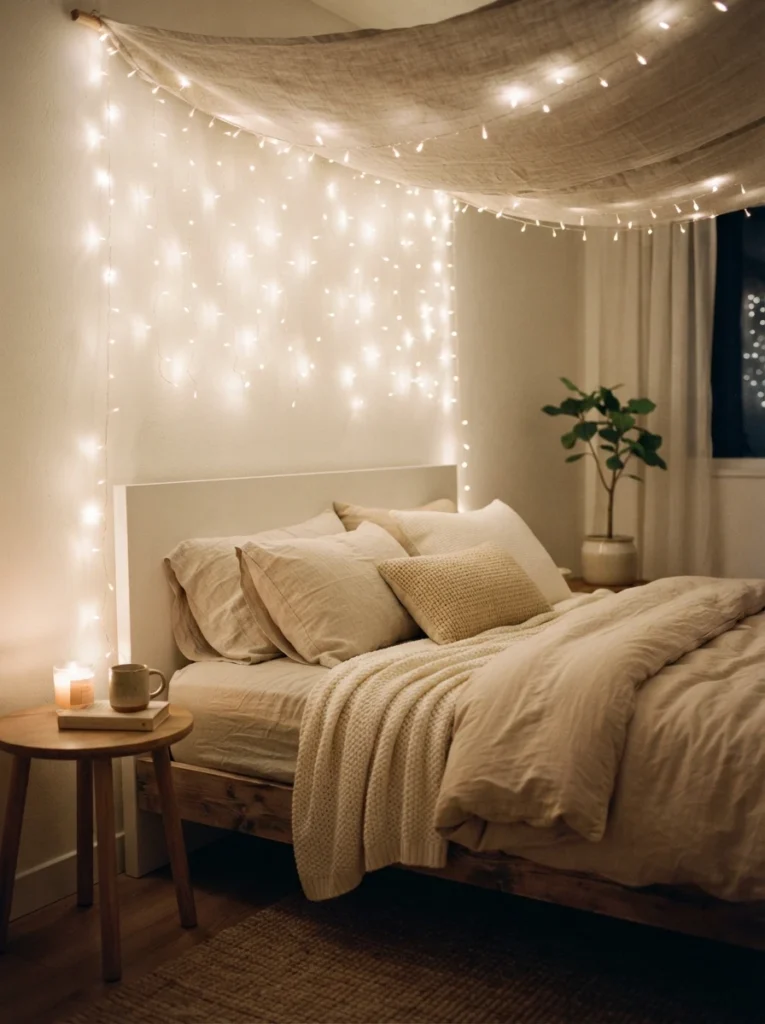
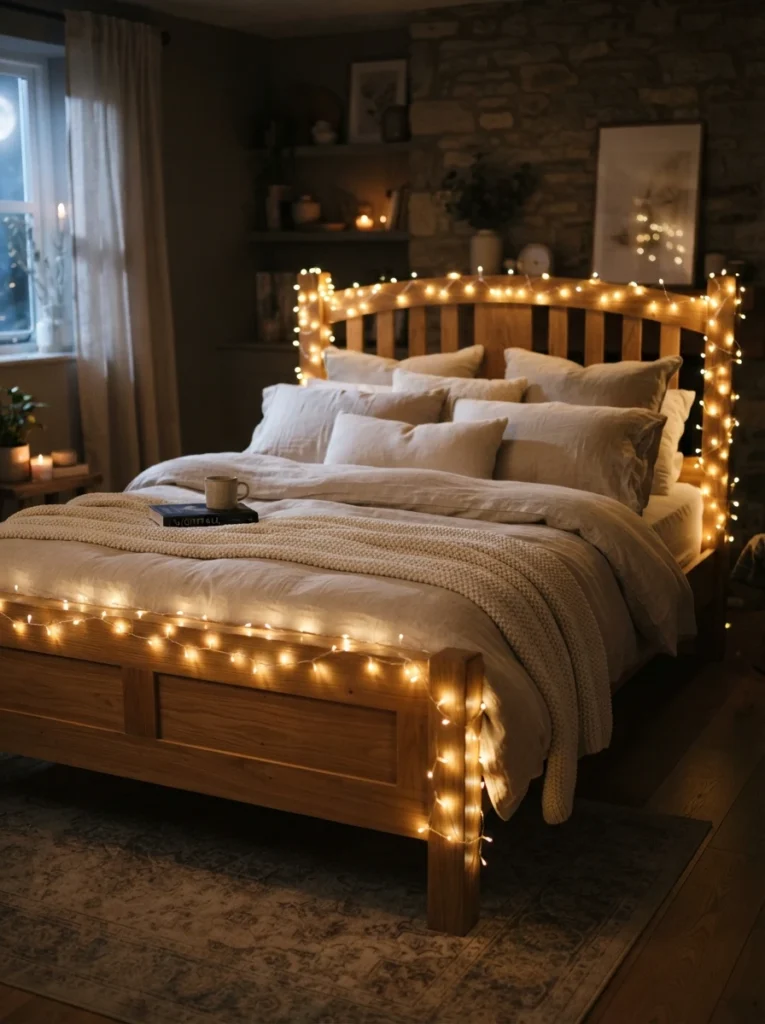
4. Wrap the Bed Frame Evenly, Not Randomly
Wrapping fairy lights around the top or sides of a bed frame helps the light spread evenly, creating a more cohesive focal point than just decorating the headboard alone. Secure with hooks and space the wraps consistently.
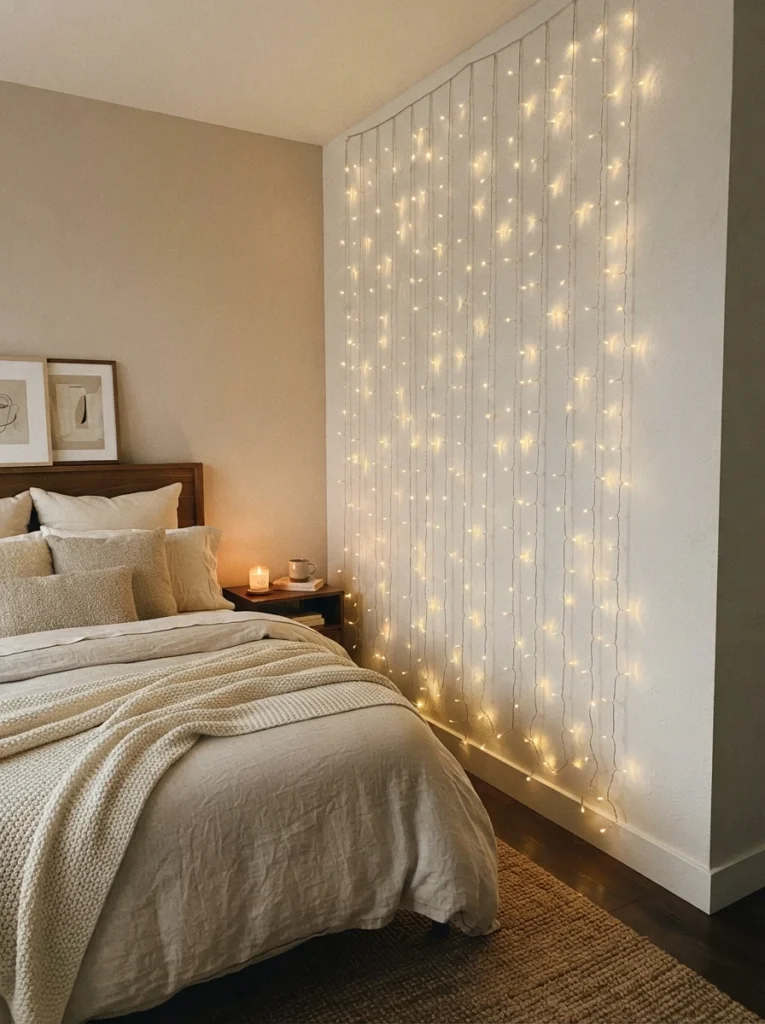
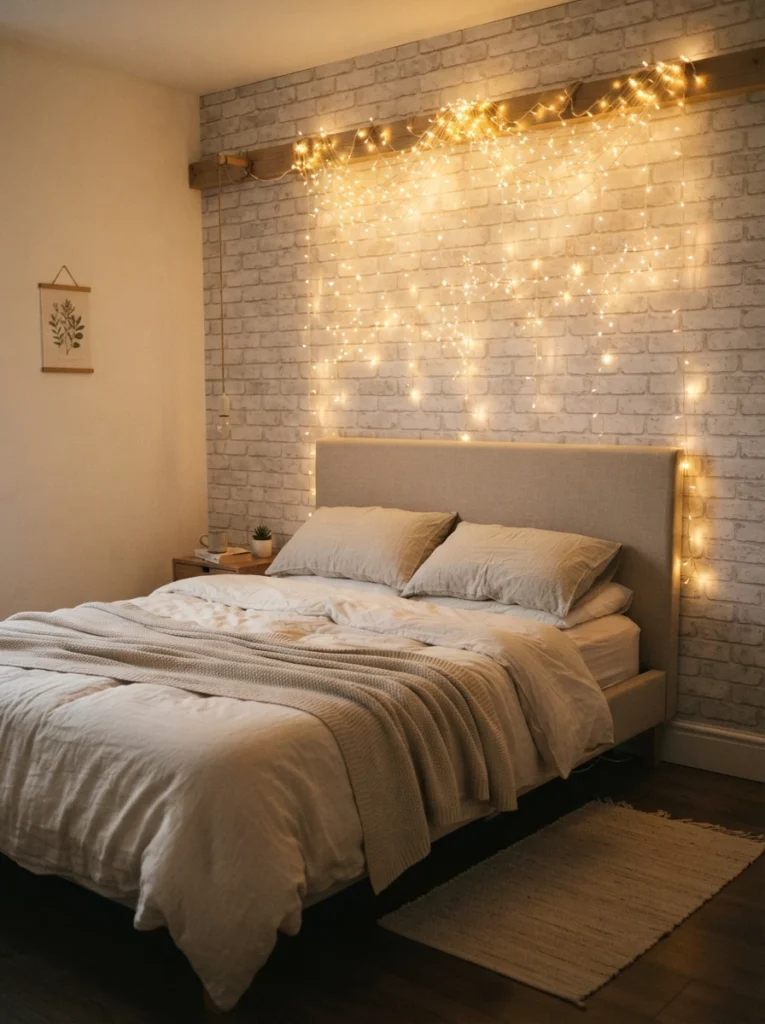
5. Choose Curtain-Style Lights for a Clean Waterfall Look
Curtain lights are a styling staple for a reason, they create a soft, structured edge instead of a random tangle. Layer them beneath a canopy for an especially magical, intentional feel.
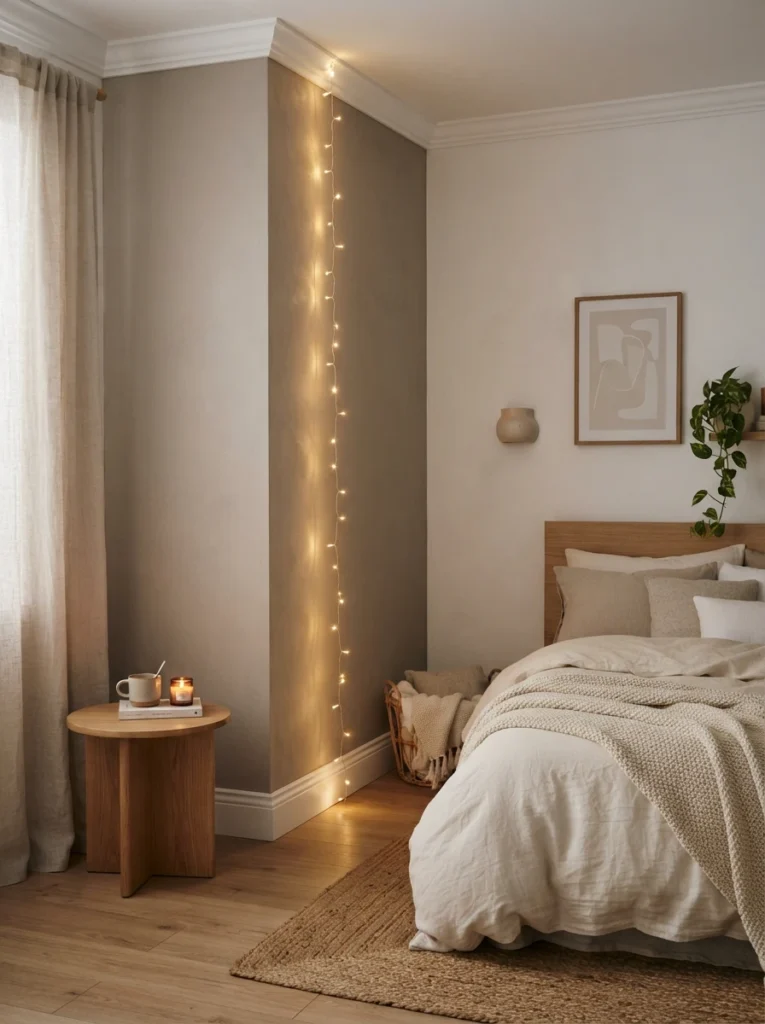
6. Drape Lights Vertically in a Corner for Height
Hanging fairy lights vertically along a corner from ceiling to floor creates the illusion of a higher ceiling, which is especially useful in a small bedroom. Keep the line straight rather than letting it bow outward.
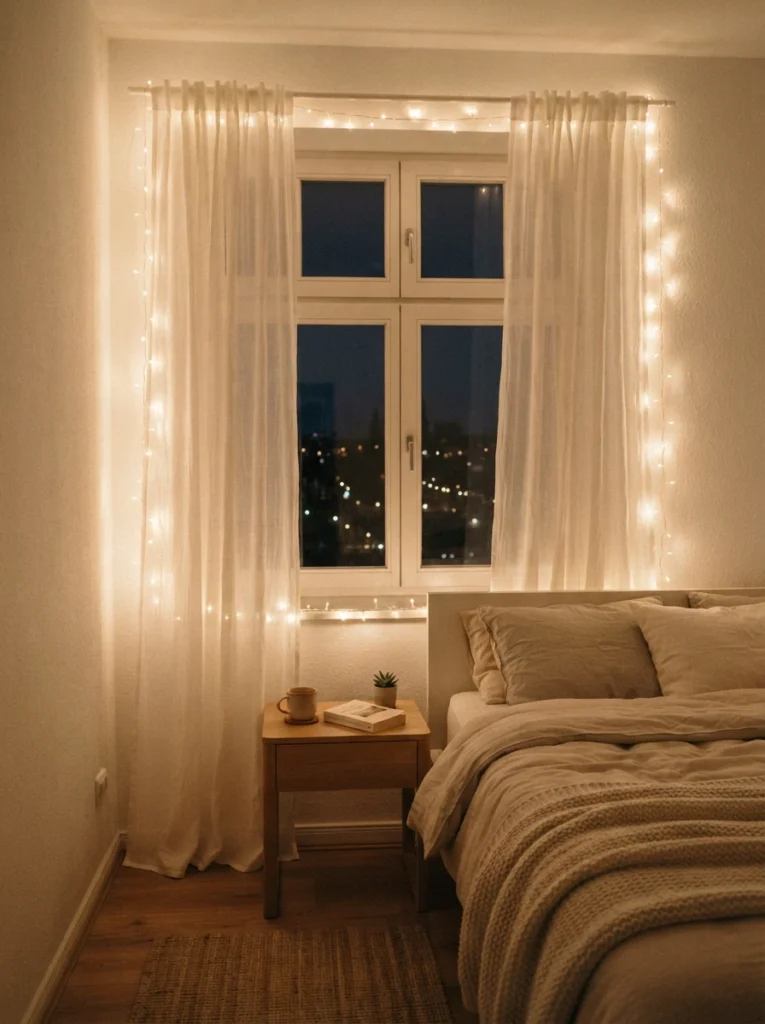
7. Frame a Window Instead of Draping It
Fairy lights add a soft sparkle around a window frame without interfering with curtains or blinds. Run them along the outline of the frame rather than looping loosely across the glass itself for a much cleaner result.
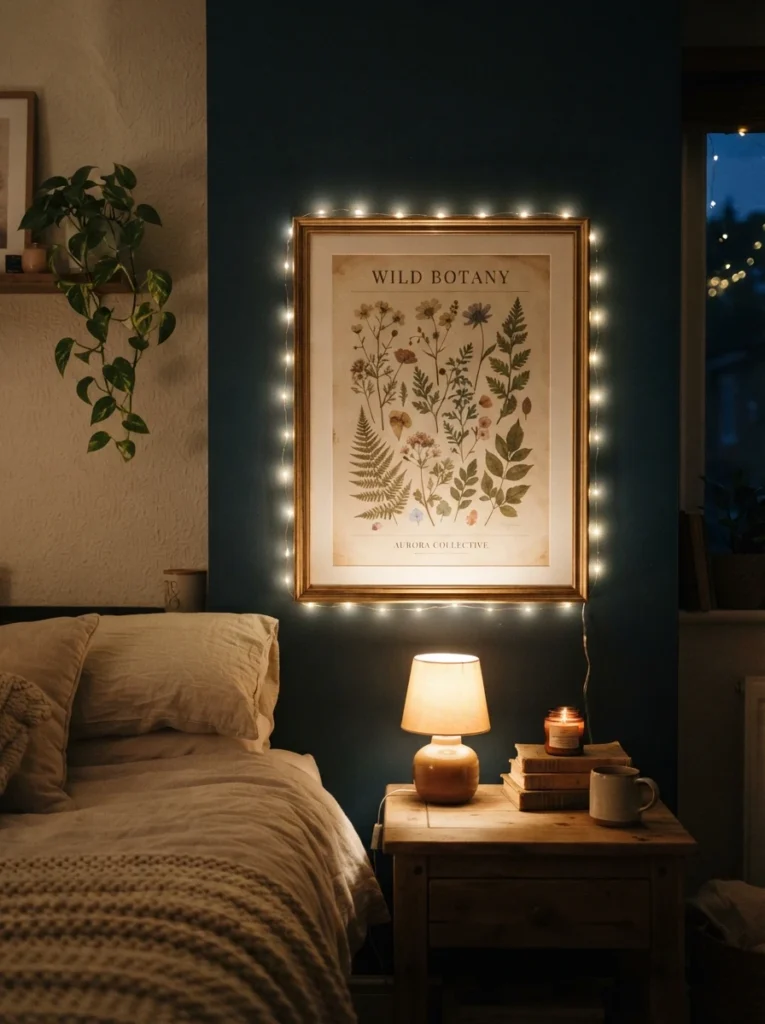
8. Outline a Piece of Art for a Gallery Effect
Fairy lights arranged around the edge of a painting or print accentuate its color and texture, and can make a simple piece of wall art look genuinely gallery-curated. Keep the outline tight against the frame rather than loose.
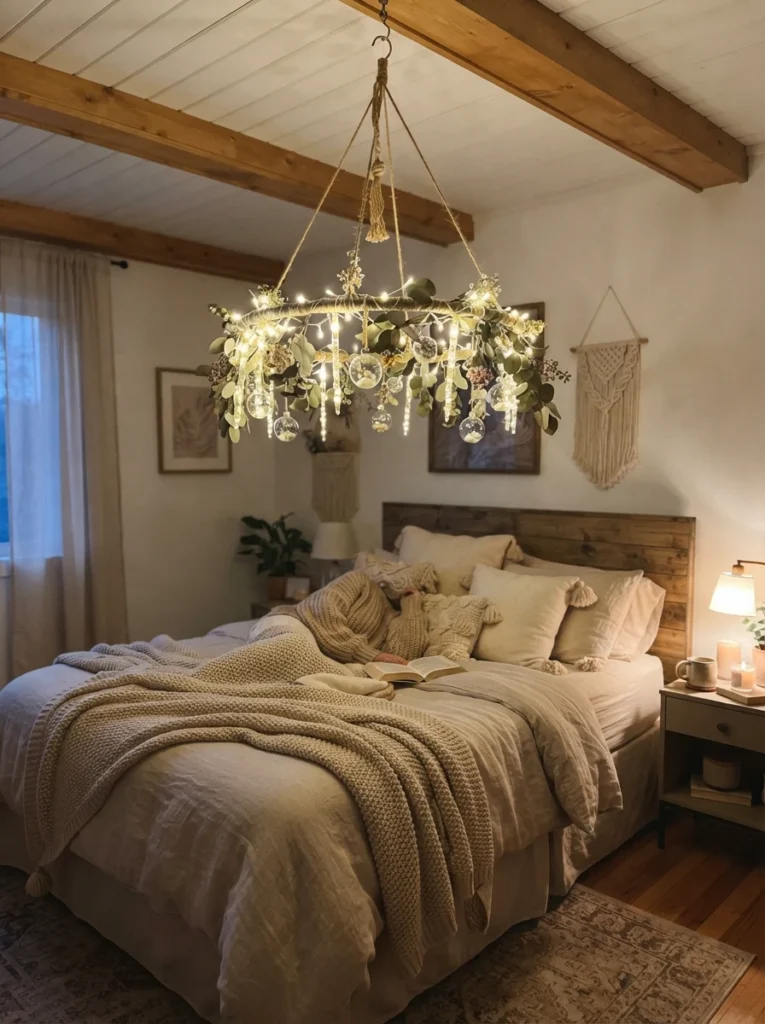
9. Build a DIY Hula Hoop Chandelier
Wrapping icicle-drop fairy lights around a hula hoop and suspending it from the ceiling creates an unusual, affordable chandelier-style light that reads as a designed statement piece rather than a tangle of string lights.
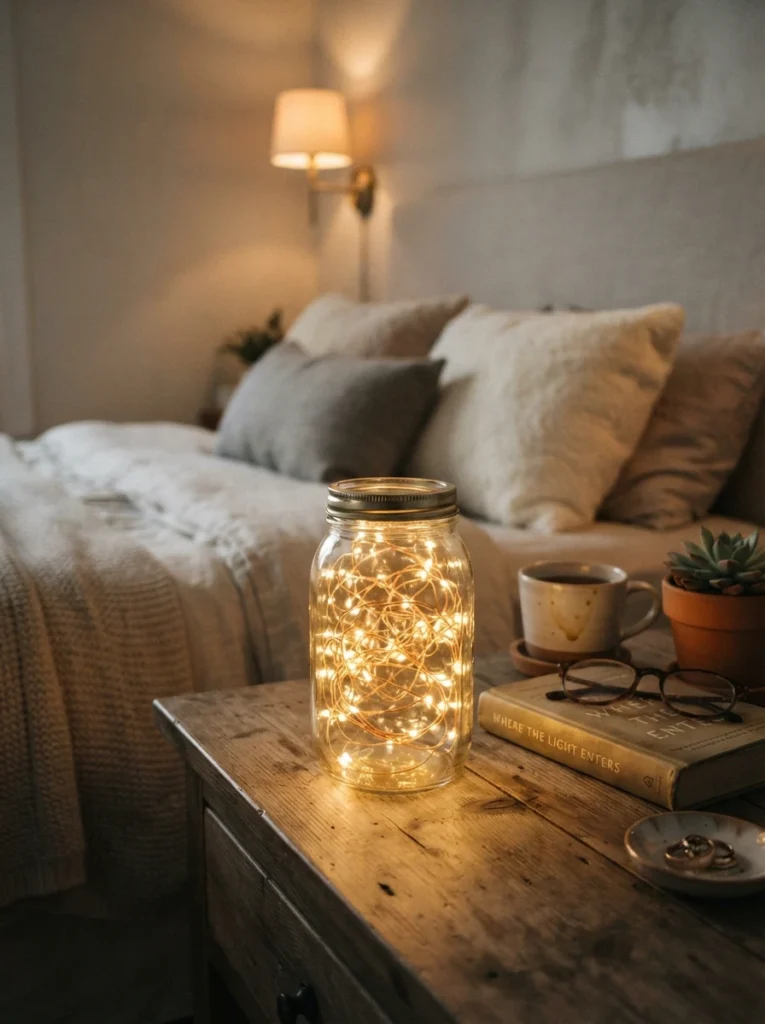
10. Contain Lights Inside a Glass Jar or Lantern
Placing fairy lights inside a glass jar or lantern instantly solves the “messy strand” problem since the container does the containing for you. Set it centrally on a nightstand or shelf for a warm, romantic glow.
11. Stick to One Light Color for a Cohesive Look
Mixing warm white with random multicolor strands is the fastest way to make a room look like leftover holiday decor. Choose one warm tone throughout the room so every strand reads as part of the same intentional design.
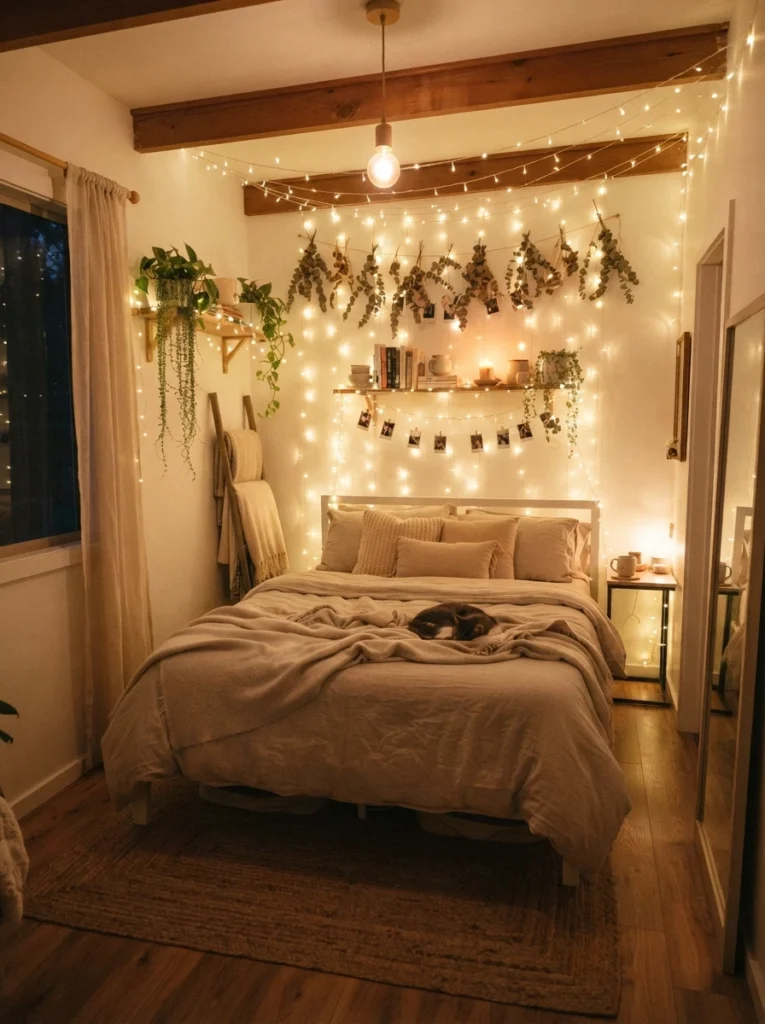
12. Use an LED Strip Instead When You Want Zero Visible Wire
If even a neatly hung strand feels like too much wire for your taste, a warm LED strip tucked behind a headboard or shelf edge gives you the same glow with the wiring fully hidden from view.
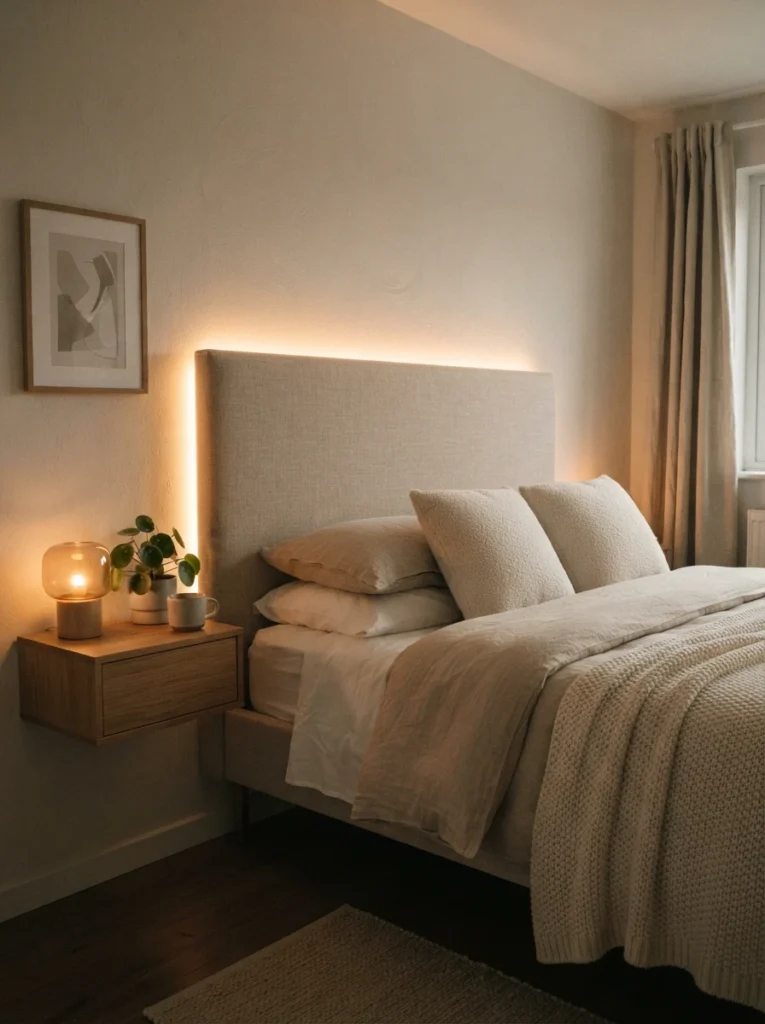
13. Secure Every Loose Section With Small Clips
Even a well-planned layout can sag over time. Go back through after installing and clip down any section that’s drooping or pulling away from its hook, since this small maintenance step is what keeps the whole thing looking tidy long-term.
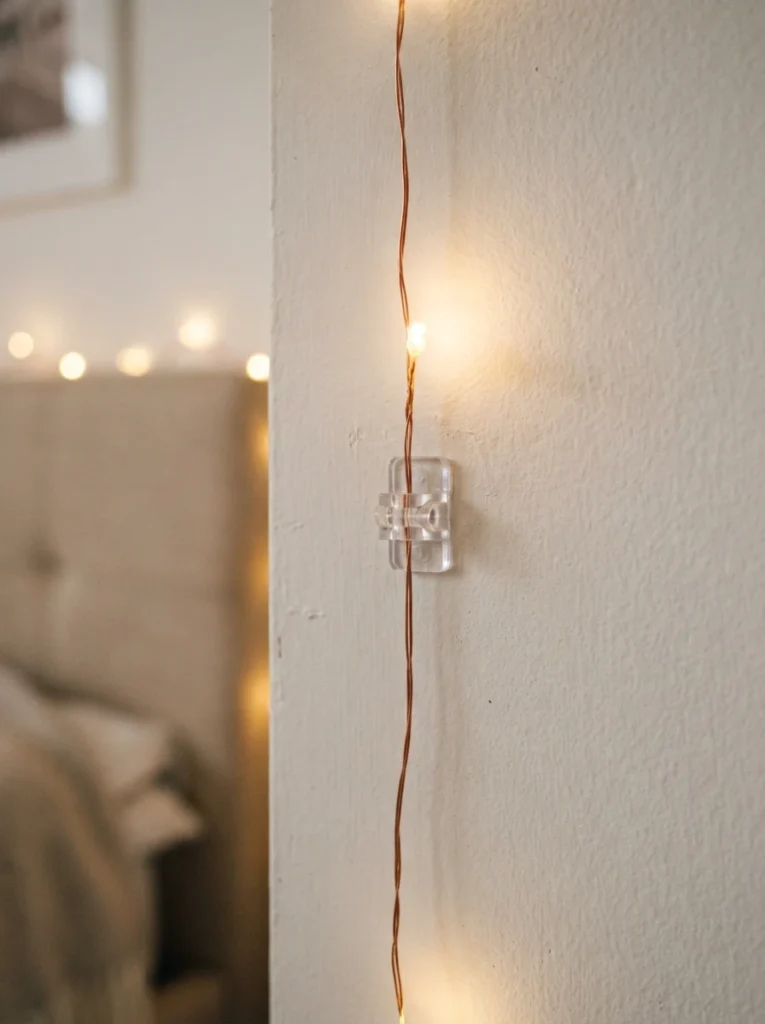
14. Keep the Pattern Symmetrical, Not Scattered
A chic, modern fairy light look relies on geometric patterns and symmetrical arrangements rather than a loose, random scatter. Plan your hook placement on paper first if the pattern is at all complex.
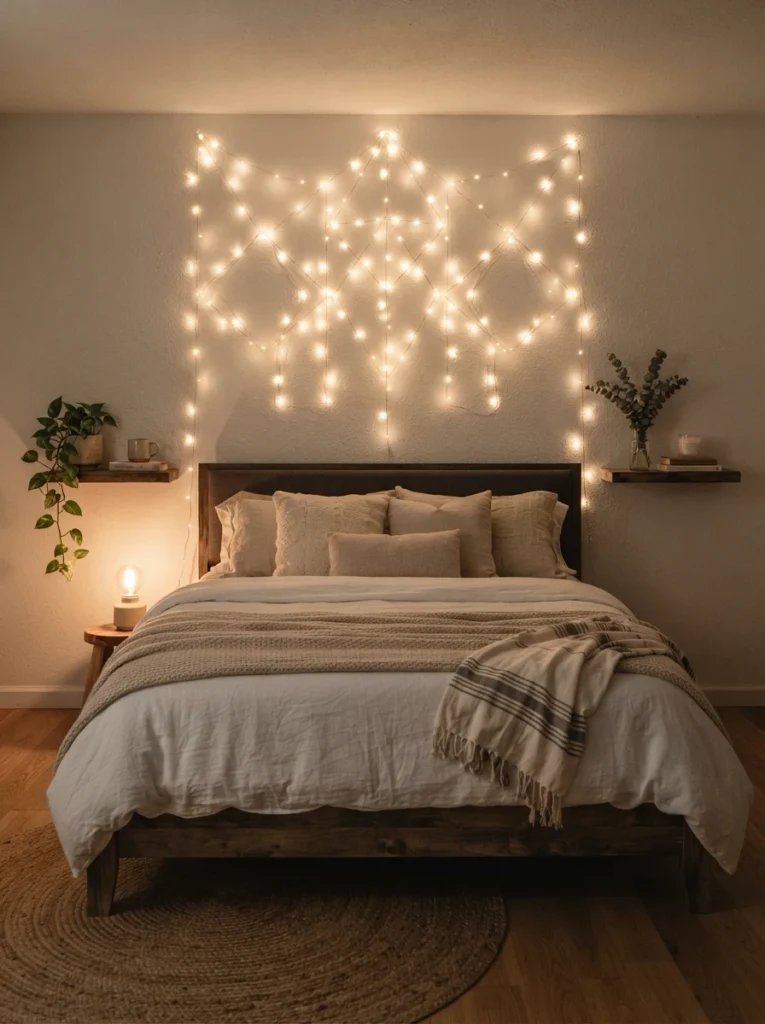
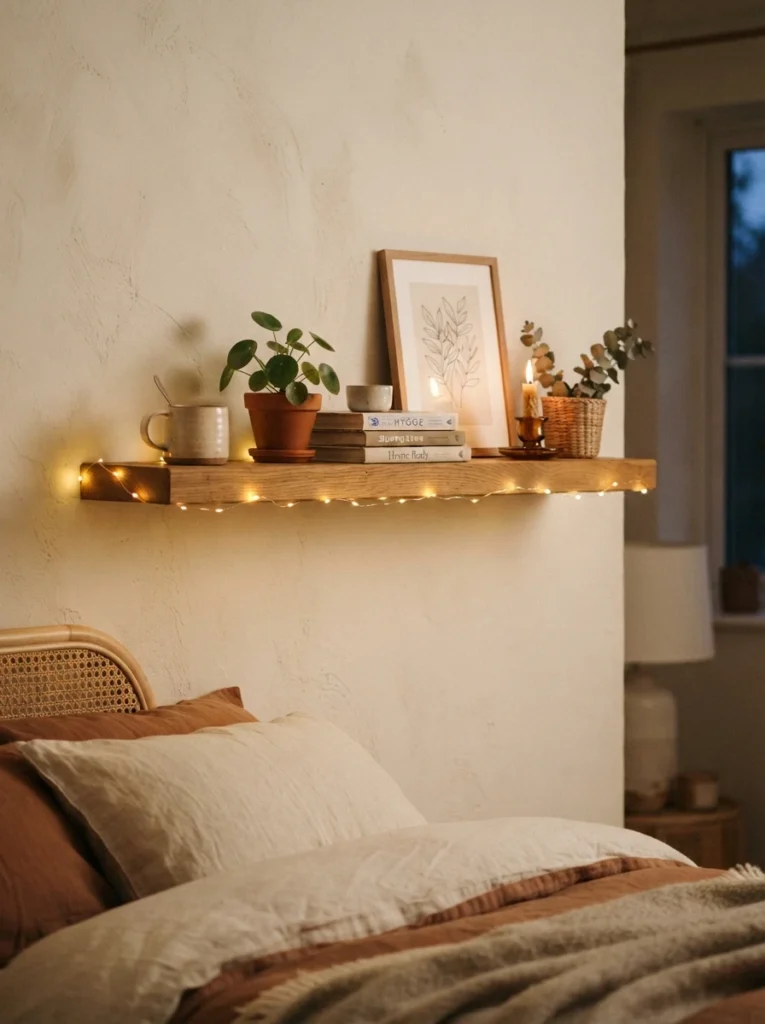
15. Wrap Shelves Evenly Along the Edge
Fairy lights along the front edge of a shelf, rather than draped across the items on it, add a glimmering accent without interfering with whatever you’ve styled there. Keep the line straight and consistent from end to end.
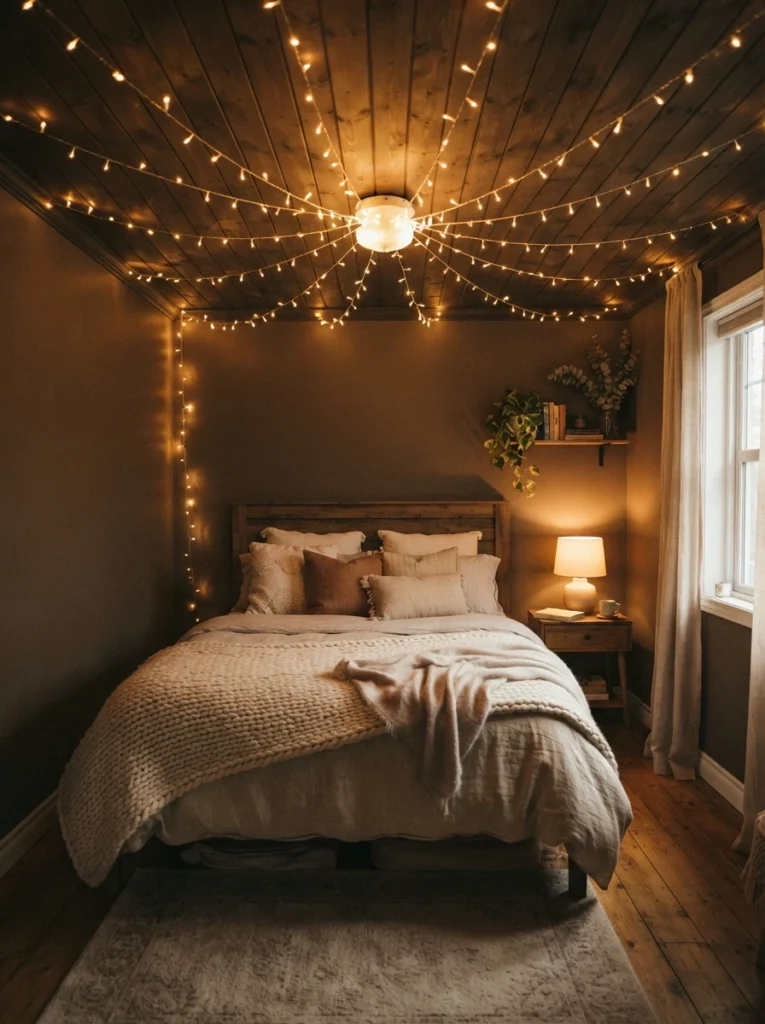
16. Try a Starburst Pattern From a Central Point
Attaching multiple strands to a single ceiling hook and letting them radiate outward in a starburst pattern creates a dramatic, intentional focal point rather than a single flat strand across the ceiling.
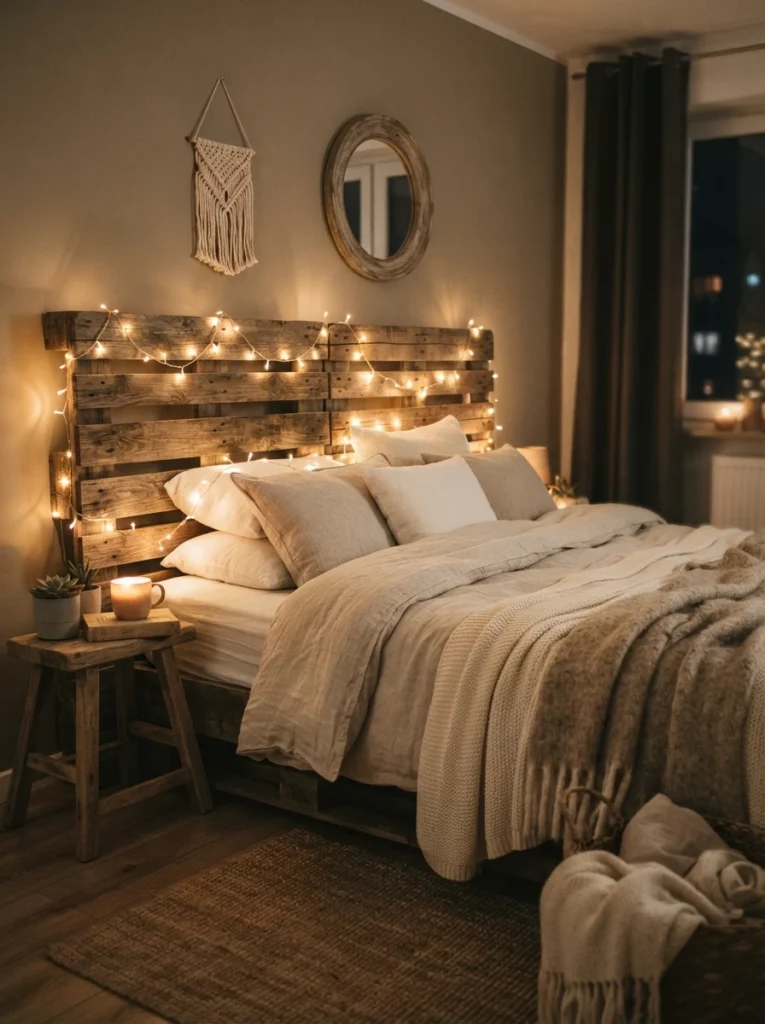
17. Pair With a Pallet Headboard for Rustic Even Spread
A pallet-style headboard gives fairy lights a natural, evenly spaced structure to wrap around, which suits smaller rooms or earthy, minimalist styles particularly well. The slats keep the spacing consistent without extra hooks.
18. Use Dimmable Warm Lights as Part of Your Wind-Down Routine
Dimmable fairy lights can double as your transition light in the hour before bed, switched on as your only source once harsher lights go off. This turns a decorative install into something functional too.

19. Install One Statement Zone Instead of Lights Everywhere
The single biggest thing that makes fairy lights look messy is overuse. Pick one wall, one shelf, or one headboard as your statement zone rather than layering strands across every surface in the room.
Every idea on this list comes down to the same principle: plan the shape before you plug anything in. Whether it’s a straight vertical line, a symmetrical zigzag, or a single statement zone, a little planning is what turns fairy lights from a college dorm cliché into something that actually looks designed.